55 Brilliant Tips For Getting Stunning Senior Portraits
/Seniors are some of the most fun models to photograph. Typically seniors WANT their photos taken, or at the very least, they want their images to be good. They love to try new things and want to help you—and themselves—get an Insta-worthy, post-able picture. Here in Portland, Oregon, there are one million beautiful locations for senior portraits, which makes taking senior pictures even more fun!
Here are 55 Tips for getting the most out of any portrait session, but specifically your senior photography sessions:


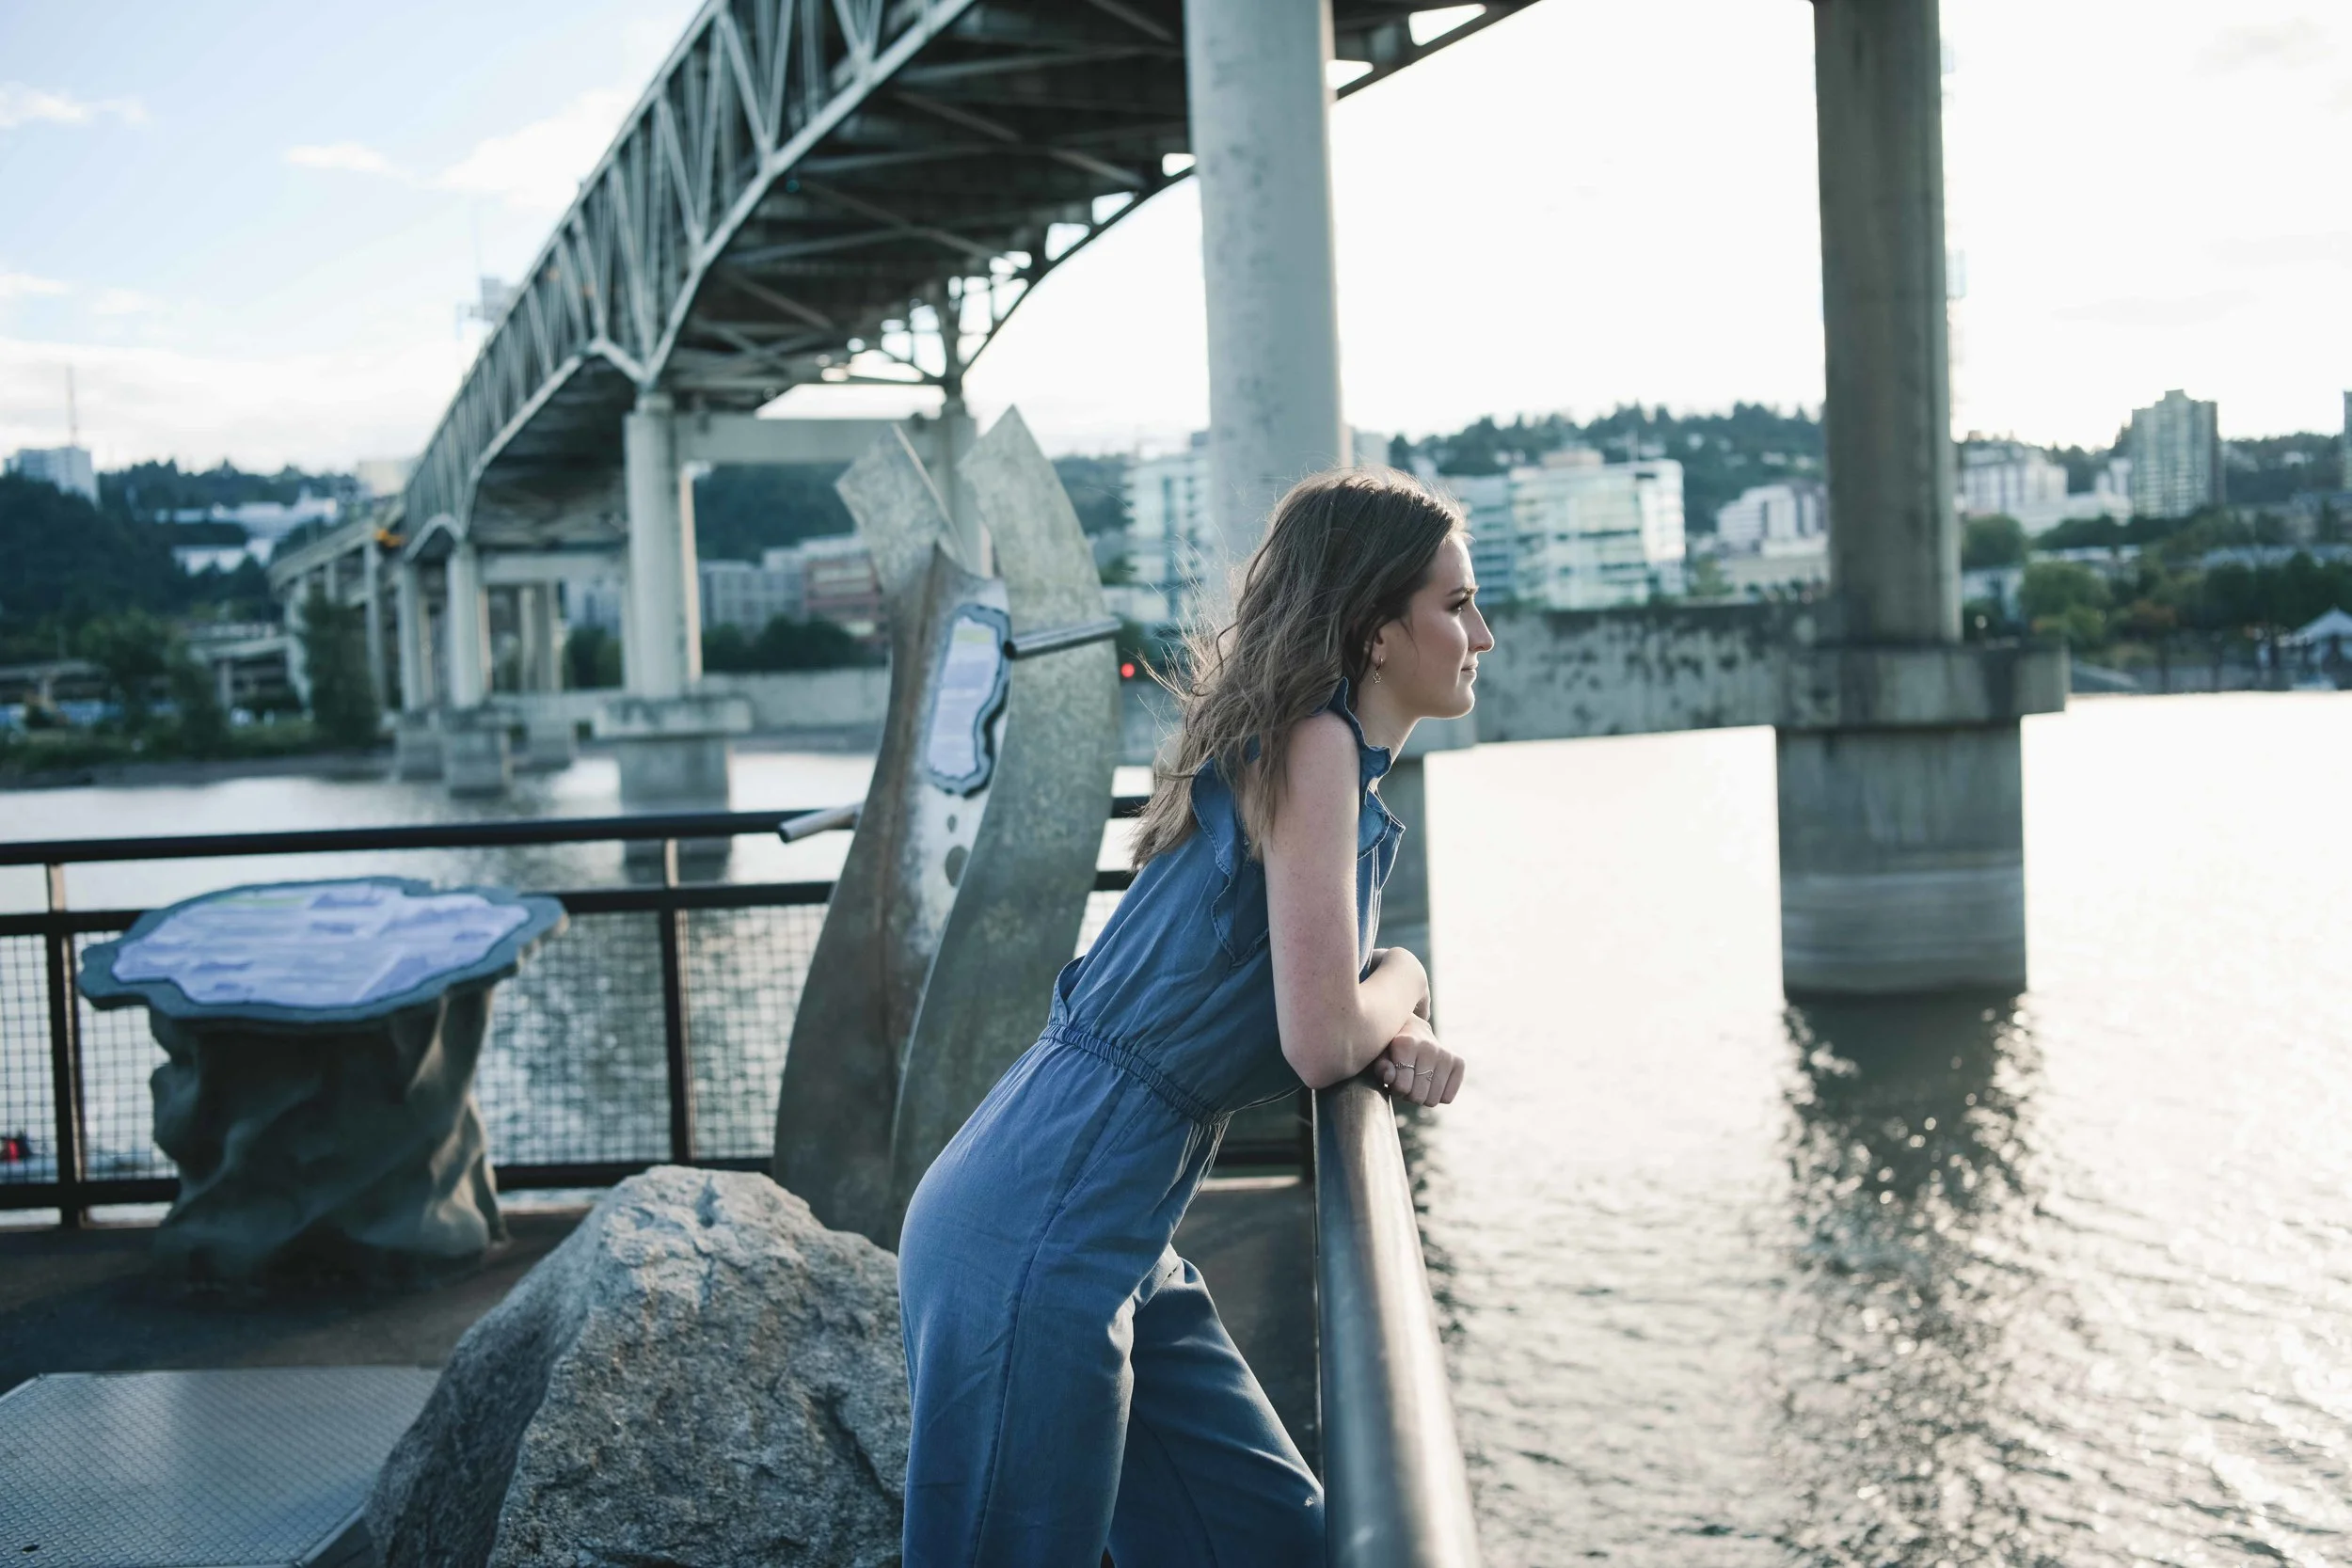

Look for structural elements in nature or architecture to draw the viewer's eye to your subject. Things like beams, staircases, walkways, paths, and the lines of a window or building all frame or lead your eye to your subject.
Use caution with your focal length when doing close-ups so you don't get a distorted image. Big noses, thighs, heads and hips are big no-nos for almost any photo session! The longer the length of your lens, the more compressed your background will be, which creates that soft, creamy background that everyone loves.
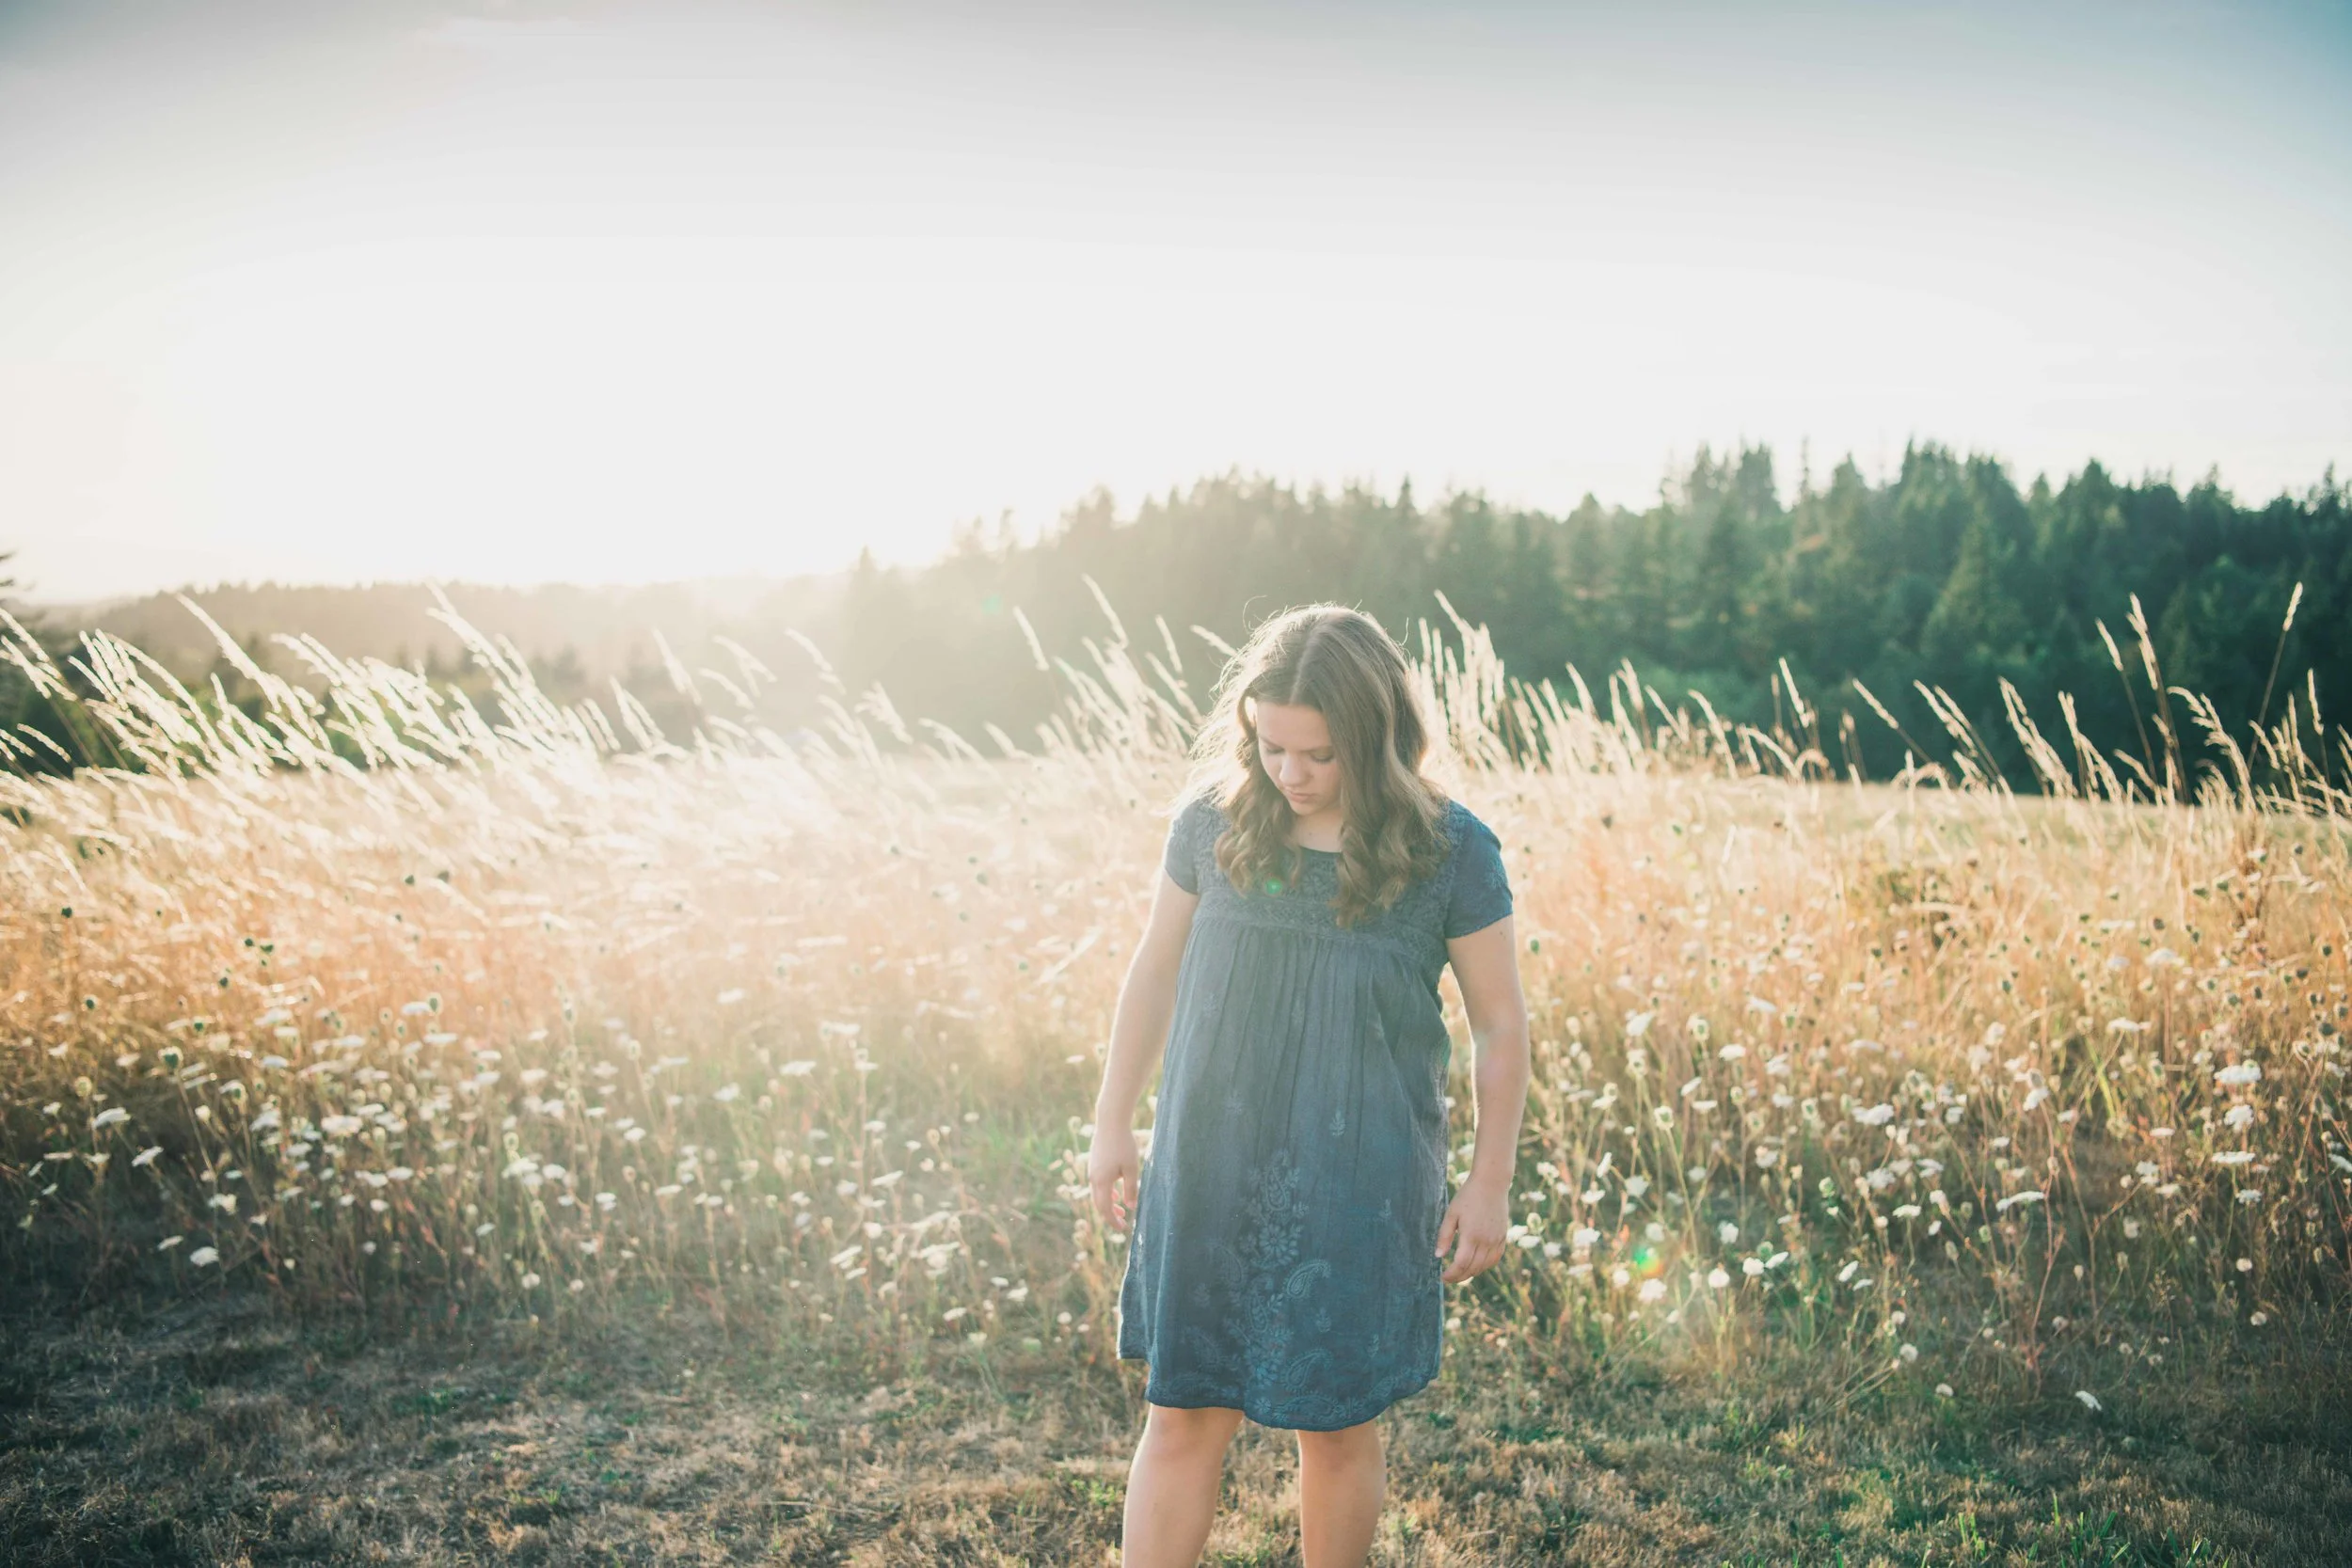
If the sun isn't helping your cause, find shade. The golden hour of sunlight can be your best friend, but harsh shadows can be difficult to work with. If you are struggling to get the perfect, crisp image, head to where the sun isn't directly on your client's face.
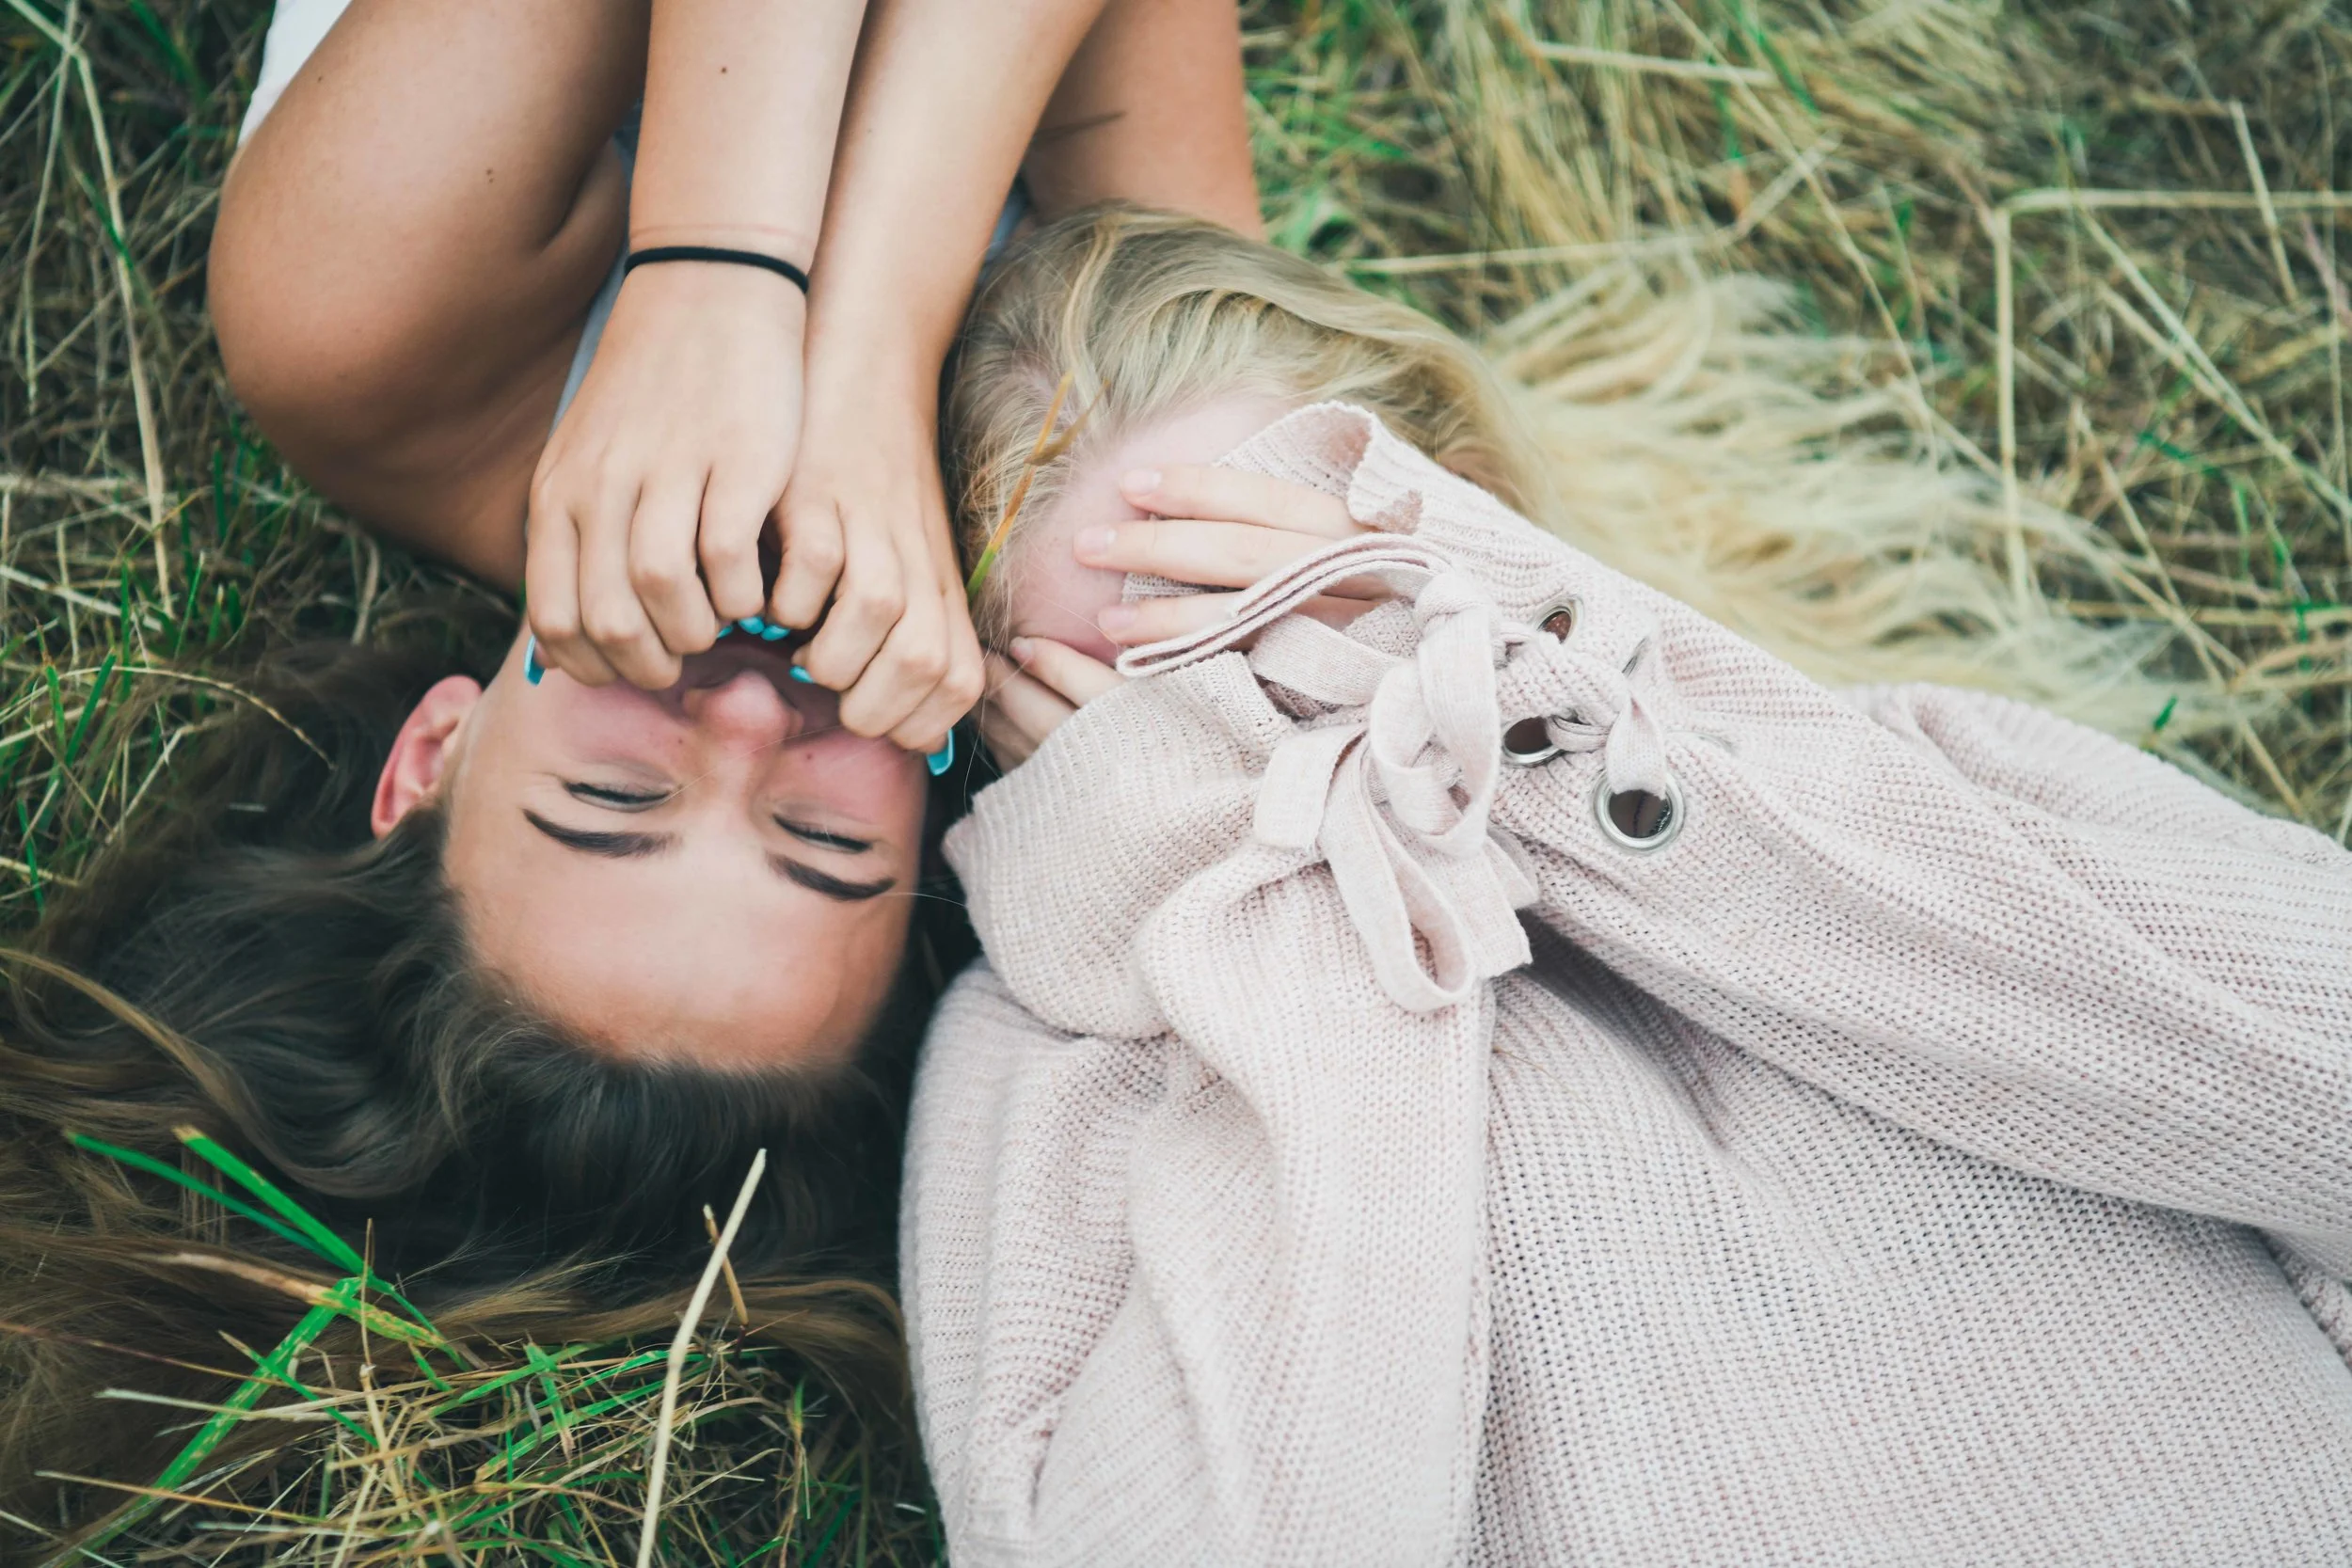
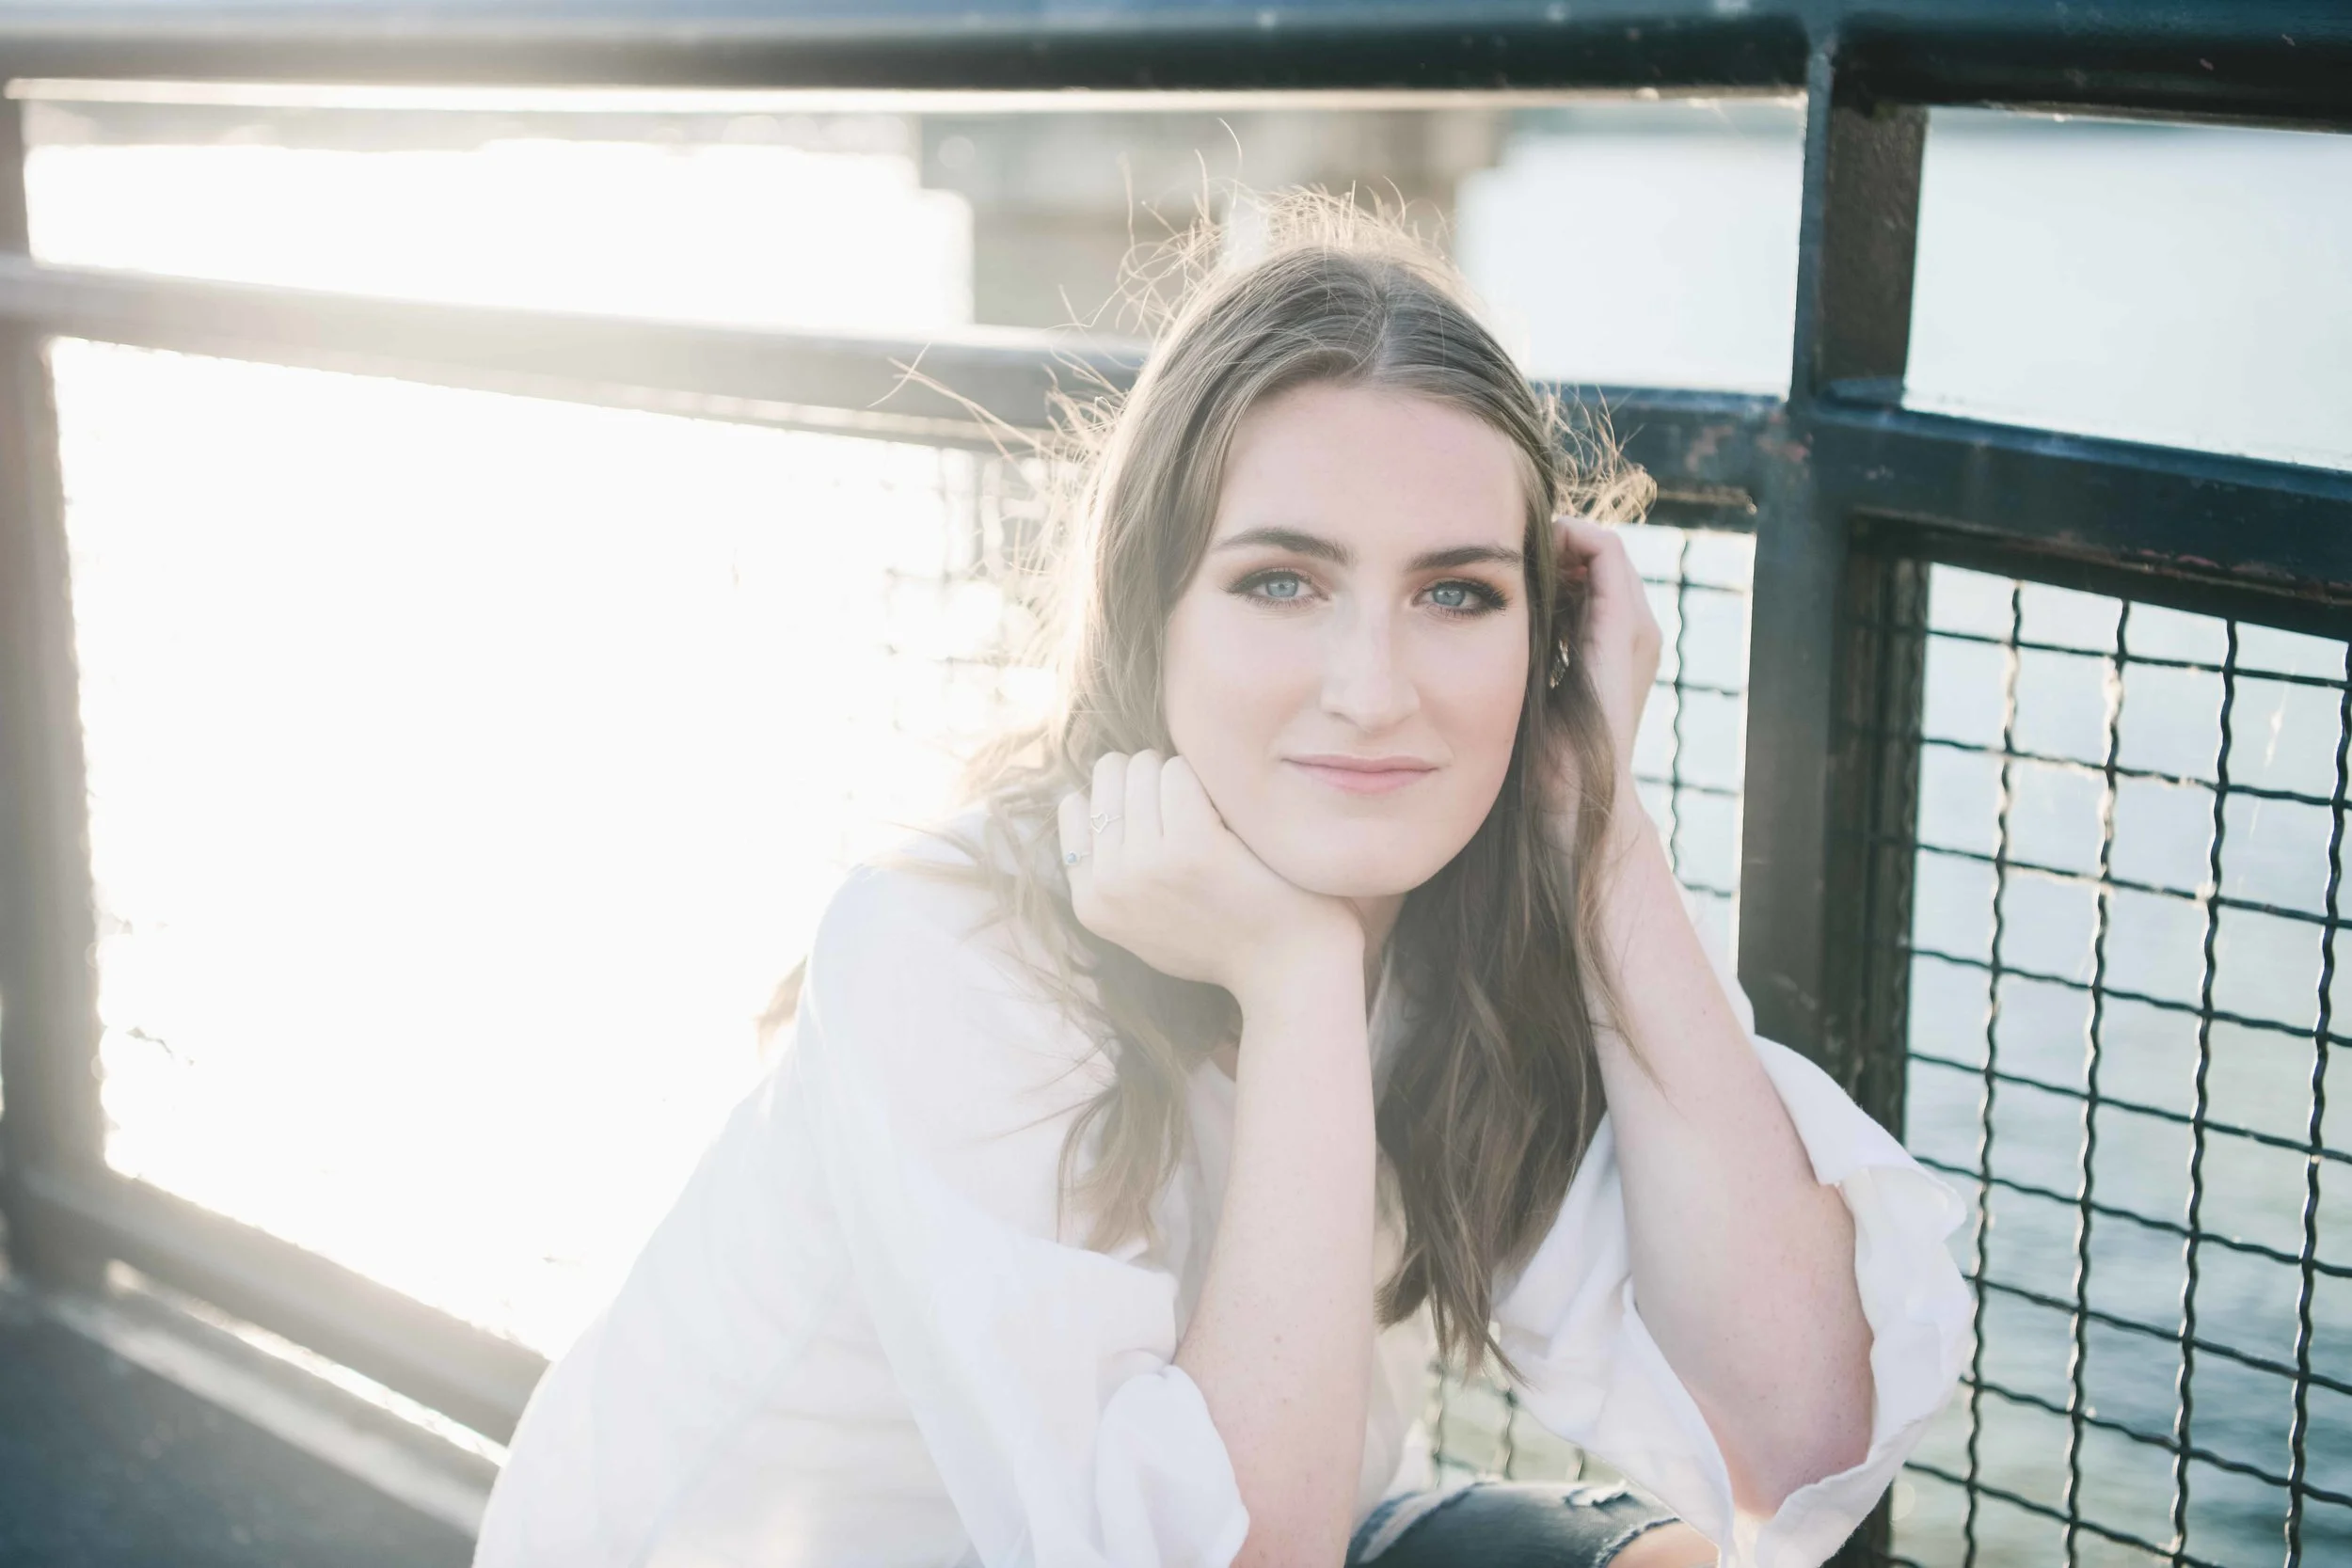
Wind can also be a distraction, but turn your subject towards the wind to encourage the hair to blow away from the face rather than straight into the eyes. Or have your model hold their hair back from their face with their hand to get a more authentic and casual candid shot.
Posing is critical for getting the most flattering images. Avoid stiff and awkward poses. Lindsay Adler teaches some excellent posing classes on Creative Live and has a fantastic book on Amazon with 5-star reviews. The following tips involve posing suggestions I have learned from Lindsay, other courses and my own experience.
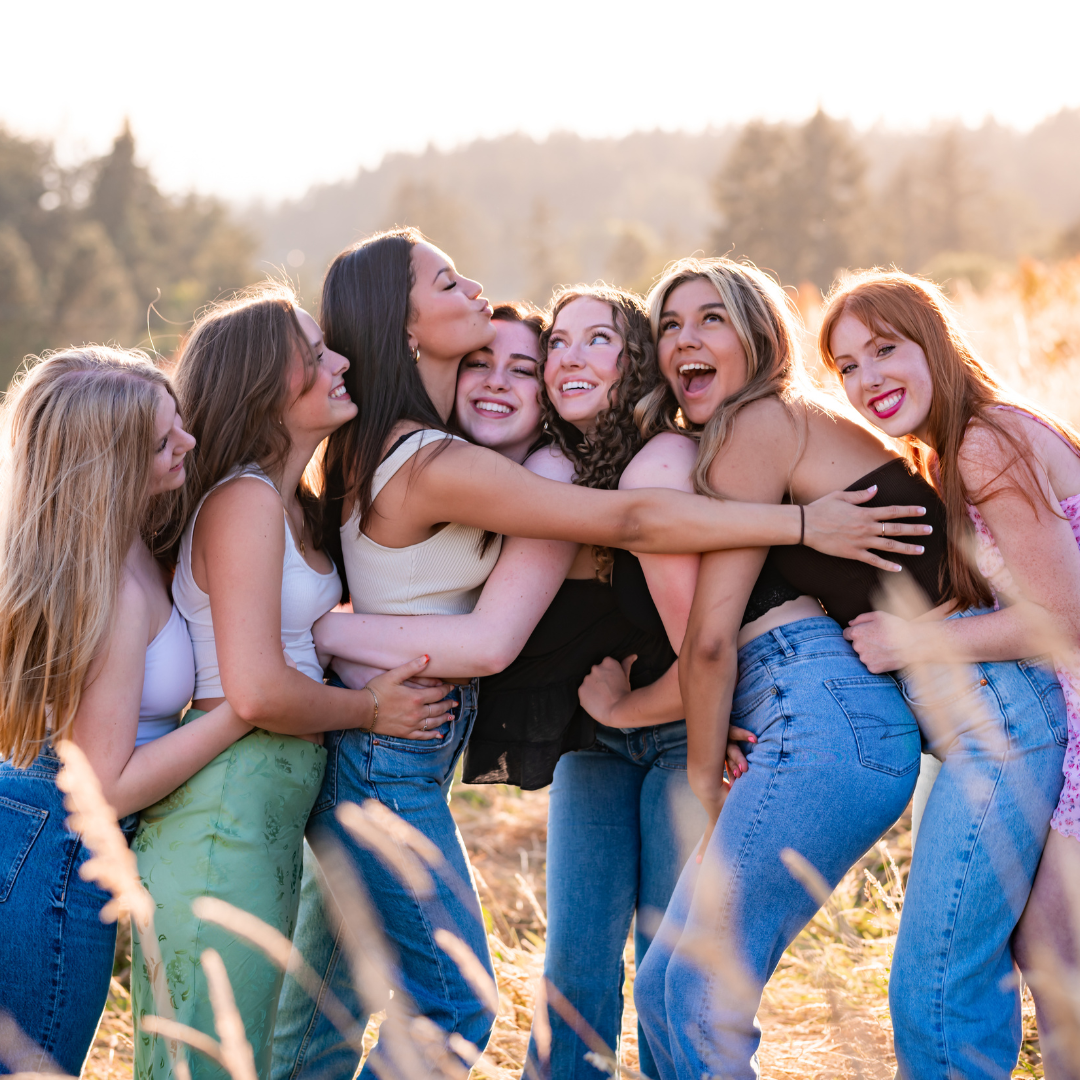
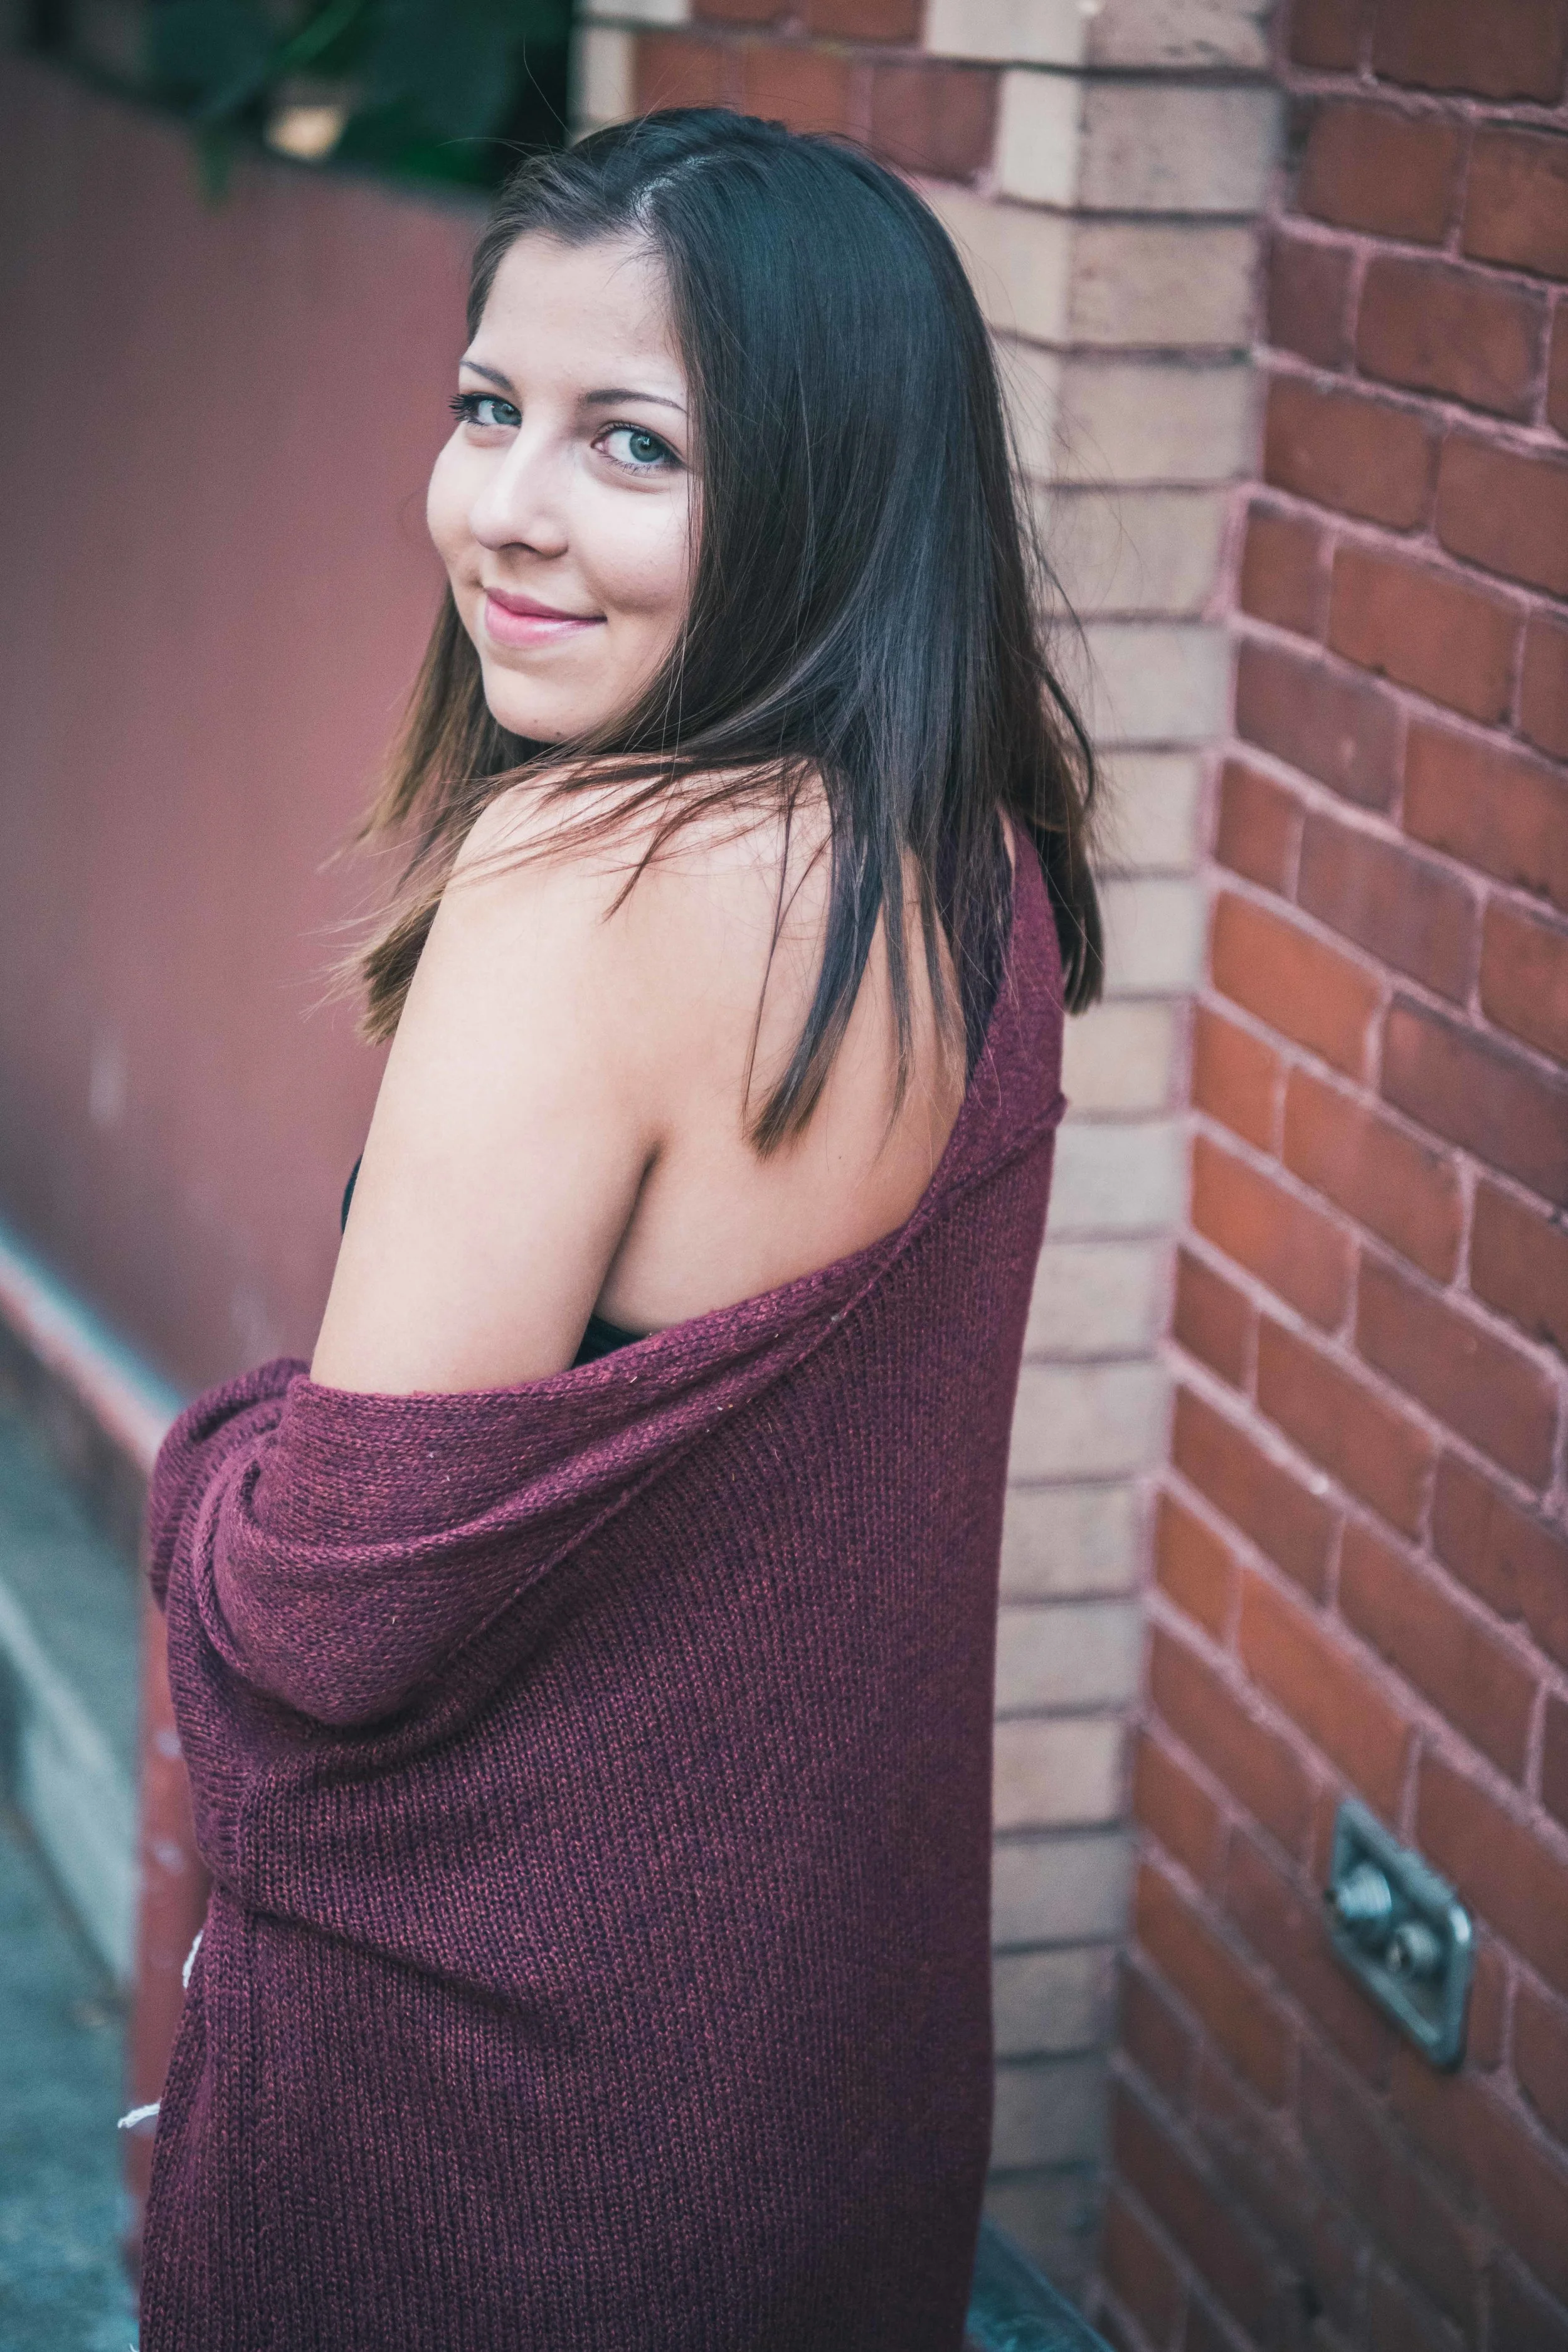
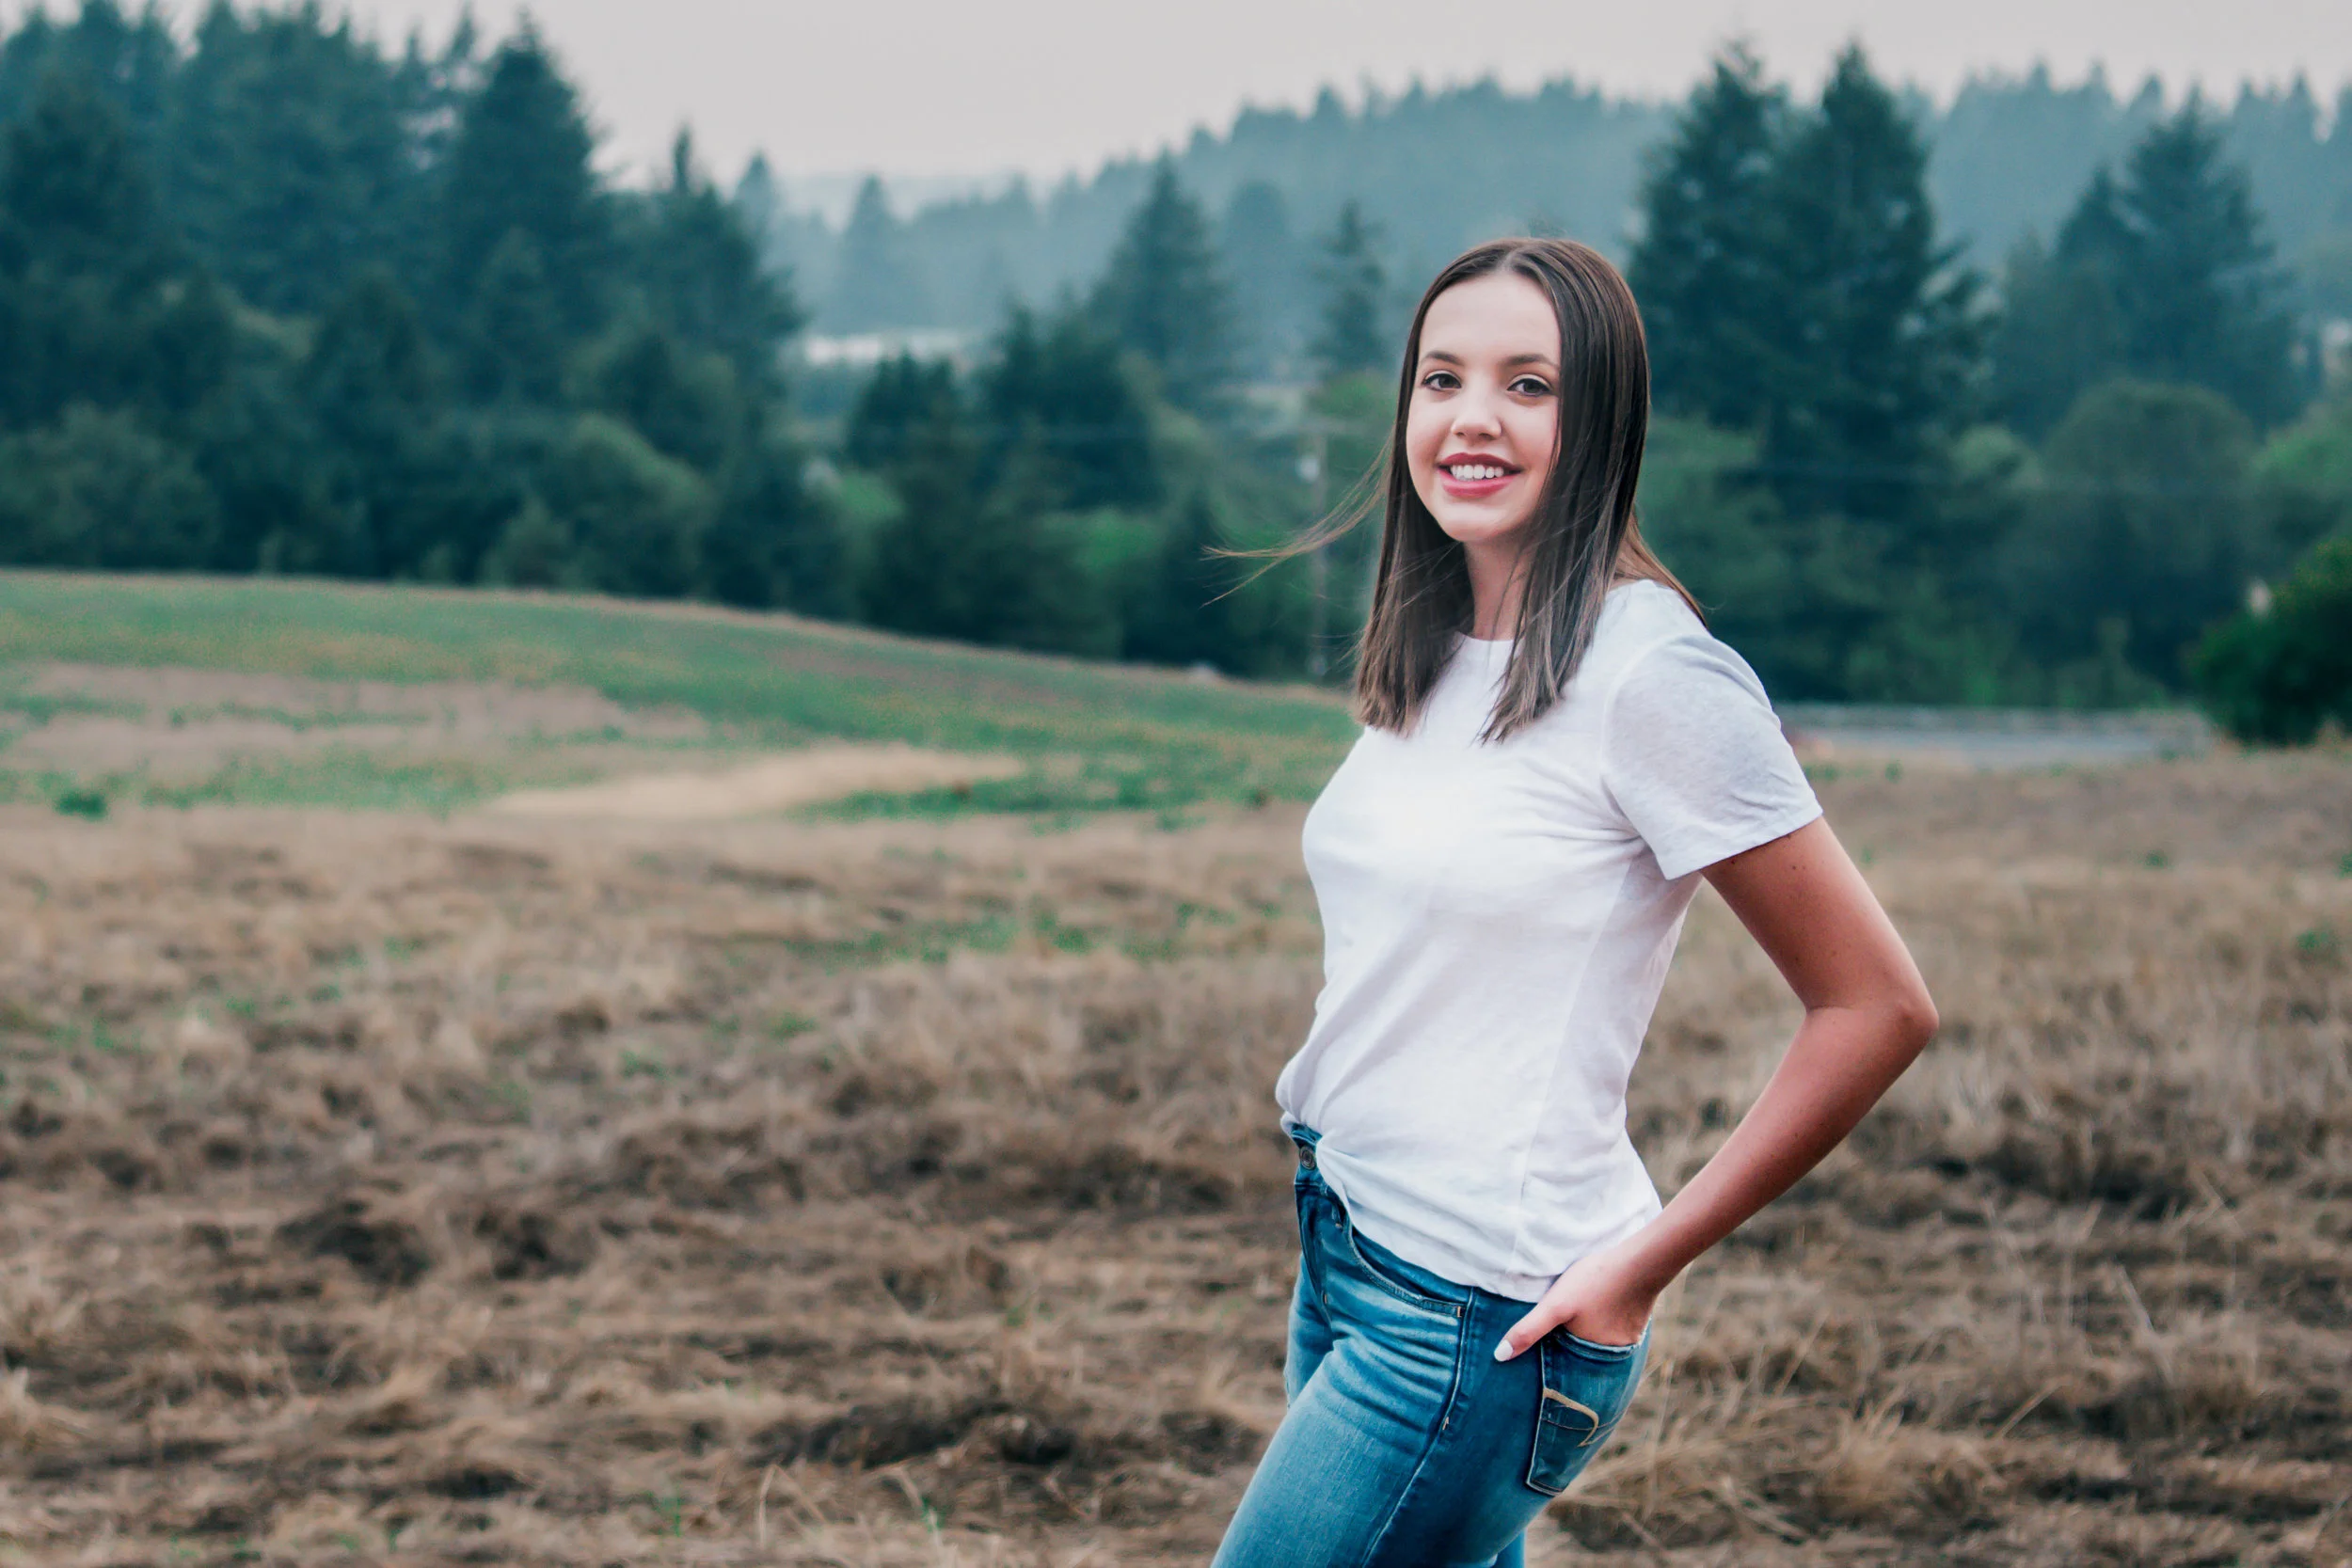
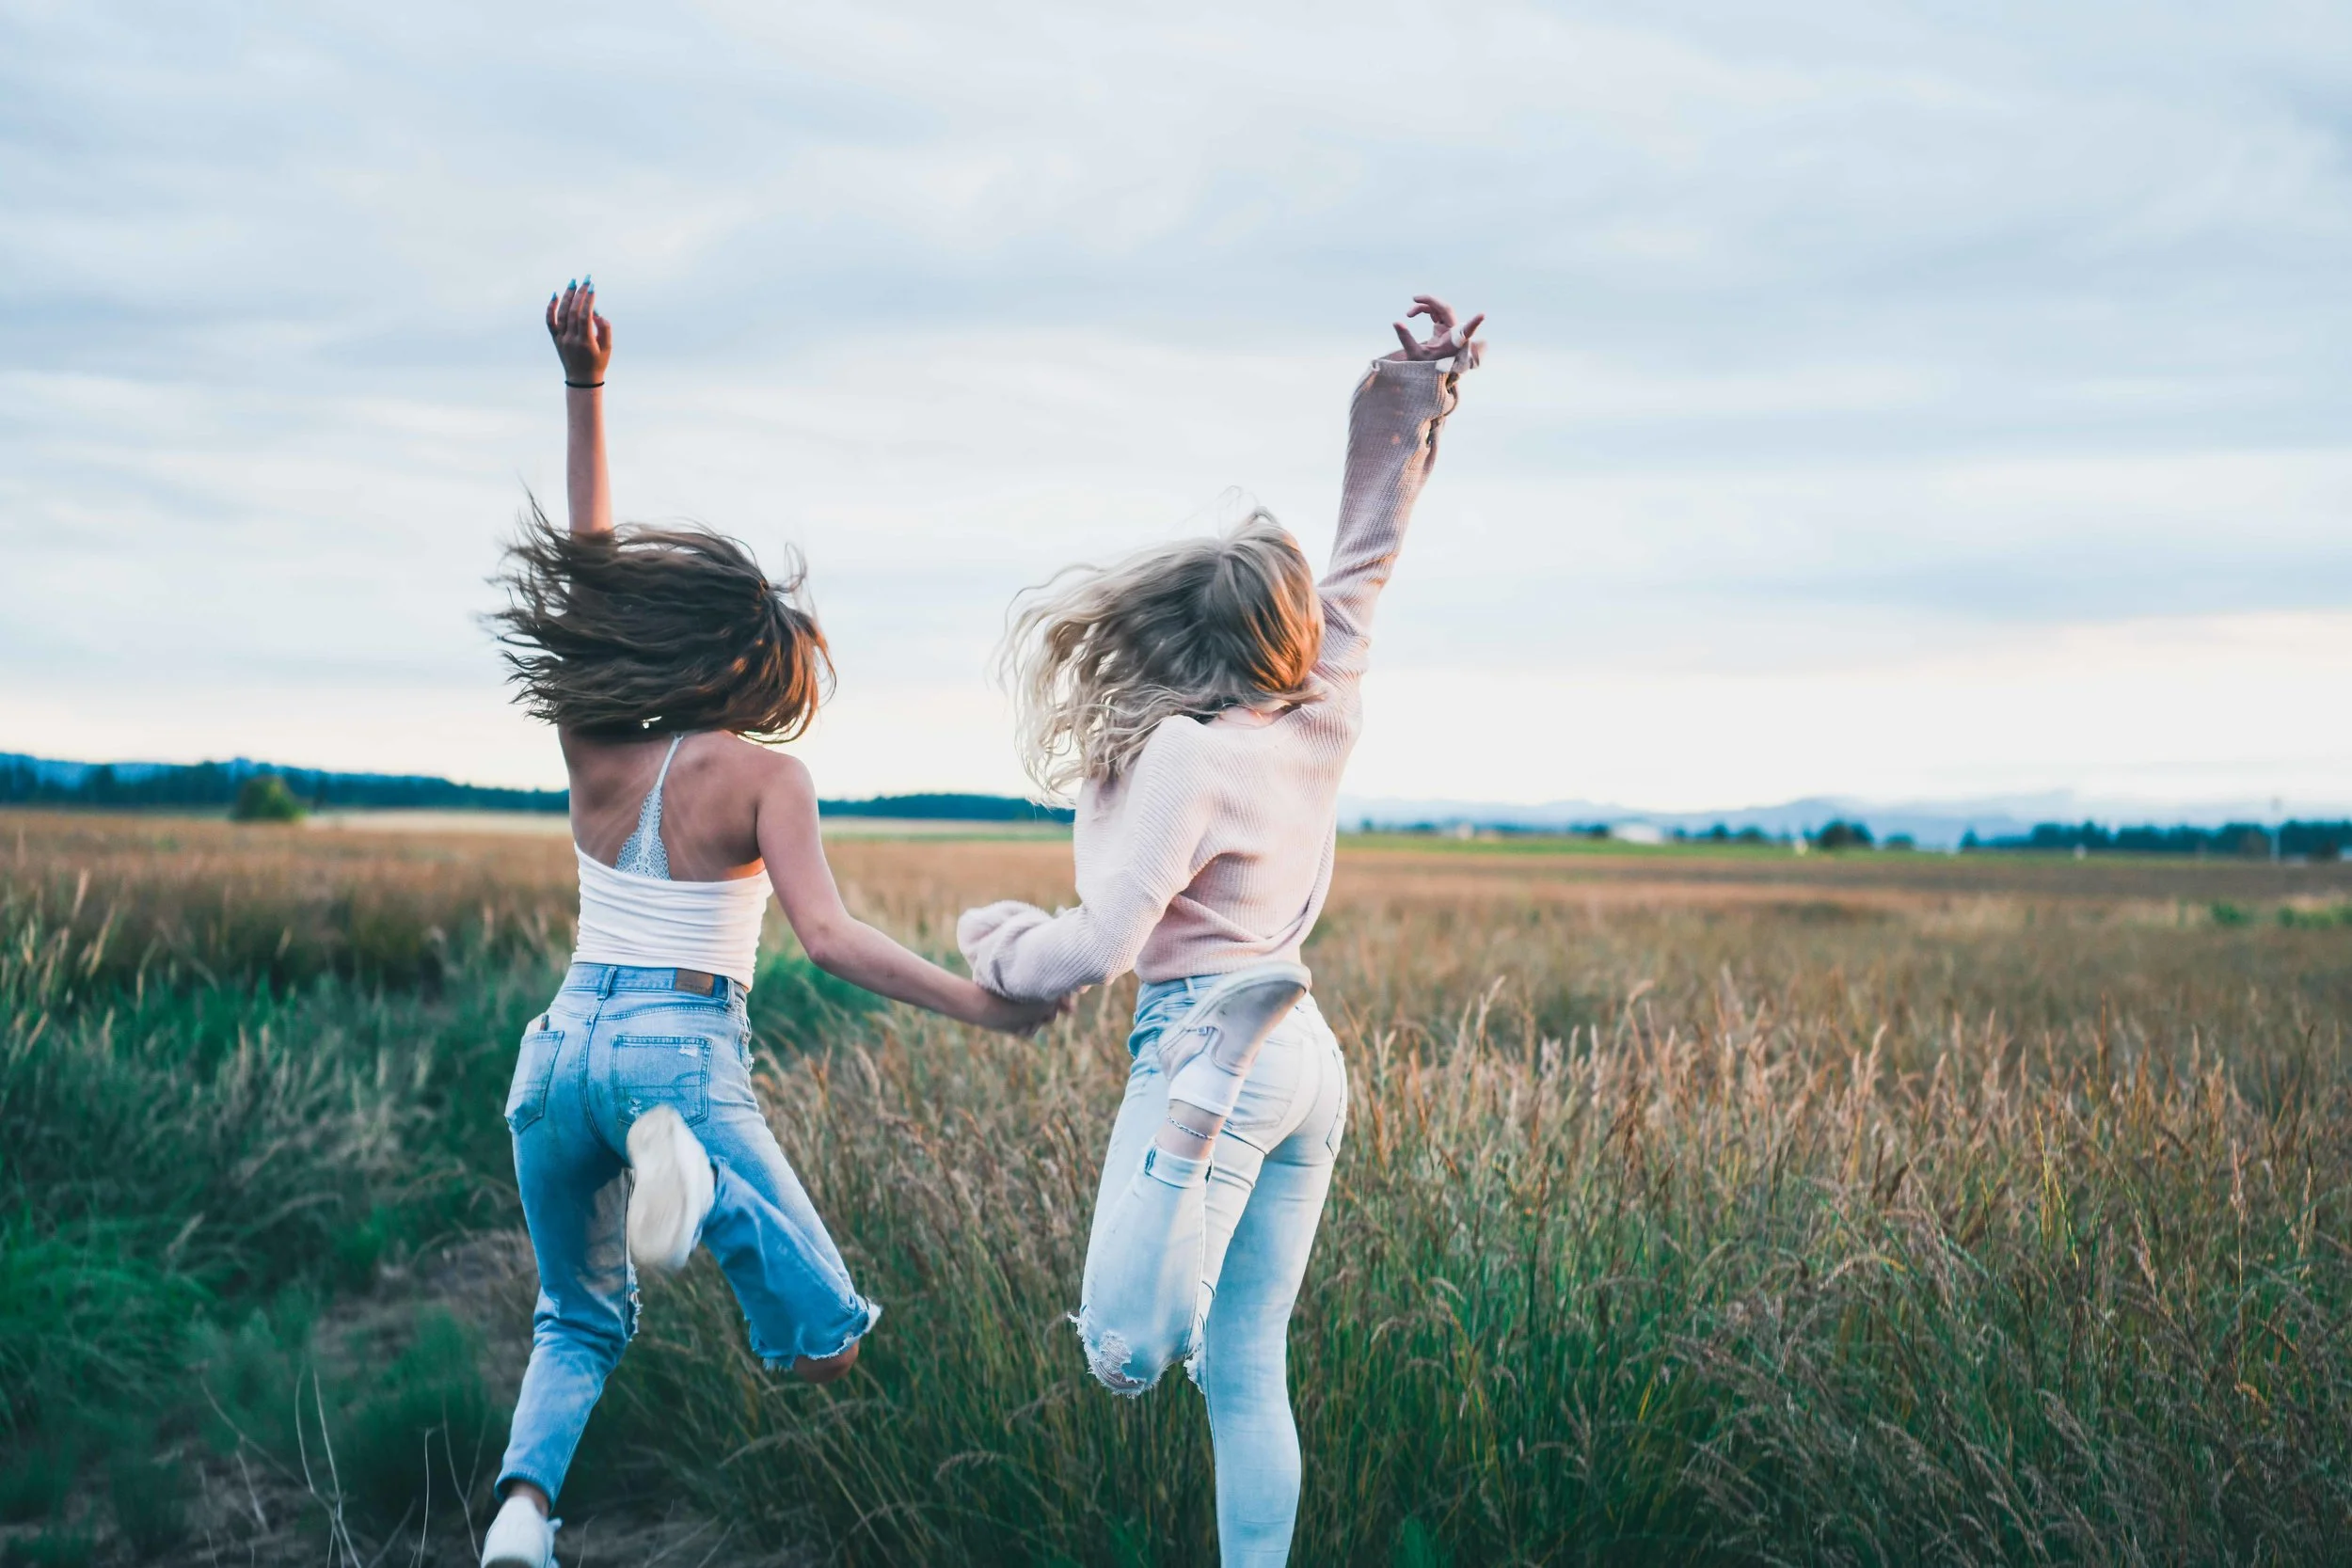
Avoid shooting straight on. It is almost always more flattering if the body is angled and arms, legs, hips, etc., are bent, turned or arched. The more movement and soft curves you can create, the more flattering the pose.
Crossed feet and legs will usually adjust the height of the hips and give you more curves and angles, is flattering for girls and helps boys look less stiff and awkward.
Be mindful of limbs. A slight bend at the elbows and knees in every pose will make the image look more natural. Direct your subjects to balance their weight more on one side than the other since that is how we naturally stand. The concept of "pop a knee" for posing came from this idea of bent limbs and balance shifting.
Give the model something to do with their arms and hands. Stiff arms look awkward and unflattering. Avoid arms falling straight down at their sides. This makes arms appear larger and creates a static appearance. Position arms on hips, up against a wall or fence, overhead, in pockets, or anything that shows movement.
Be sure to pay attention to posture. People tend to slouch when they are comfortable. While you want your senior to look comfortable, you don't want them to look slouched.
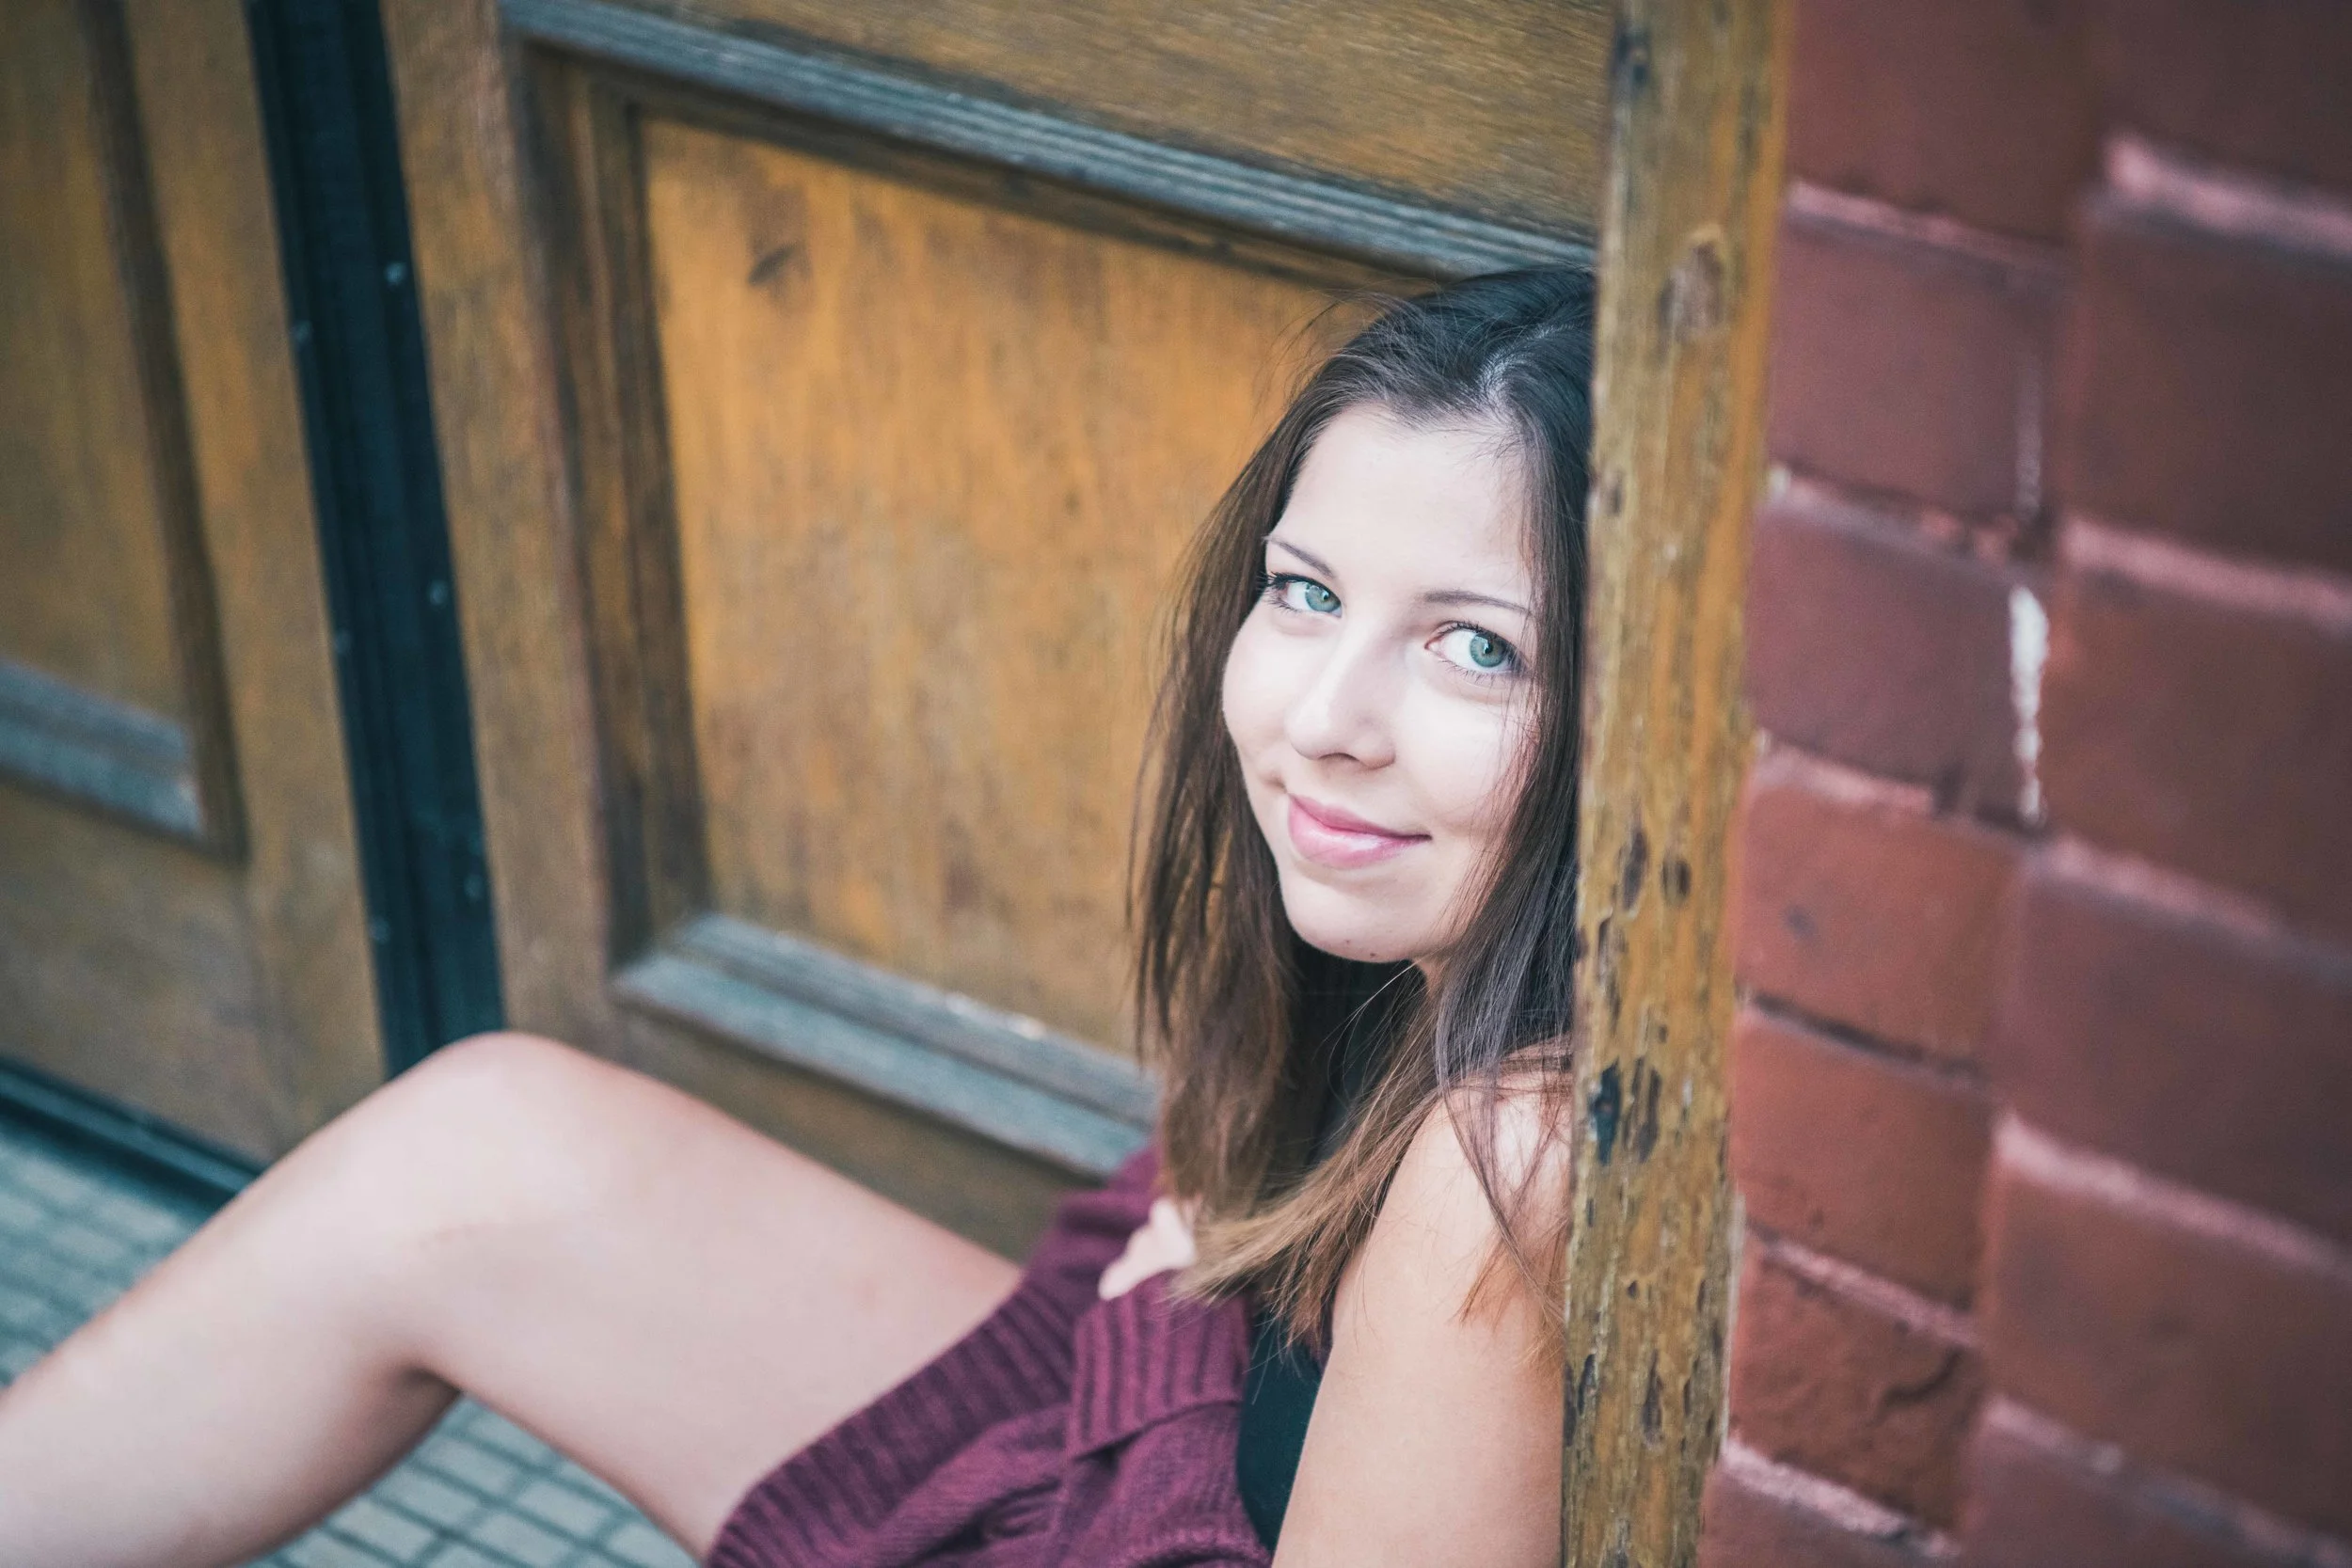
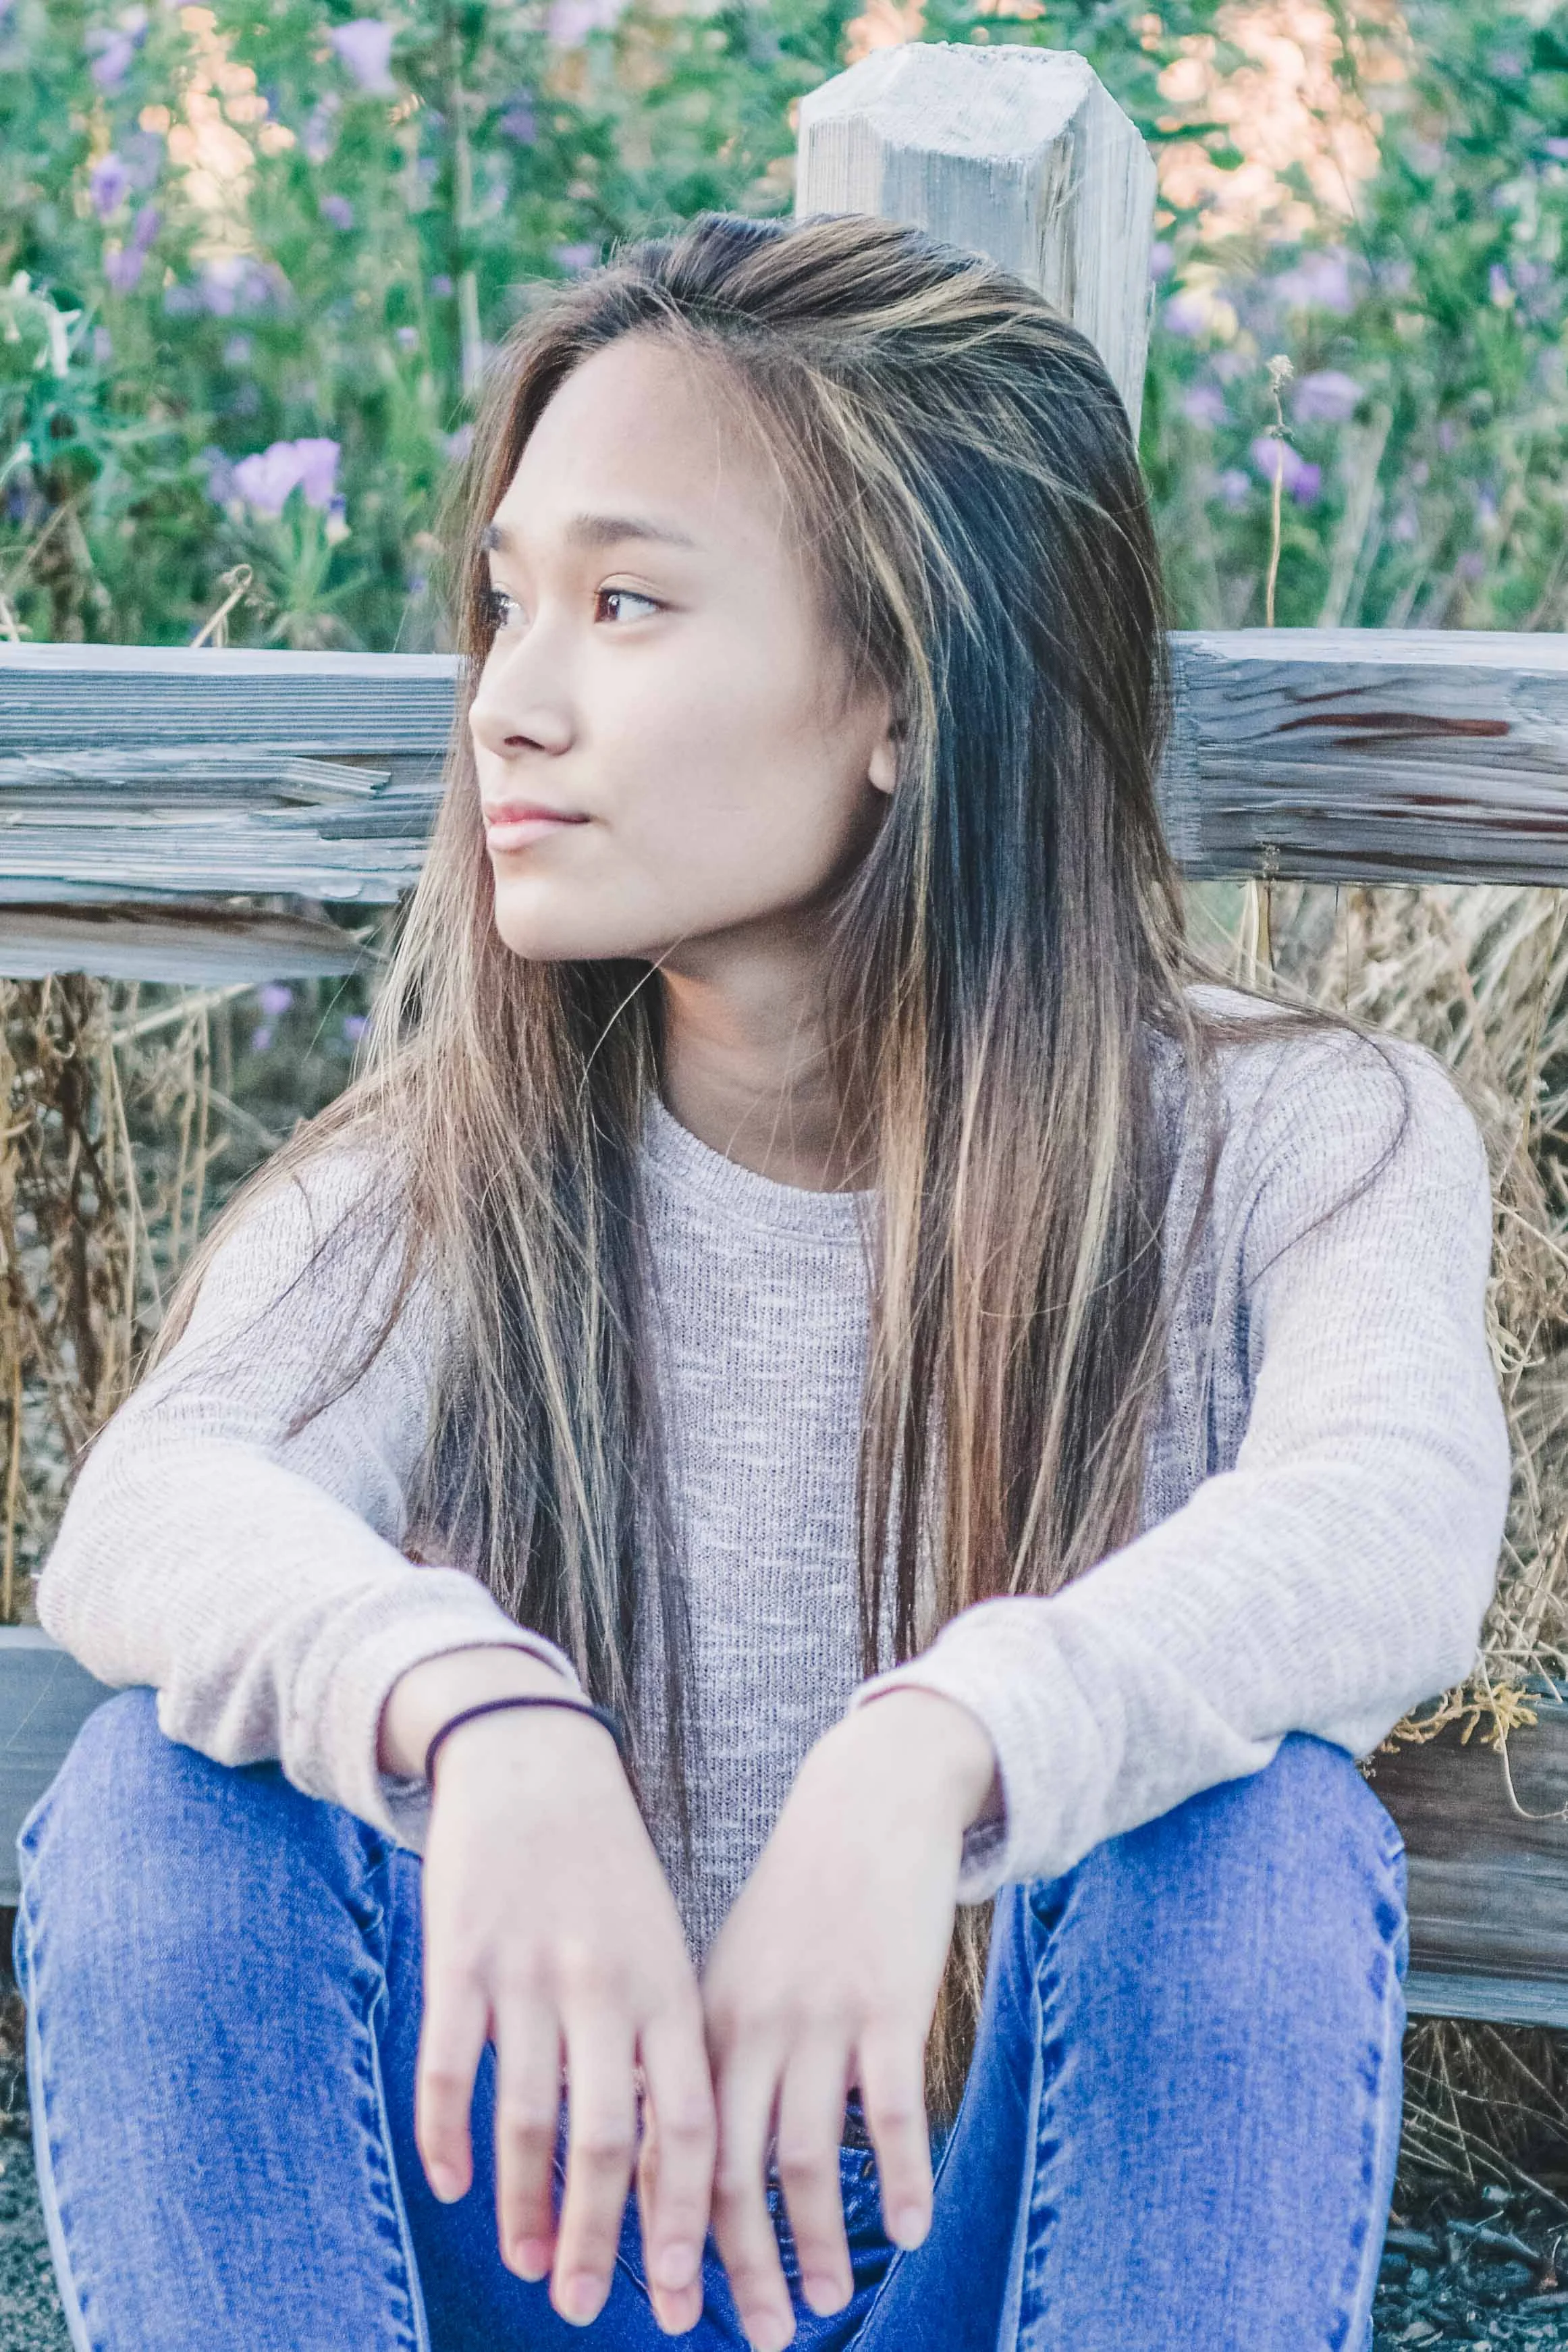
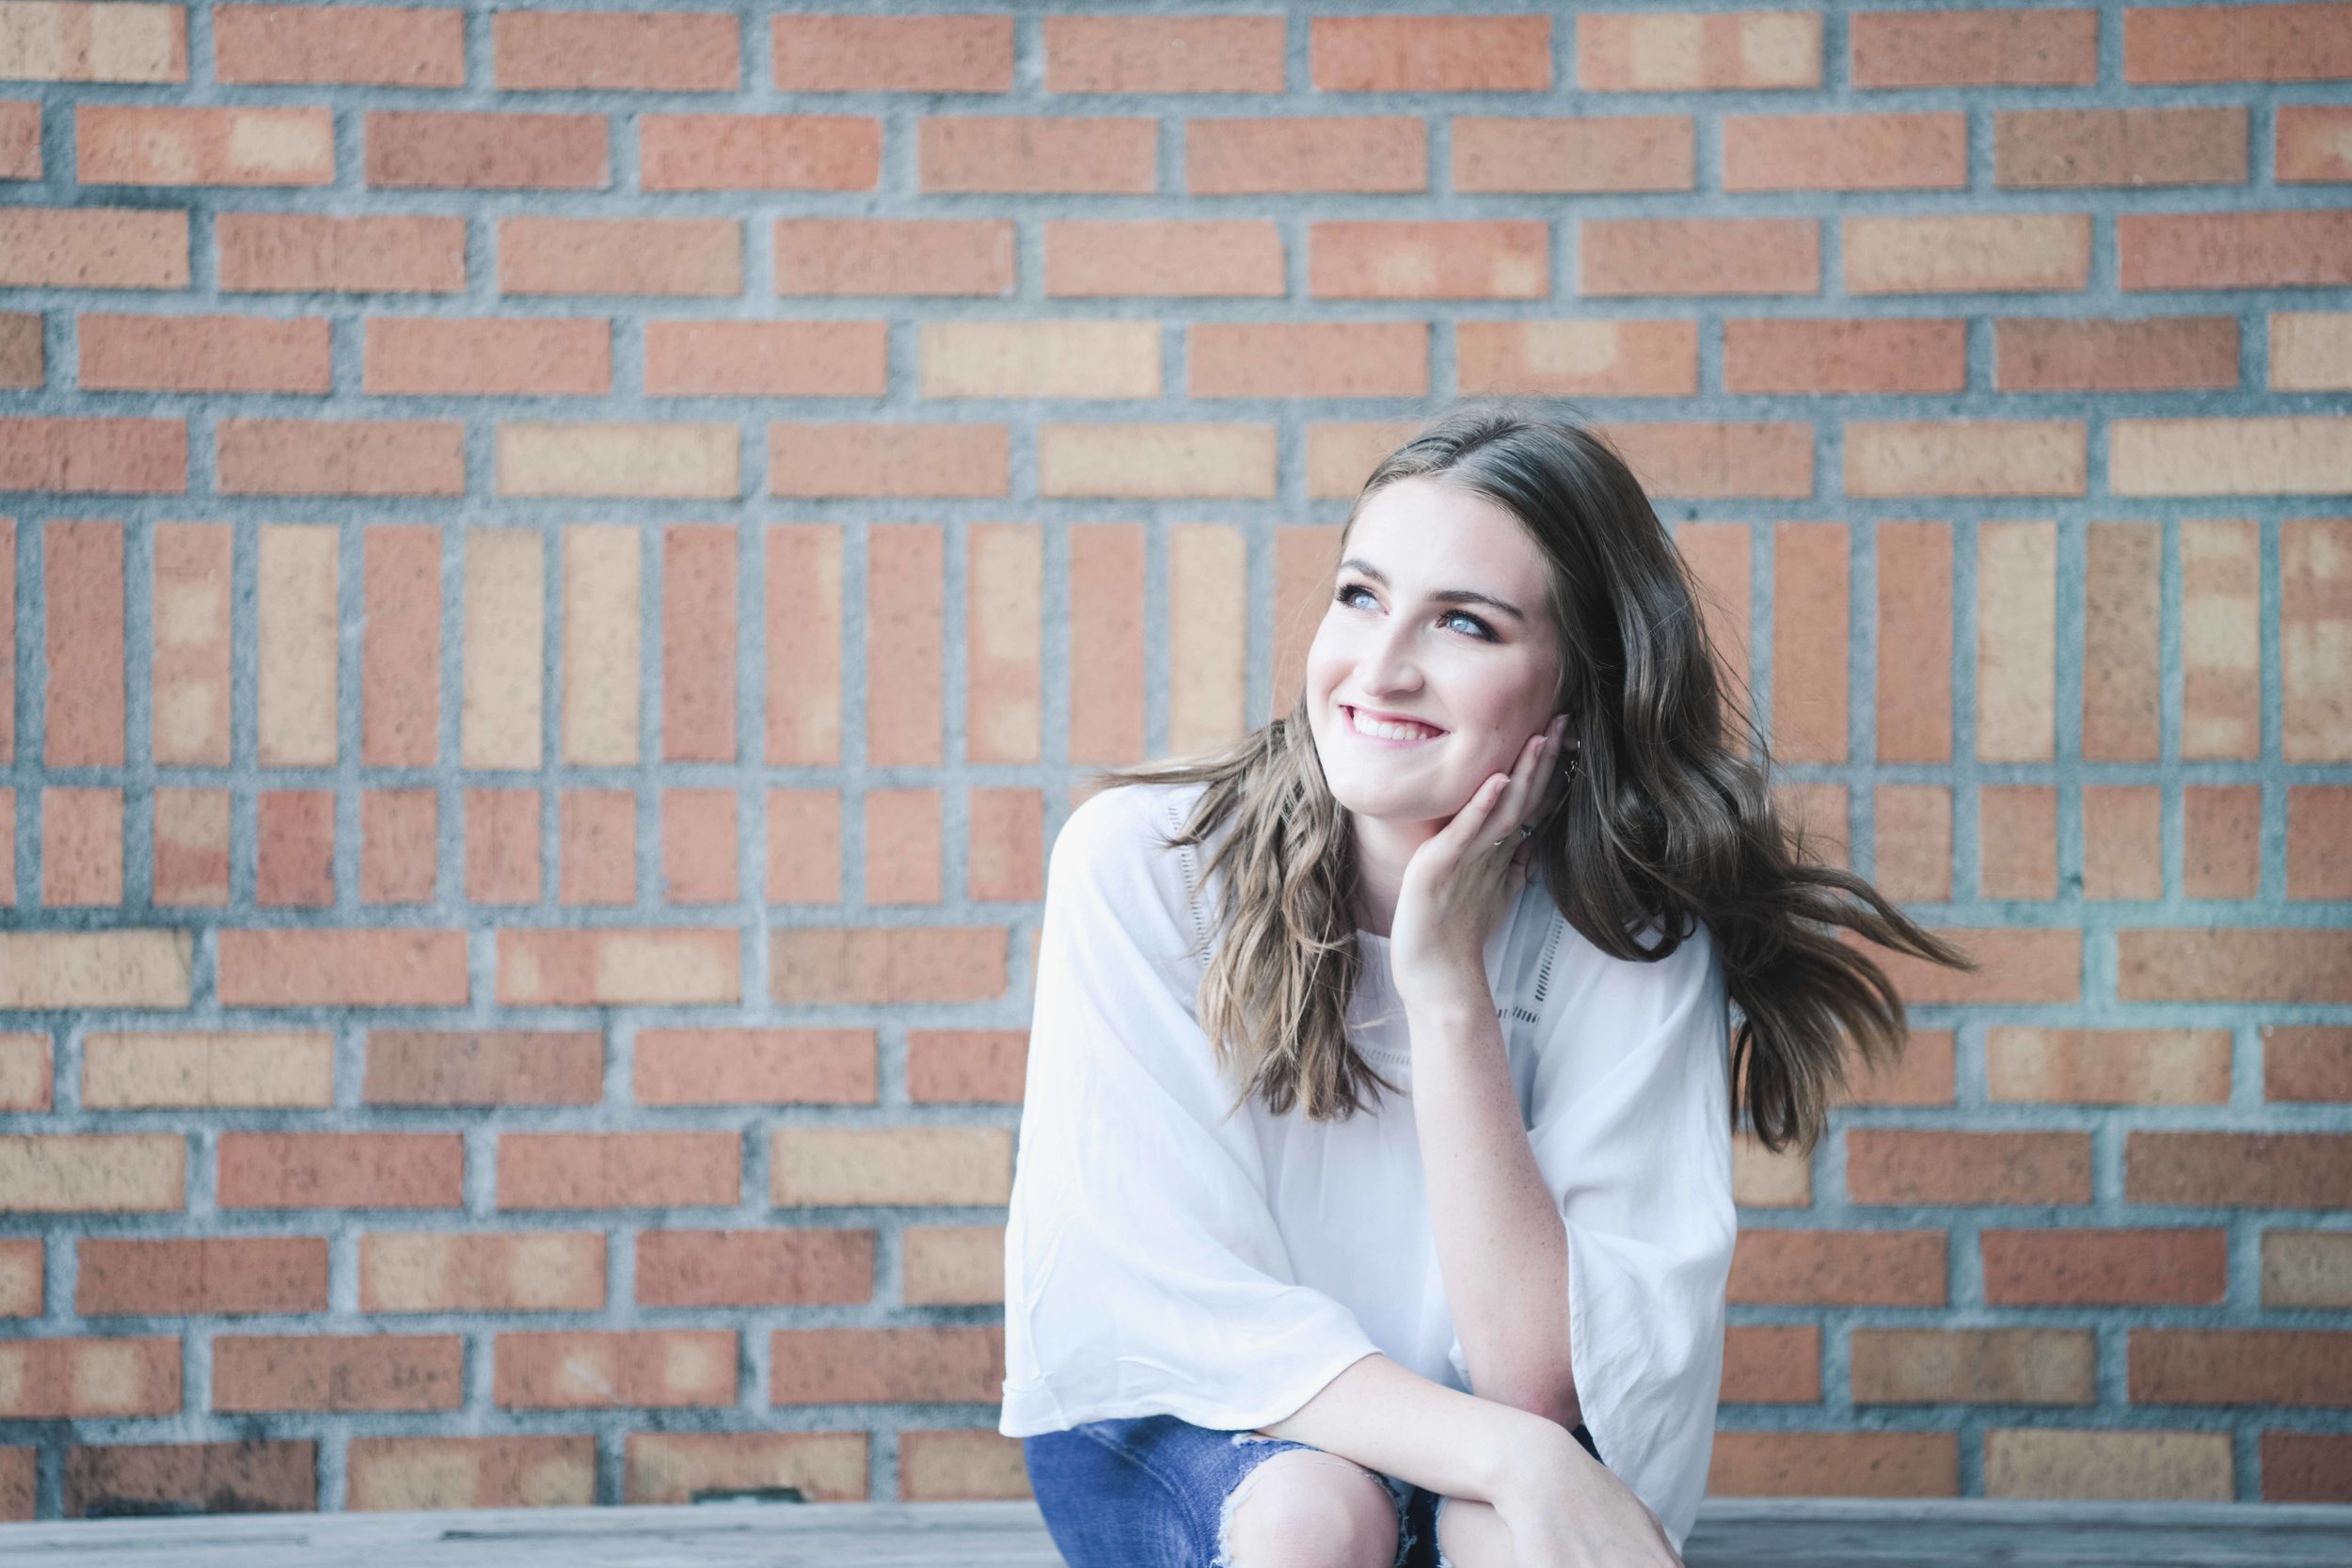
If you like a particular pose, try to change it by having your subject look a different direction, off to the side, down, or up, all can give very different looks to the same pose. Also, adjust your position to the subject. Move to different sides, and adjust your position to shoot down or up to get the most out of every pose.
When posing girls in a sitting position, show movement in their legs. You want to avoid having their legs appear stuck together, especially at a side angle. Have one or both legs bent at the knees, at differing heights, to show more fluidity in the pose.
Shooting at a slight downward angle, particularly for close-ups, helps to slim your subject's face. It helps to reduce or hide double chins and is a flattering angle for almost everyone. Just make sure you watch for distortion from your lens length and remember to shake things up, so the angle isn't identical in all of your poses.
Avoid shooting heavier people straight on. It's typically not flattering, even for thin people. Even a slight turn of the hips creates a much more natural look.
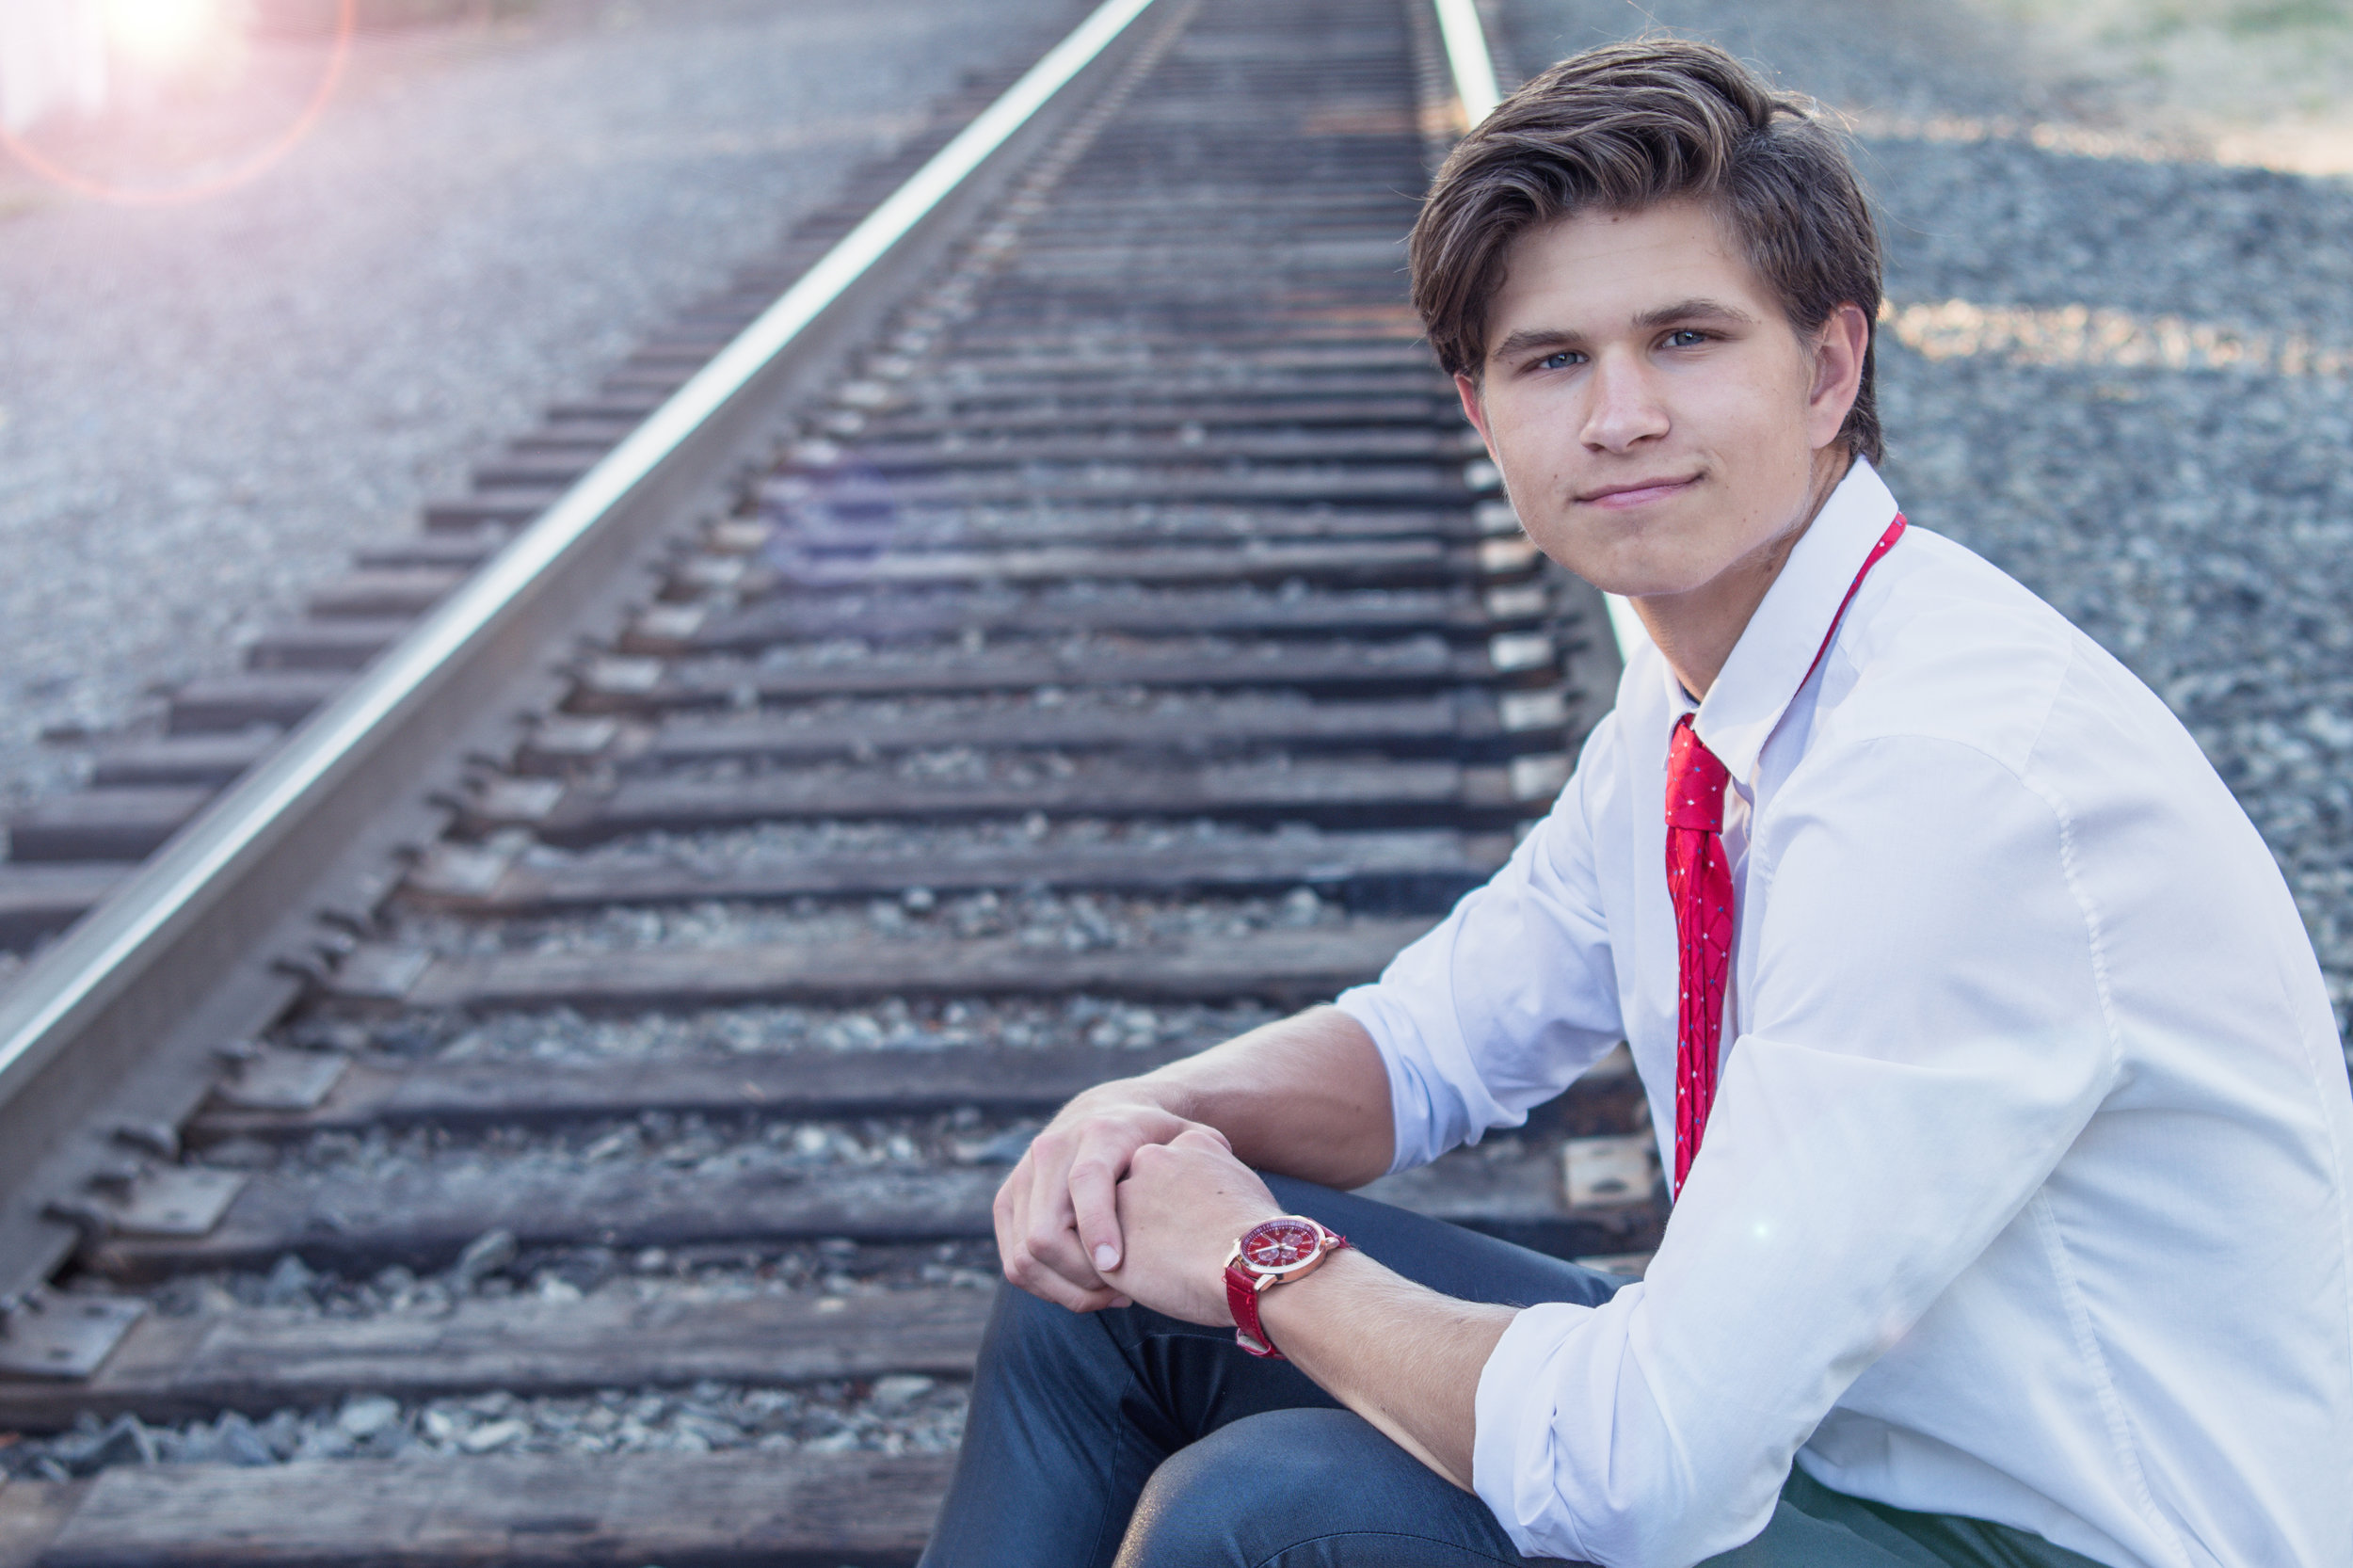
For guys, you want to help position them to make them look strong and confident in their images. Folding arms across the chest, squatting in some variation of the catcher's position, and hands in pockets or belt loops are all great ways of positioning. For more tips on posing senior boys, see these posts here, here, and here.
Watch the fingers! Everyone tends to ball their hands into fists or have straight, stiff, uncomfortable-looking fingers. Remind them to relax.
One of the most helpful things you can do to improve your posing ideas is to create a journal. I use Pinterest, my portfolio favorites, or print and cut out poses I am drawn to in magazines and put them in a 3-ring binder.
Talk to the teens like they are real human beings. This age is really fun, and they can be great to talk to if you give them time to open up. Try to keep them from doing stiff posed smiles and catch some images of them looking and talking to a parent without the whole "cheese" grin.
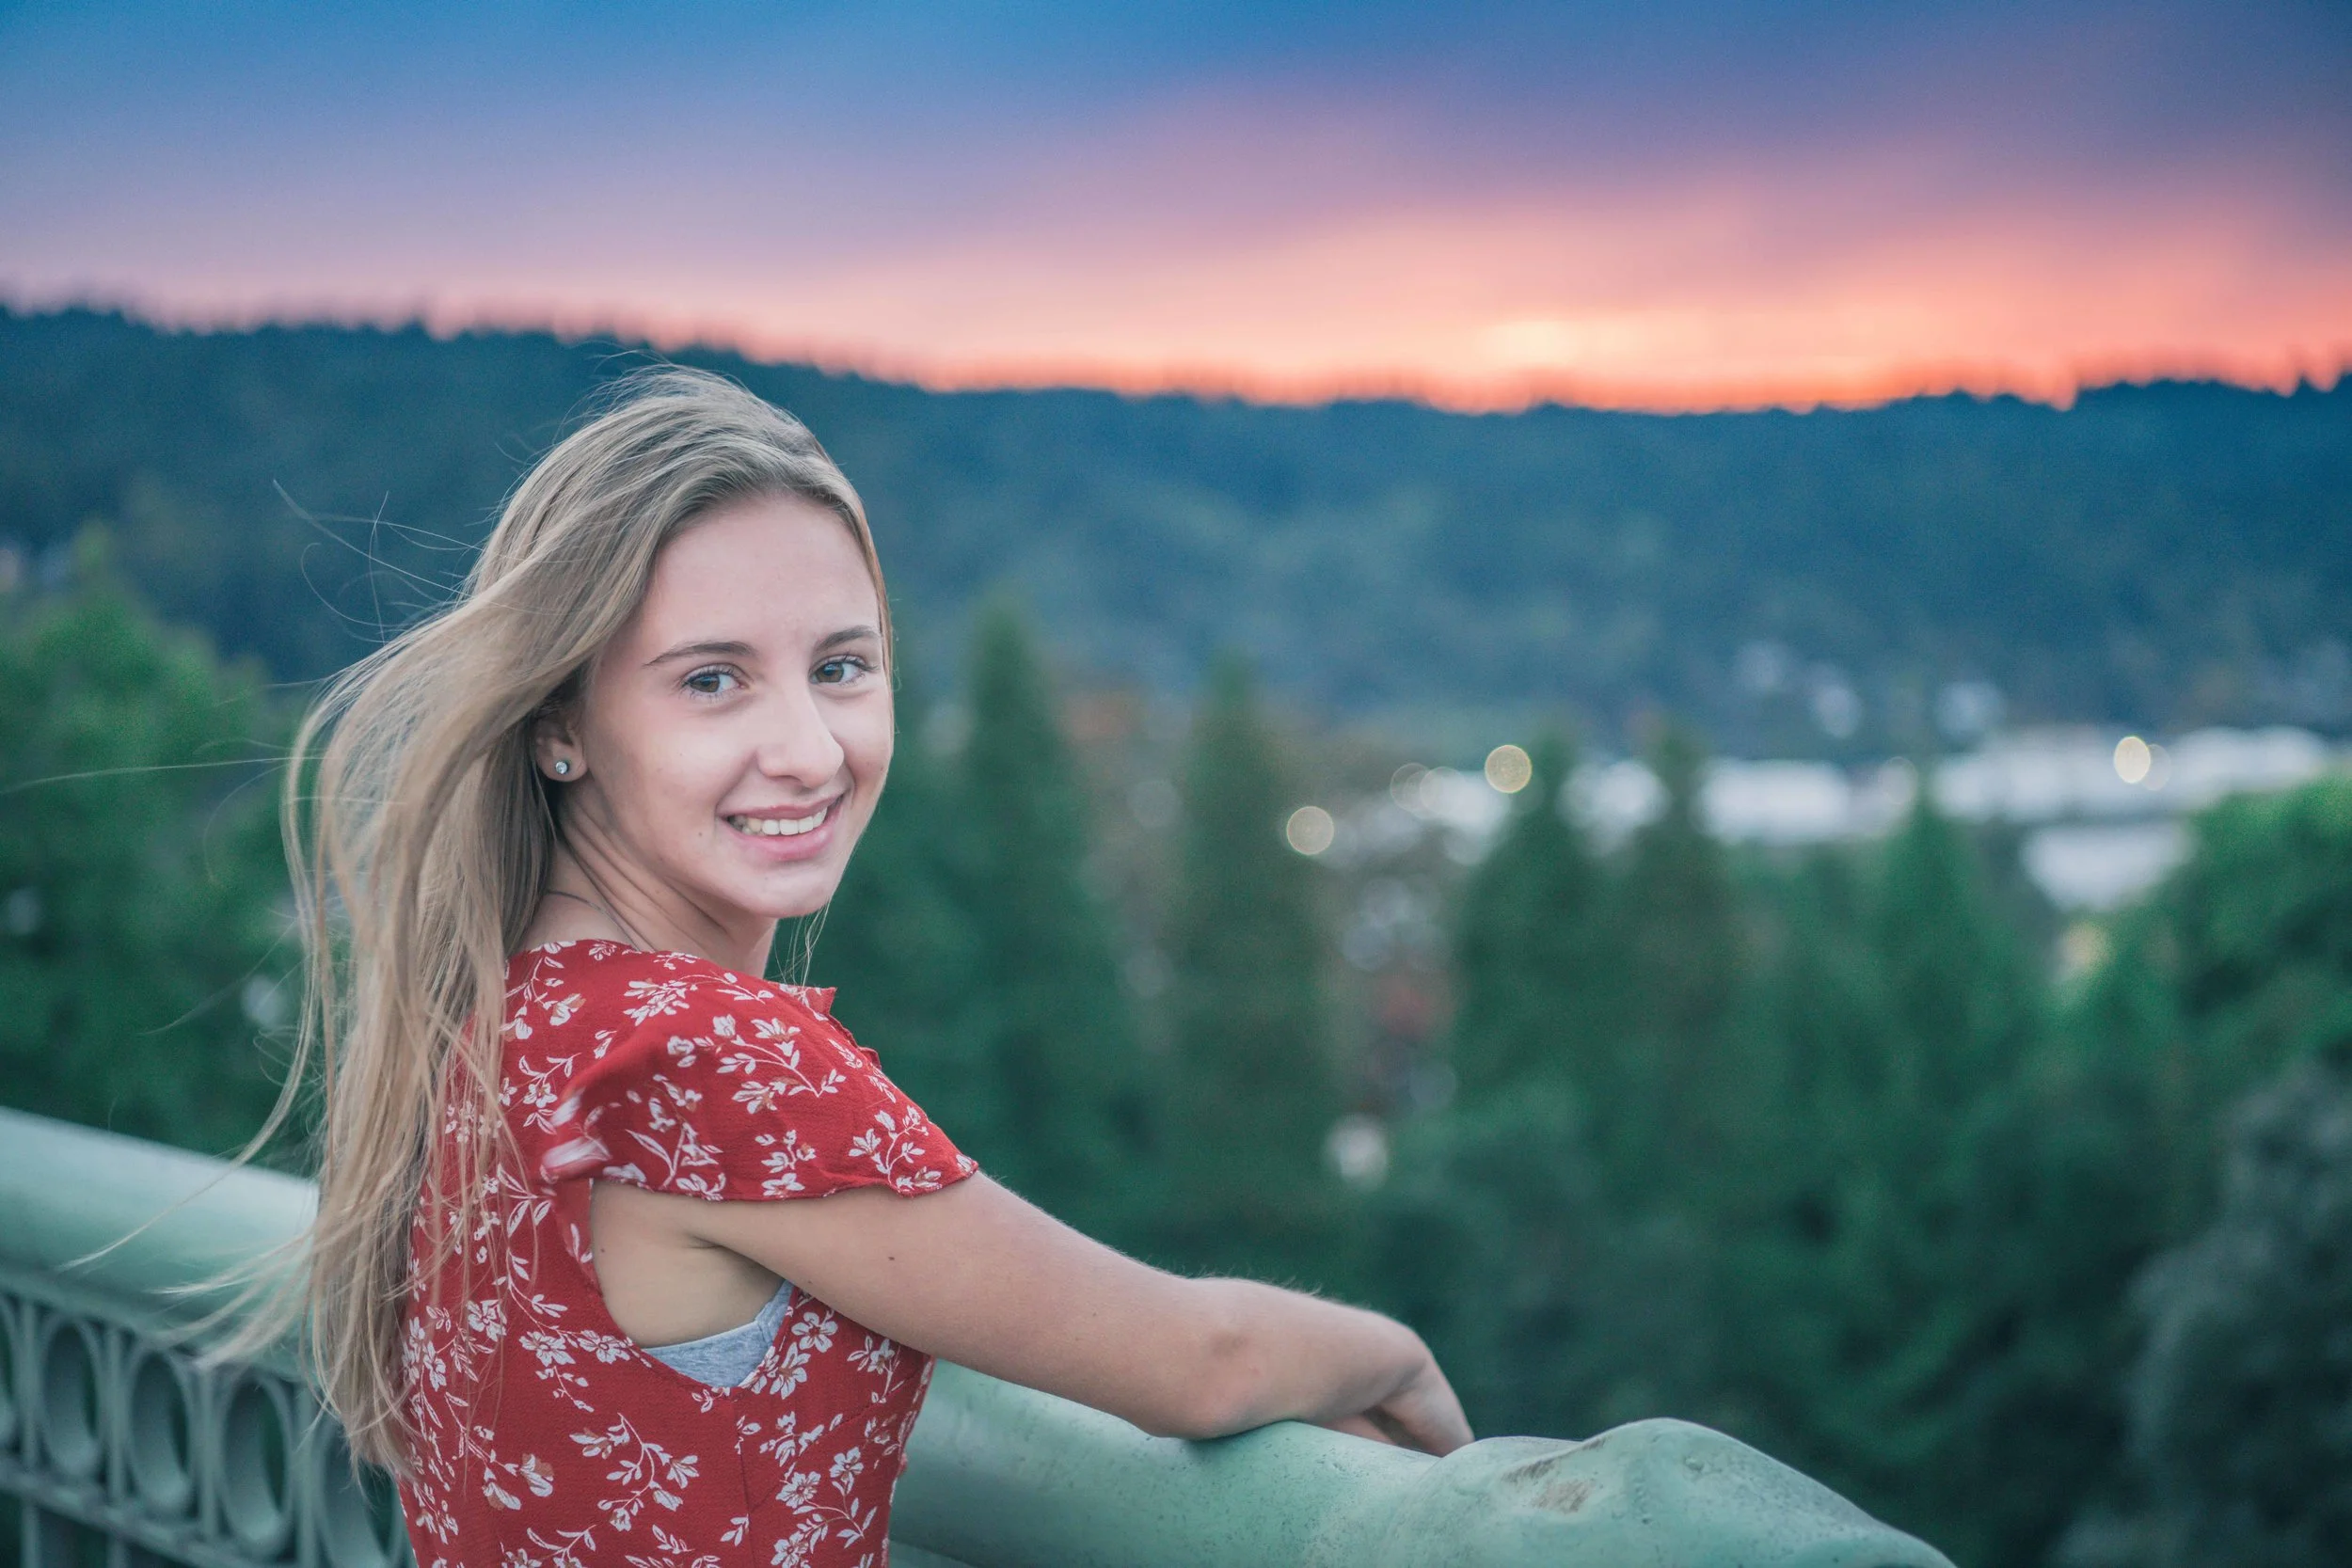
Sun flare. Who doesn't love a little sun flare? It creates an ethereal look to images; seniors love a few unique photos for their social media feeds.
Reflectors. A soft look with minimal shadows under the eyes looks great on everyone. I often get mom to help or even have the model hold the reflector under their face to get that soft glow. I usually use the silver side of my reflector for the best results.
Great light is simply looking for the best spot to photograph within your location. Look for the light in their eyes and move yourself or your subject until you get the look you want. I like to get to new locations a half hour early to find the best spots and meter for the image, so I am well prepared and know what I want to do and where before the session even starts.
Pay attention to the direction of light and find a background in your scene that is darker in tonality than your subjects. You will instantly create an environment where your subject is the brightest part of the image. Try and make sure your subject is at least as bright as the brightest part of your image. All natural light, even open shade, has a direction to it. Once you find that direction, you can use it to light your subject's face, specifically the eyes. To determine the direction of light, put your hand in front of your face. Pay attention to the grooves between your fingers. Watch how the light changes as you turn your hand left and right.
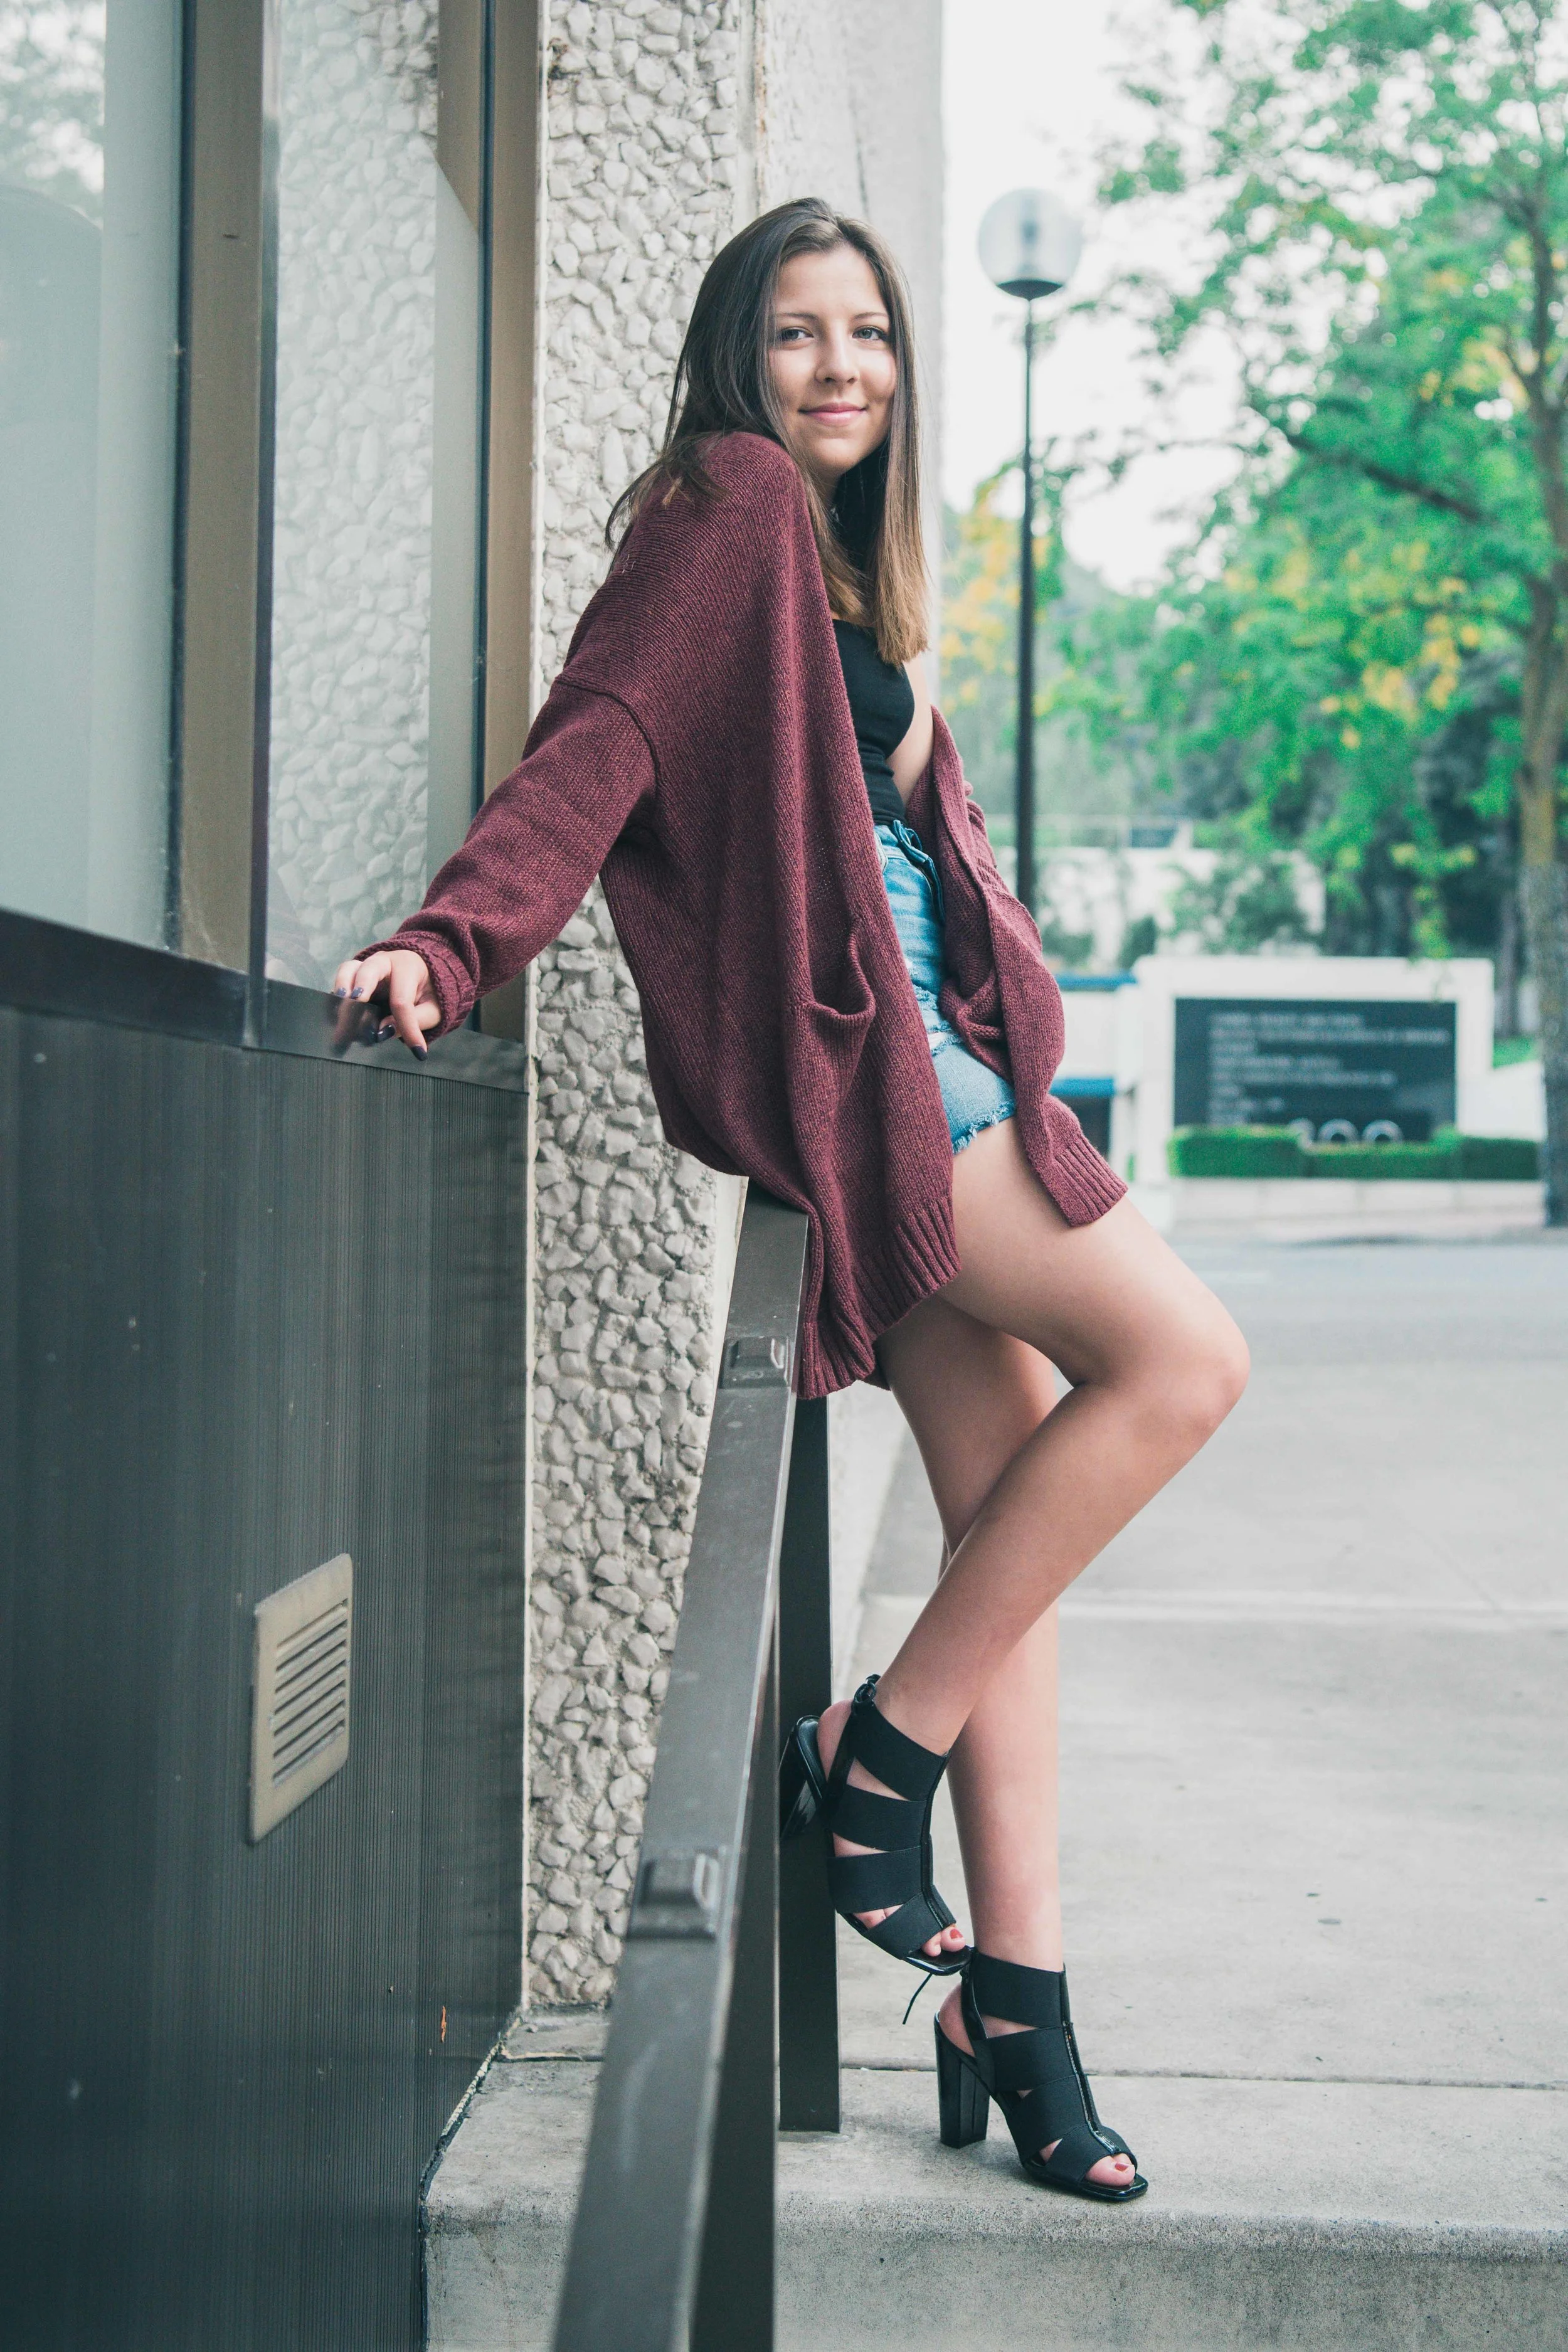
Wardrobe is a big deal for senior portraits. Encourage your client to bring a few options for flexibility.
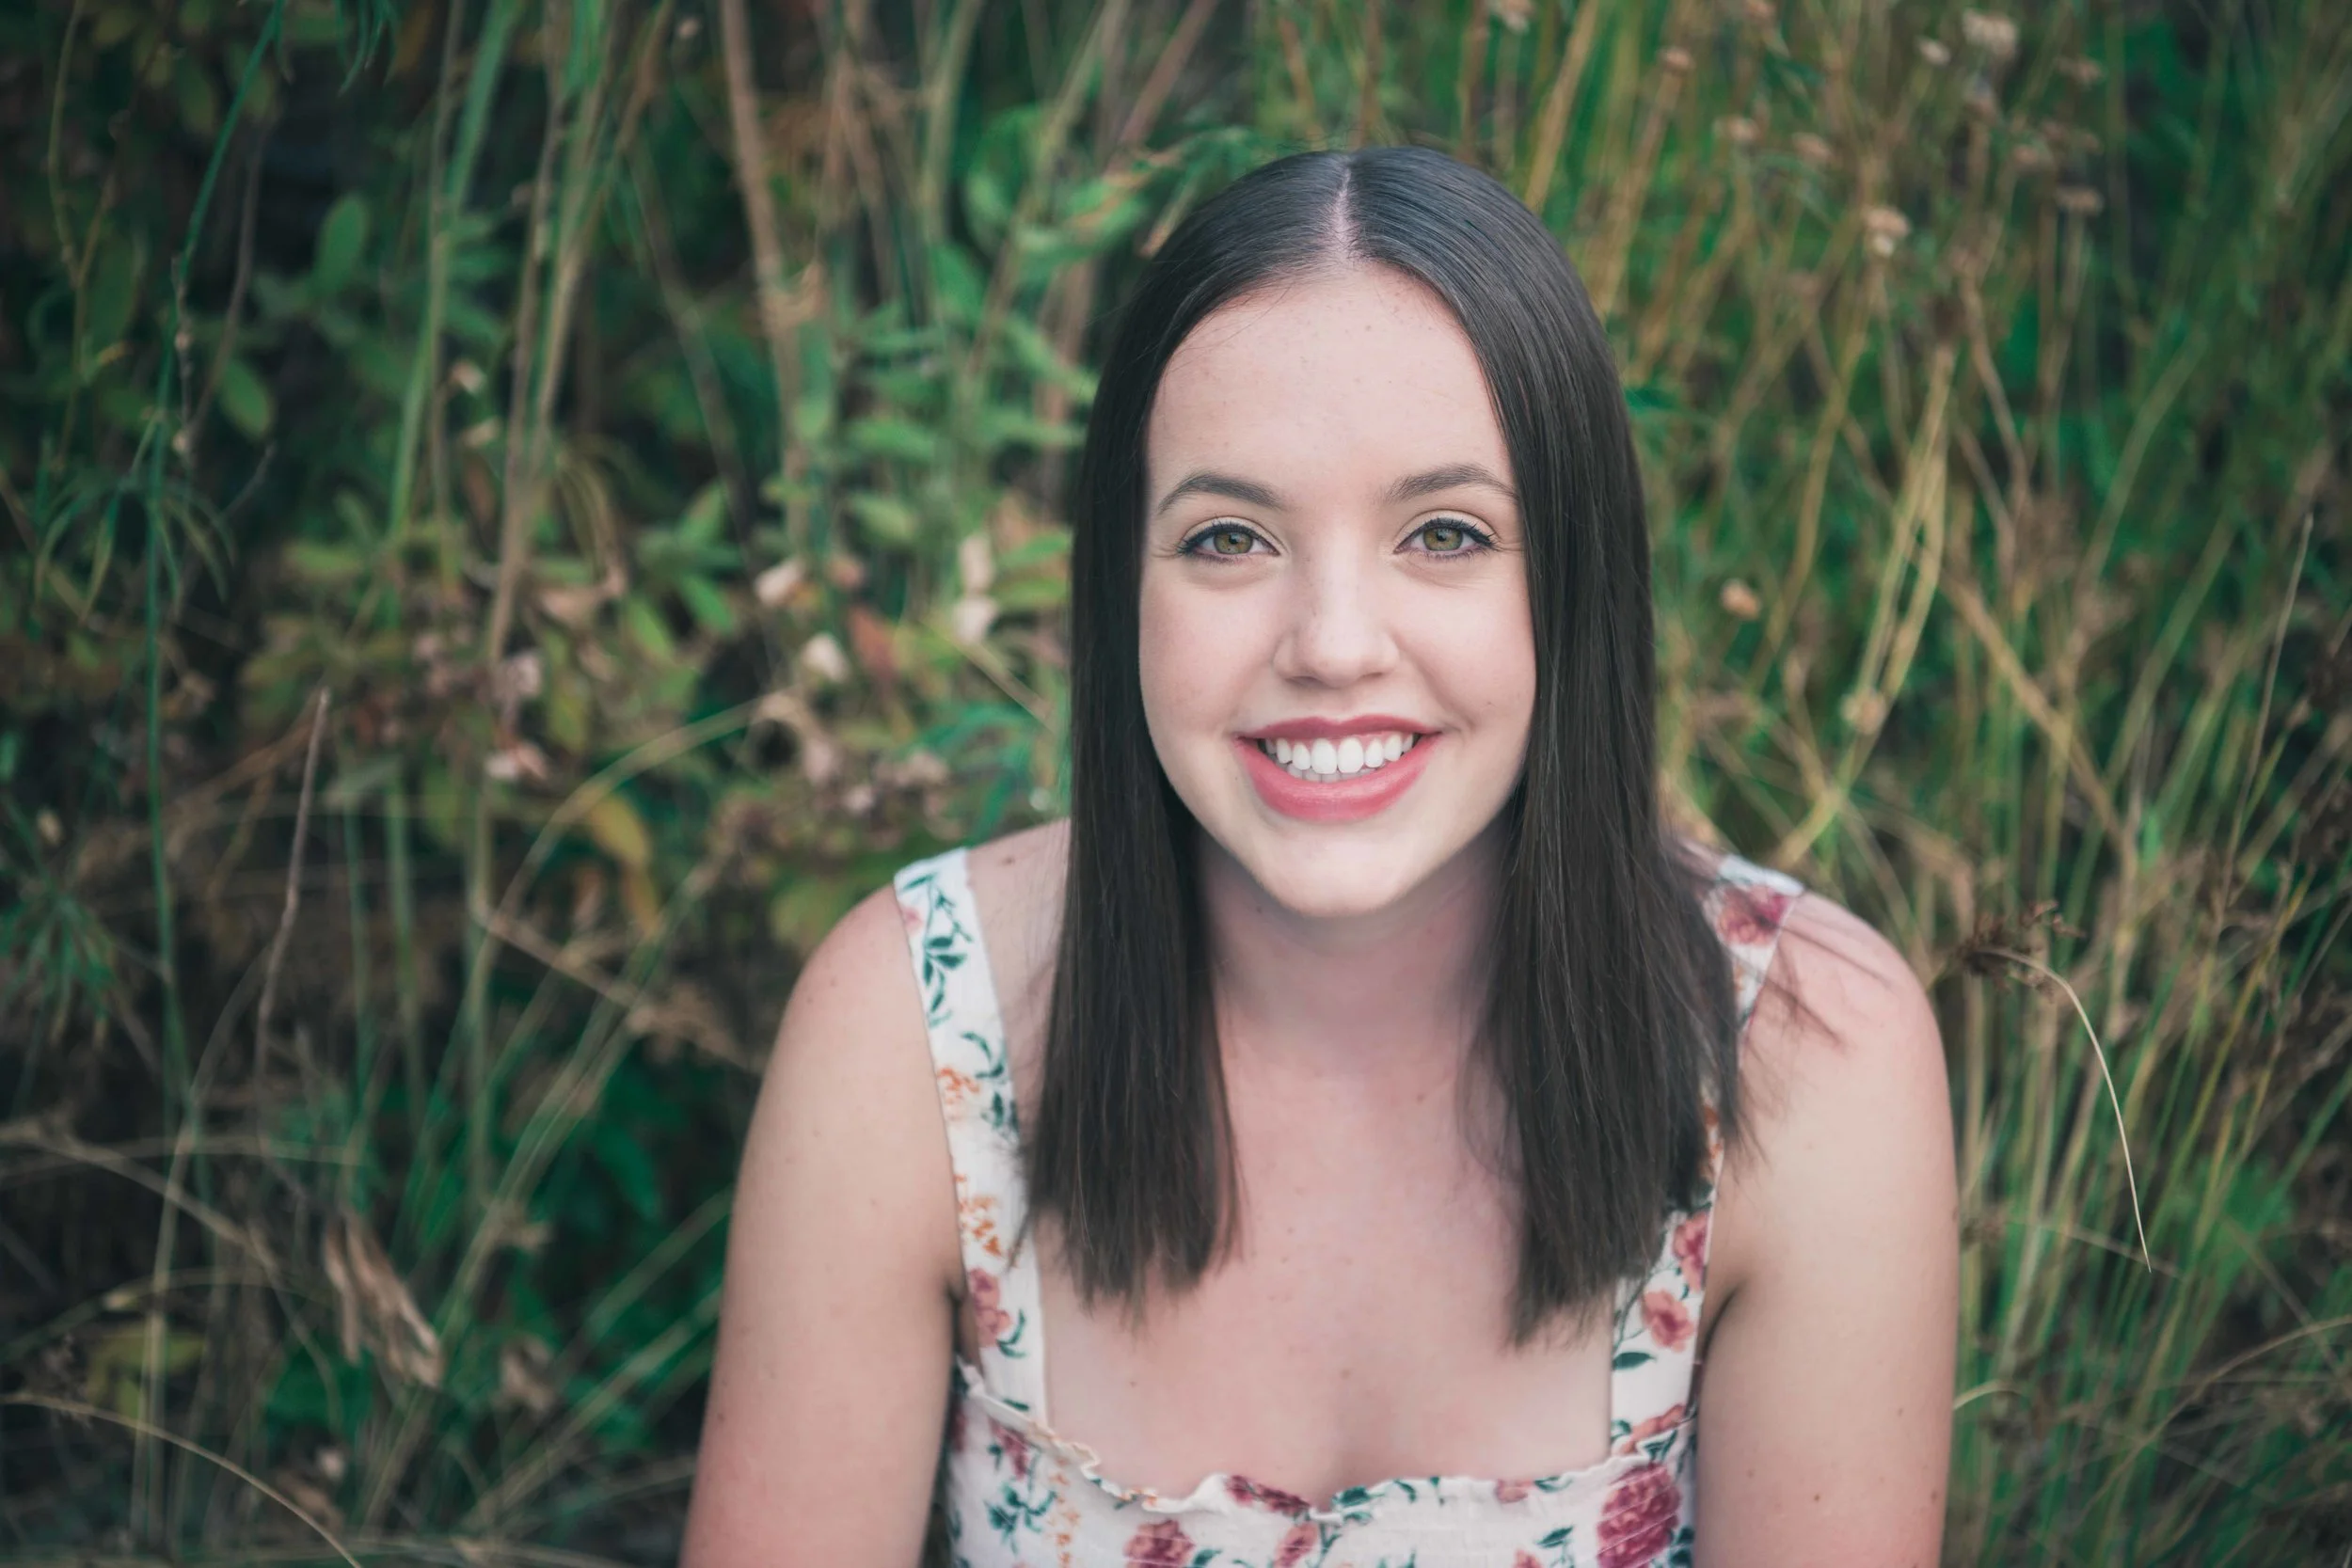
Avoid, where possible, the color red, orange or bright yellow. Choose natural, solid colors such as blues, greens, grays, white, and cream. Solid colors are recommended for most outfits. Colors that go well with a medium or dark background include medium or dark tones of green, brown, rust, wine or blue. Darker shades tend to make people look slimmer. Try not to wear flesh-tone or neutral colors such as stark white, beige, tan, pale peach or light pink, as these can dominate the picture and make you look washed out.
Keep most of your outfit fairly neutral, but add an attractive accessory or two. That can be a scarf, a piece of jewelry, or the color of your shoes. Be careful with this, as balance is key. If you wear bright shoes, balance them with colorful earrings or matching nail polish.
Wear flattering clothes. Unfortunately, this should go without saying, but experience lends me to mention it anyway. Girls may want to forego short sleeves or spaghetti straps if their arms are heavy since these styles will only accentuate that feature. Be cautious with turtle-neck sweaters or shirts. Round and square faces look good in a square-neck top, while thin faces or pointed chins are attractive with rounded-neck tops.
As mentioned briefly previously, plan more than one outfit. It gives everyone more options. Also, having something casual and a little more formal is nice.
Keep clothing visually simple. Don't bring outfits with words or designs, stripes or pictures, except possibly your school logo for one series of images only. You want your face, eyes and expression to command attention, not the words on your shirt. Here are some tips on Family Photo clothing tips that may also be helpful in clothing selection.
Glasses can be worn if the senior wears them all of the time. However, remember that glare is very challenging if you want an image at a specific angle of light. Some options are removing the lenses or removing your glasses for that pose. If neither of those is an option, re-locate so that the sun is not causing a glare on the lens.
Show off their culture, traditions, hobbies, and interests. Just make sure the props don't dominate your session but rather accessorize your session.
Advise seniors to check that their outfit looks good whether sitting, standing, or kneeling. And make sure they aren't too tight, short, revealing, etc.
Warn them about their underwear! Any underwear lines or see-through dresses will be triple prominent in pictures and can be complicated to correct later in photoshop.
Nails will be seen. Please file them and be sure and have them freshly painted or all of the polish removed. Worn polish will stand out like a sore thumb.
Aside from wardrobe and lighting, your location is also a critical decision. Make sure it suits your senior's personality by having an onboarding questionnaire. I use Sprout studio to create my questionnaire templates.
Keep your eyes out for texture. Texture can be anything from a brick pattern, stone arrangement, pipes, or tiles. Even a dumpster can be an excellent backdrop if used correctly. Dumpsters are often blue or green, with great texture! If you get close enough, no one will ever know it was a dumpster.
Get out of your comfort zone. This may sound a little cliche, but it's essential to growing your business. Surround yourself with people who are better than you, who can challenge who you are and motivate you to take things to the next level in your art and your business.
Communication is critical. I use email and texting to communicate with my clients. Remember to be helpful and informative with each email and try to anticipate their needs. Create templates (I use Sprout Studio) for everything from the initial inquiry email to the follow-up and how to prep for your session email. Templates can save you HOURS in the long run.
Find a mentor or coach and attend workshops when you can. If you are serious about your business and this is more than a hobby, you must invest in it.
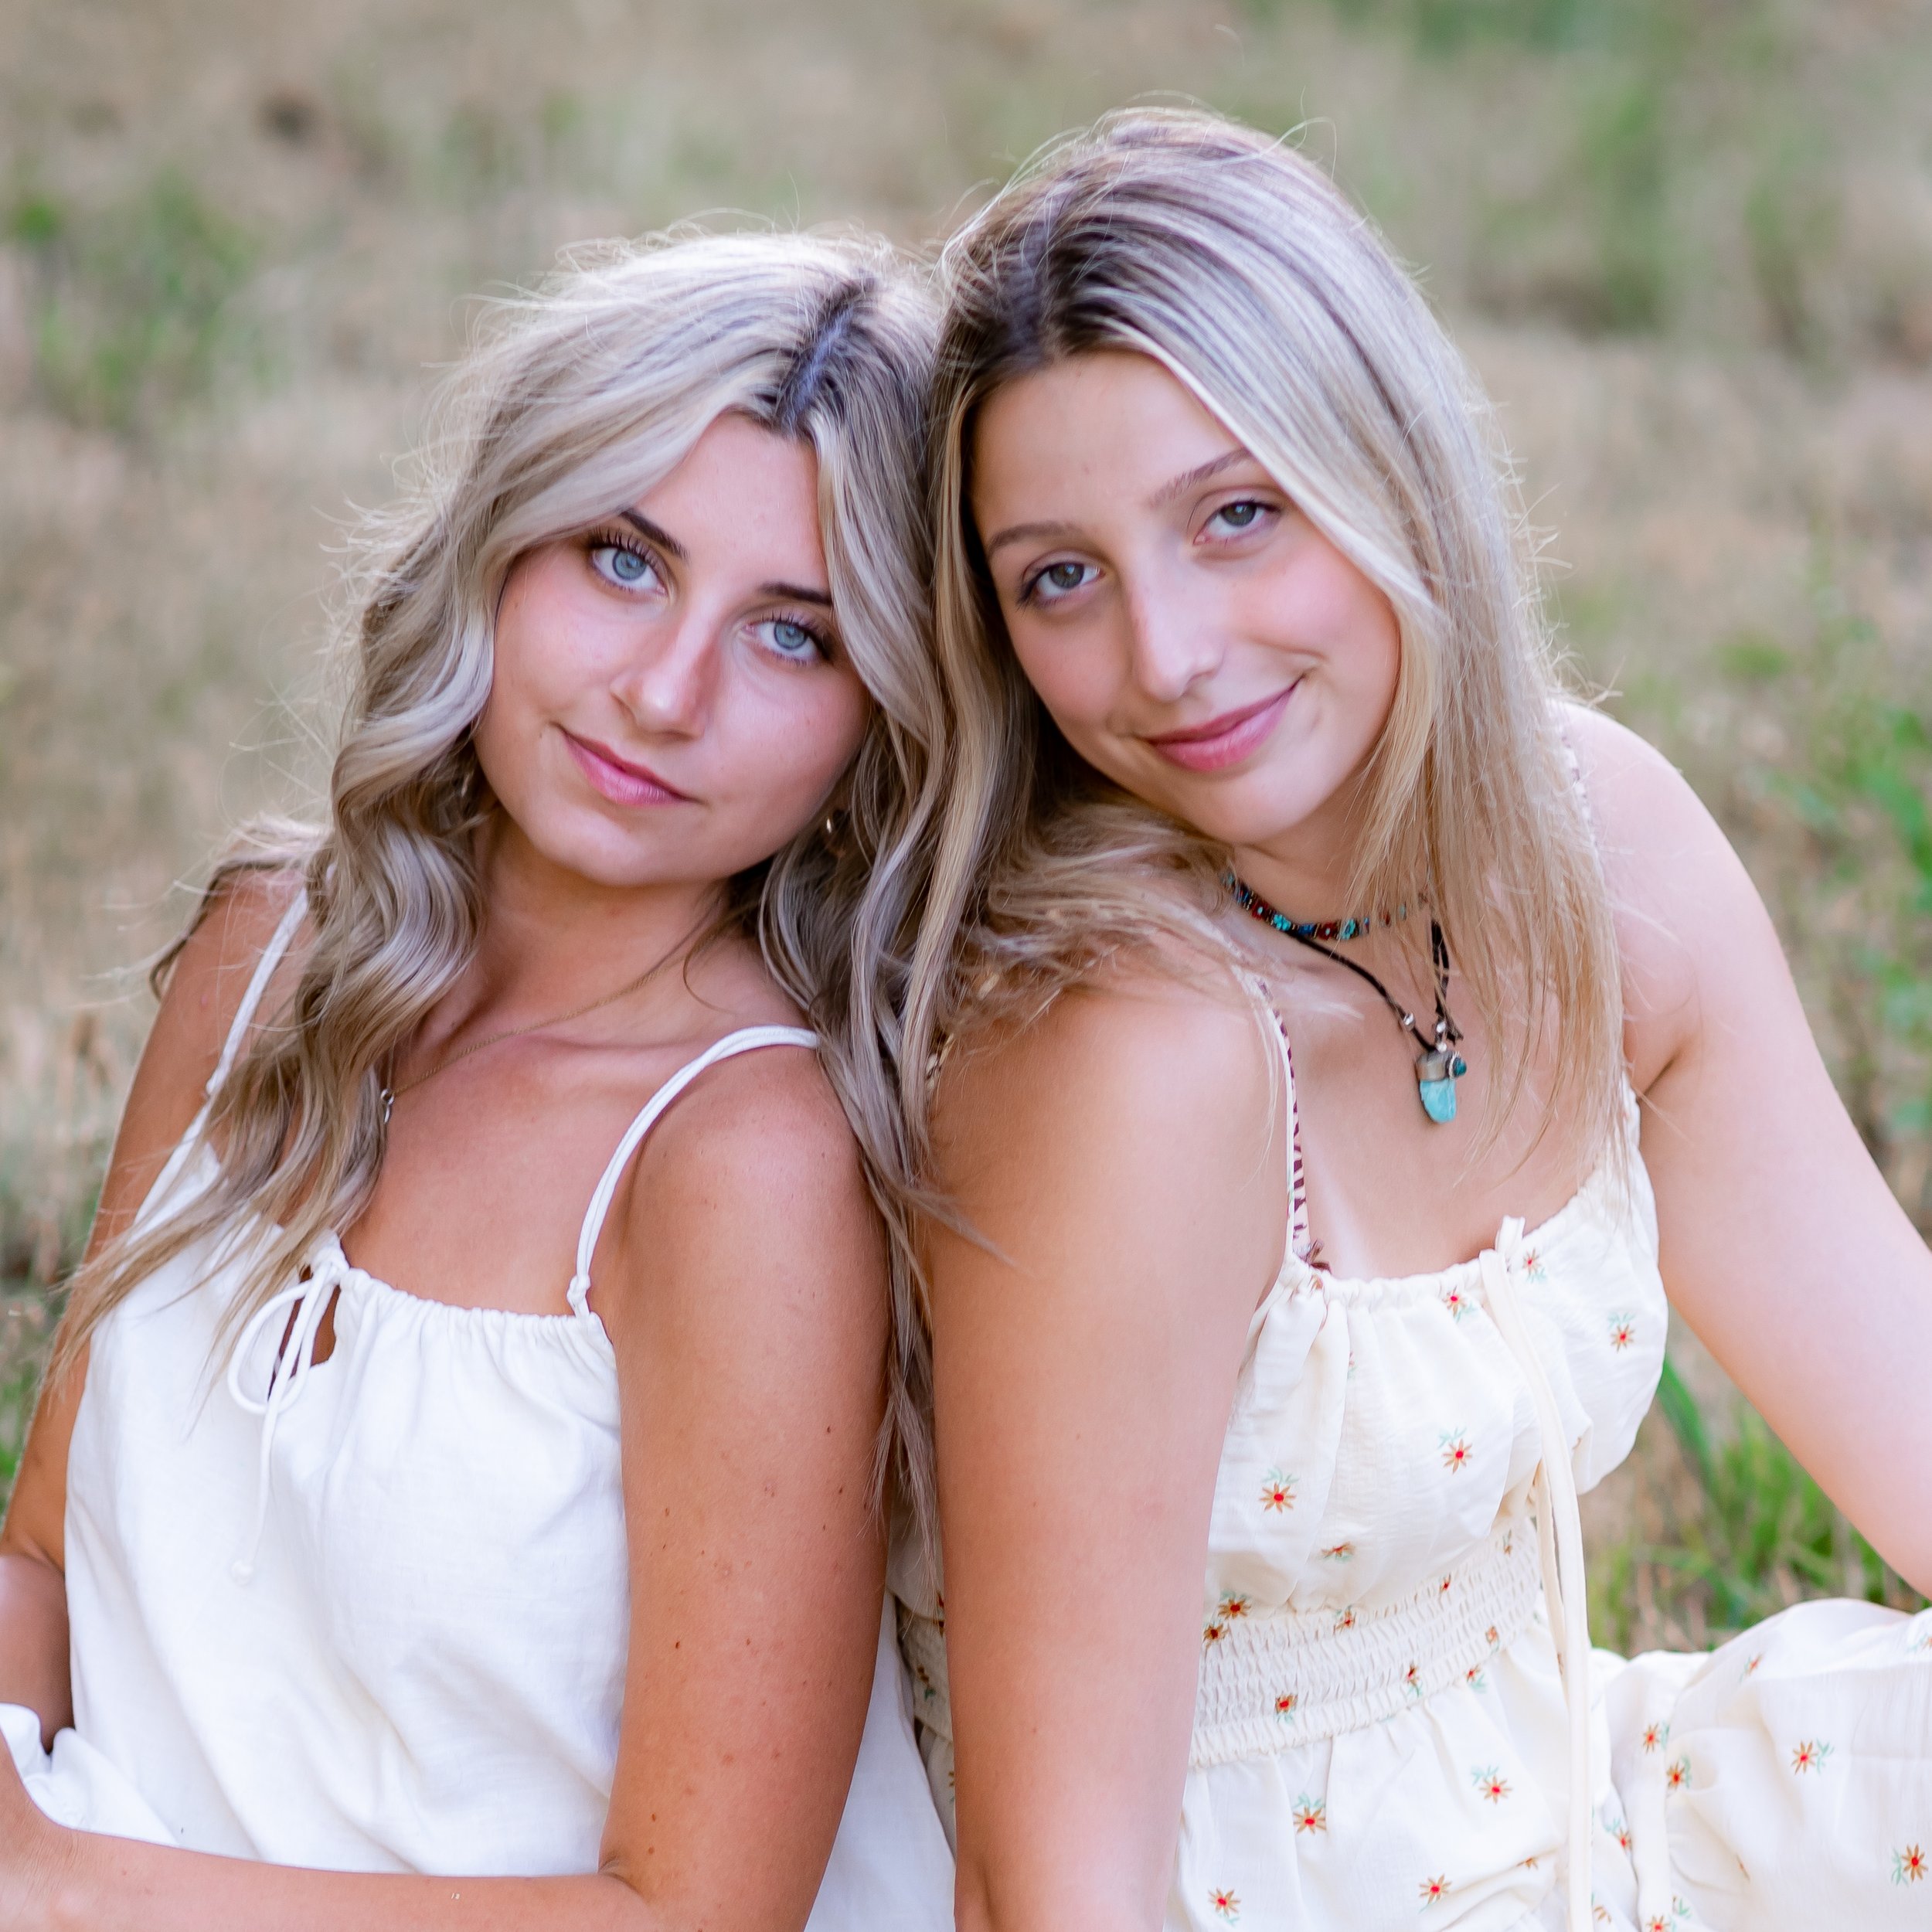
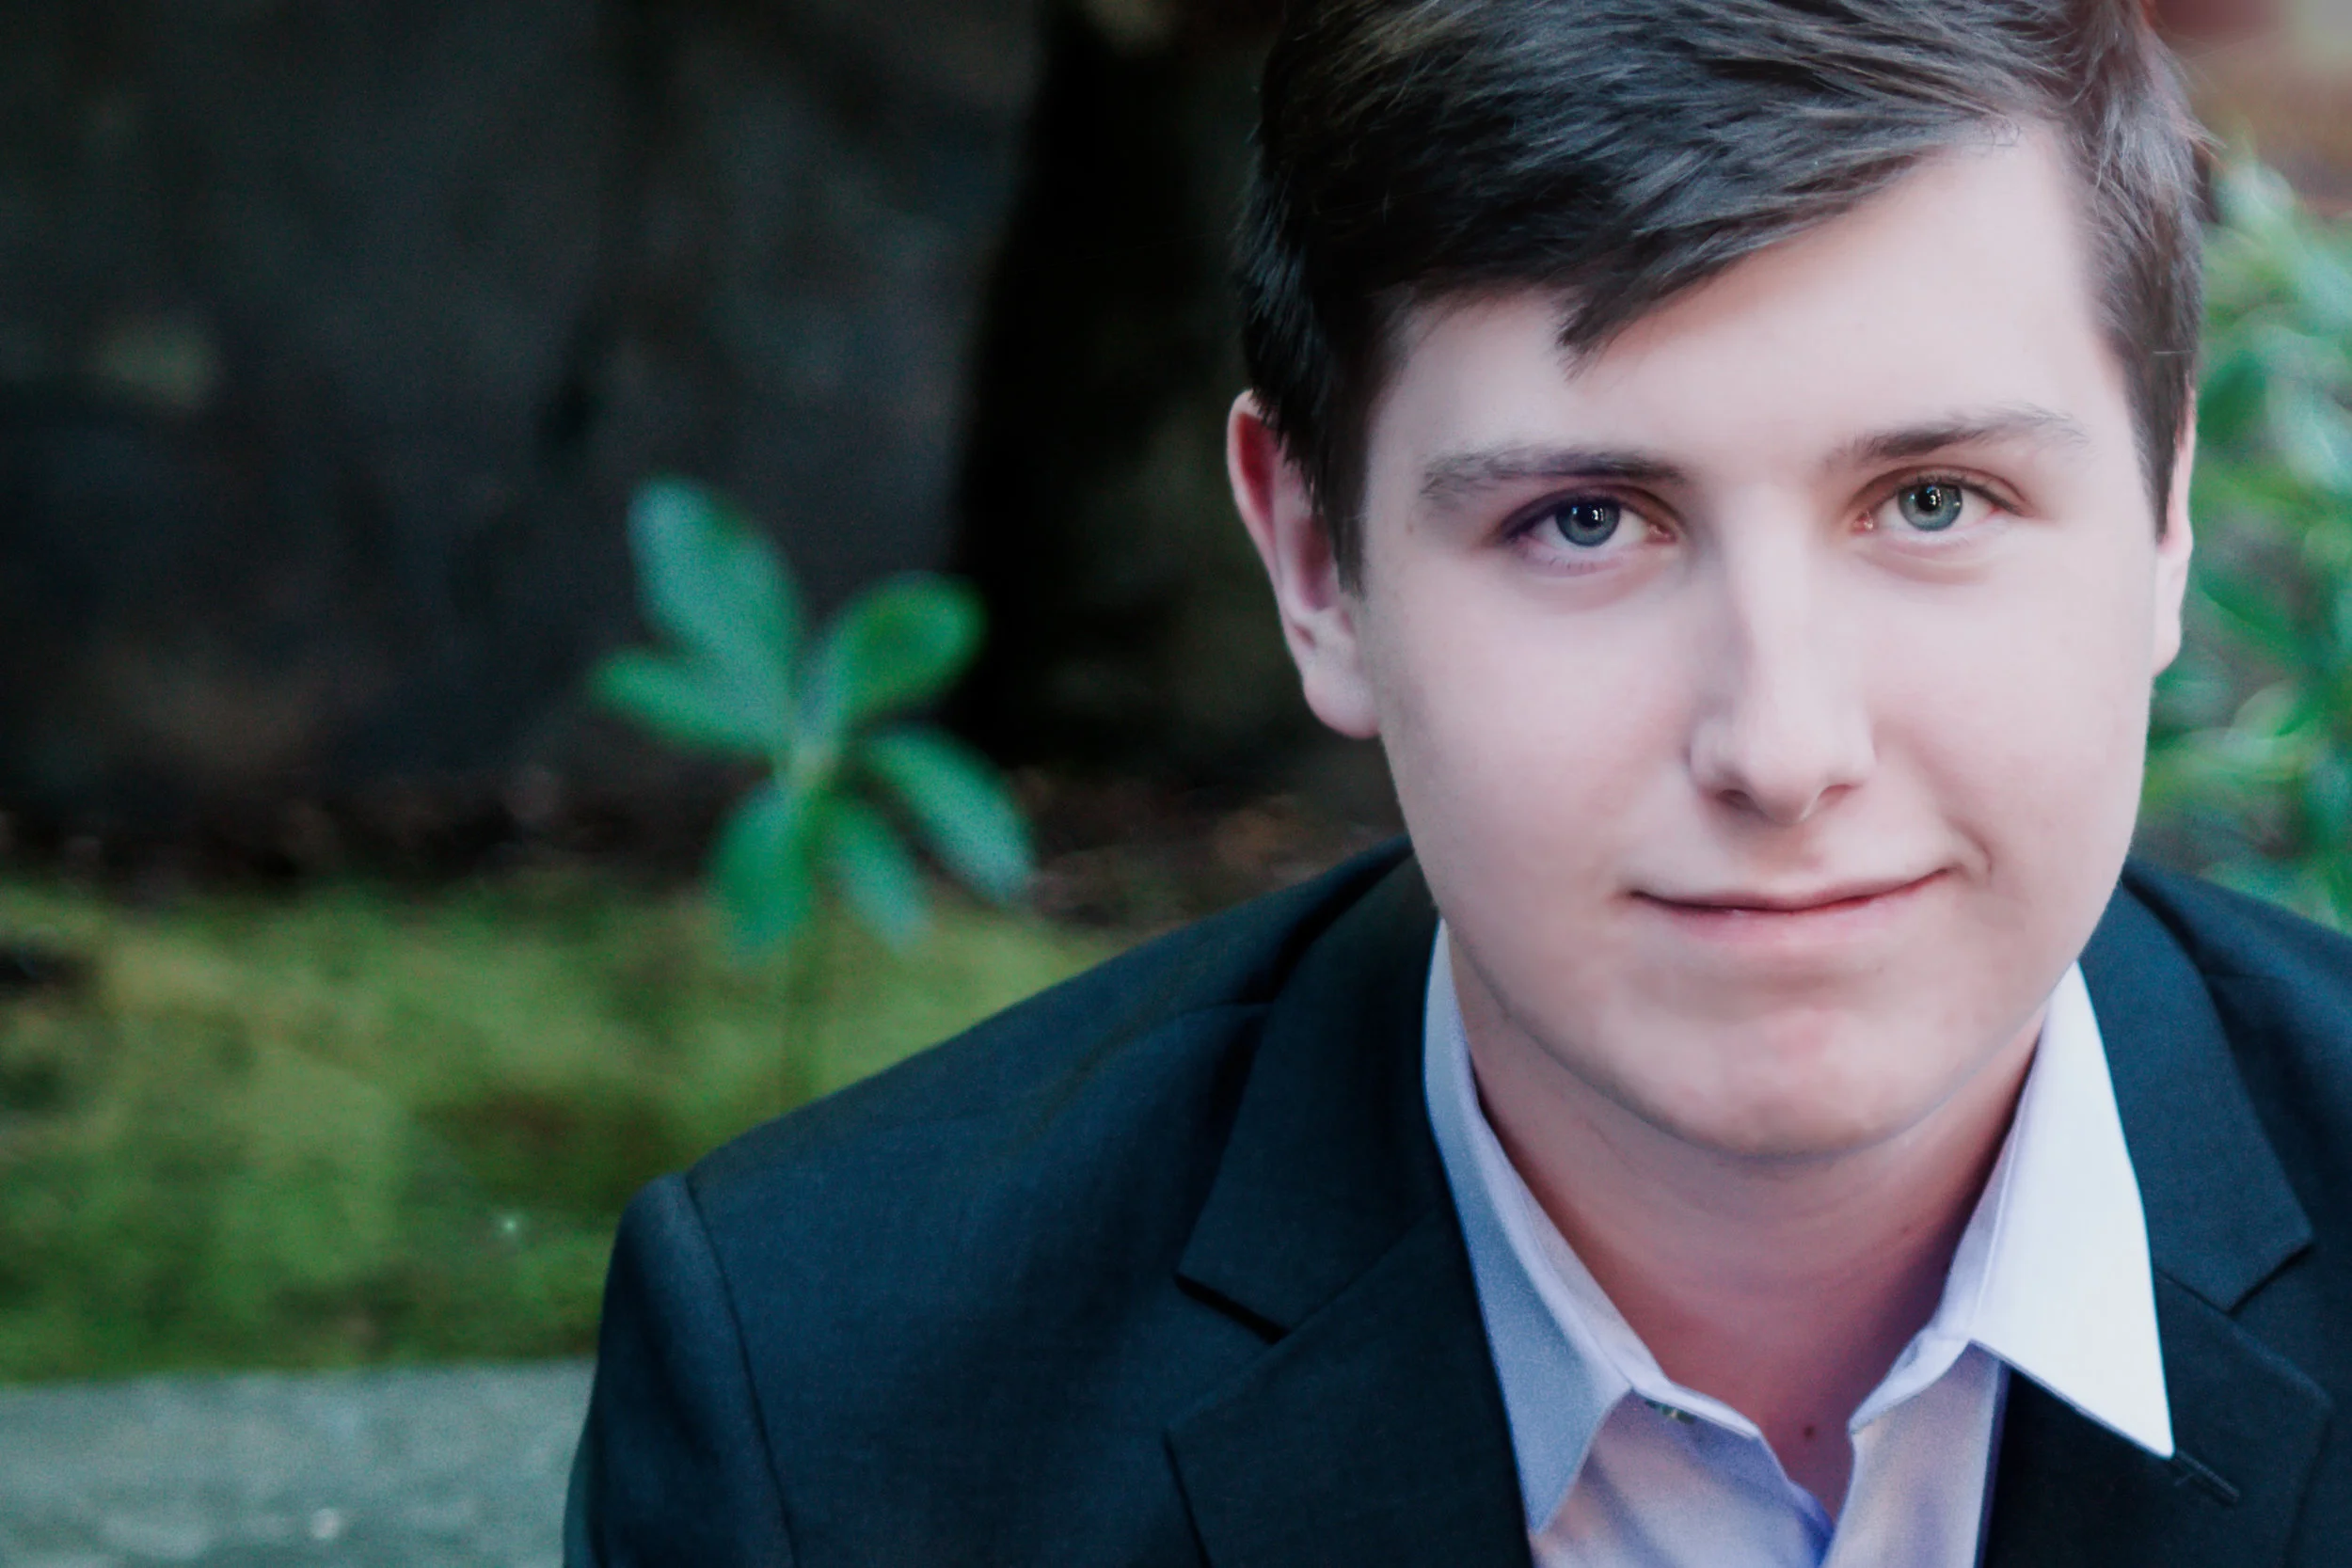
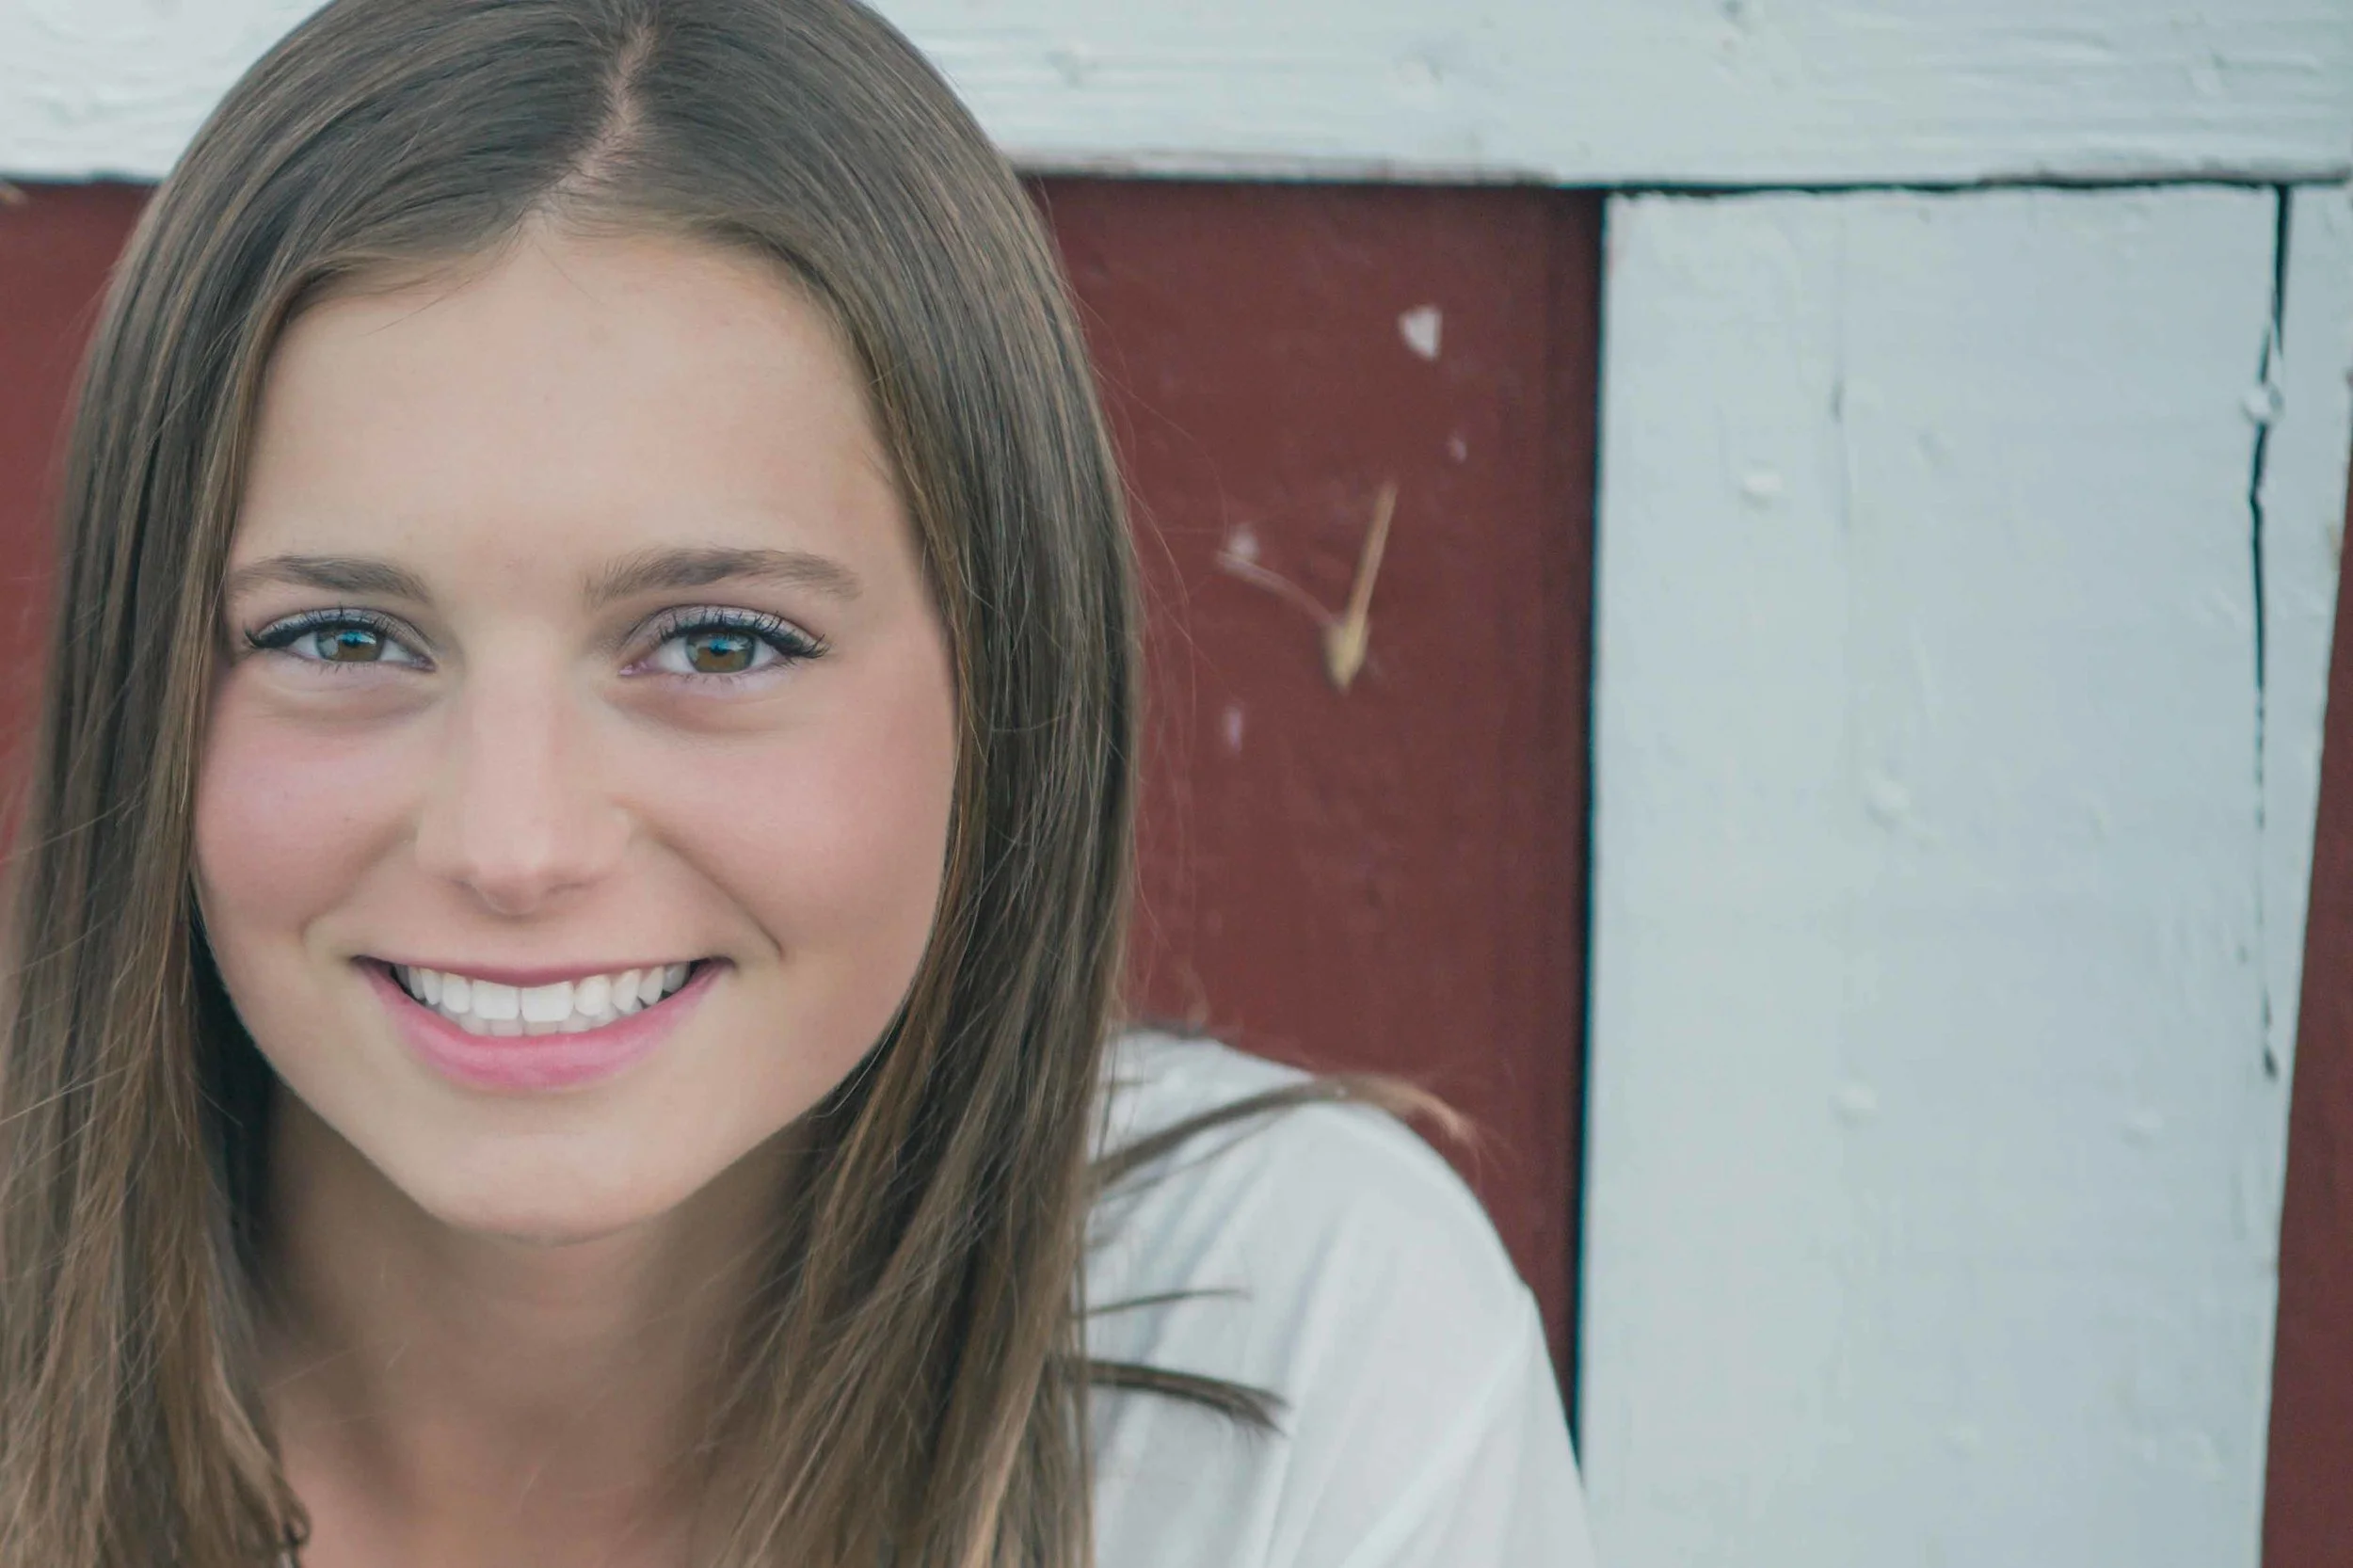
Make eyes the focal point of your image. Not only are the eyes the most important part of the image, but they are also the sharpest part of your face. Shoot with a wide aperture to get even more focus on the eyes.
Watch your backgrounds. Refrain from getting a great image with a tree, pole, or stop sign coming from someone's head, armpit, or whatever. Some distractions can be removed later in photoshop but can add hours to your workflow.
Recommend your clients to wear normal levels of makeup, don't overdo this, as that is extremely difficult to correct later, and it doesn't accurately depict how you usually look. A little extra is fine. Too much is clown-like. Let's stay away from the clown look where possible!
No spray tanning just before the session. It will stand out like an Oompa Loompa on camera, and the time and effort required in correcting the skin tone can alter the overall look of your final image.
Encourage seniors to style their hair and avoid experimental hairstyles. Boys especially should get a haircut at least a week in advance to allow their hair to adjust and look natural. Girls styling their hair for a formal picture can wait until the photo session day to get their hair done, but they should practice with their hair stylist beforehand so there are no surprises on picture day.
Encourage guys to get a fresh shave. Even peach fuzz can show up on the camera, and while they might be proud of those seven hairs right now, someday they will wonder why on earth they didn't shave. Beards, sideburns, and mustaches should be neatly trimmed also.
Let your seniors know beforehand not to worry about blemishes or bruises. Include any concerns they might have in your questionnaire so you can be sure and address those in your post-production editing.
Encourage parents or a friend to come along to the shoot. It takes the awkward edge off and helps the senior relax. This can be great for helping double-check clothing, accessories etc., while you are taking the pictures as moms, in particular, often notice things you may have overlooked. Friends can help tease or give you a third person to talk to and remove the awkward edge.
Zoom in tight. Almost always, the photos my clients choose from their gallery are the ones that have minimal backgrounds. Even if the sky or the landscape is stunning, their favorites tend to be up close to the senior.
Learn how to use your camera settings). To take great pictures, you need to be in control of your camera. Don't just leave it in automatic mode. Learn how shutter speed, aperture, and ISO will affect your images. When shooting portraits, try using aperture priority mode with the aperture set to the widest value possible. It will give you an excellent blurry background. If it's a sunny day, try ISO 100. If it's cloudy, try ISO 400. Shutter speed will take care of itself.
Shooting in RAW gives you the most options in post-production.
Be creative, but remember expression. If you're getting creative and have the girl pose in a funky way, and her expression is gone because she's uncomfortable, then it was a failed shot.
Try as many angles as possible to get the most options for each pose. Try both the vertical and horizontal orientation of your camera. Zoom out and Zoom in on your camera to get different options. Have your subject oriented to the left or the right of the screen. Get a bird's eye view and a worm's eye view. Include some profile shots, some shots from behind, and some head-on. Variety is key!
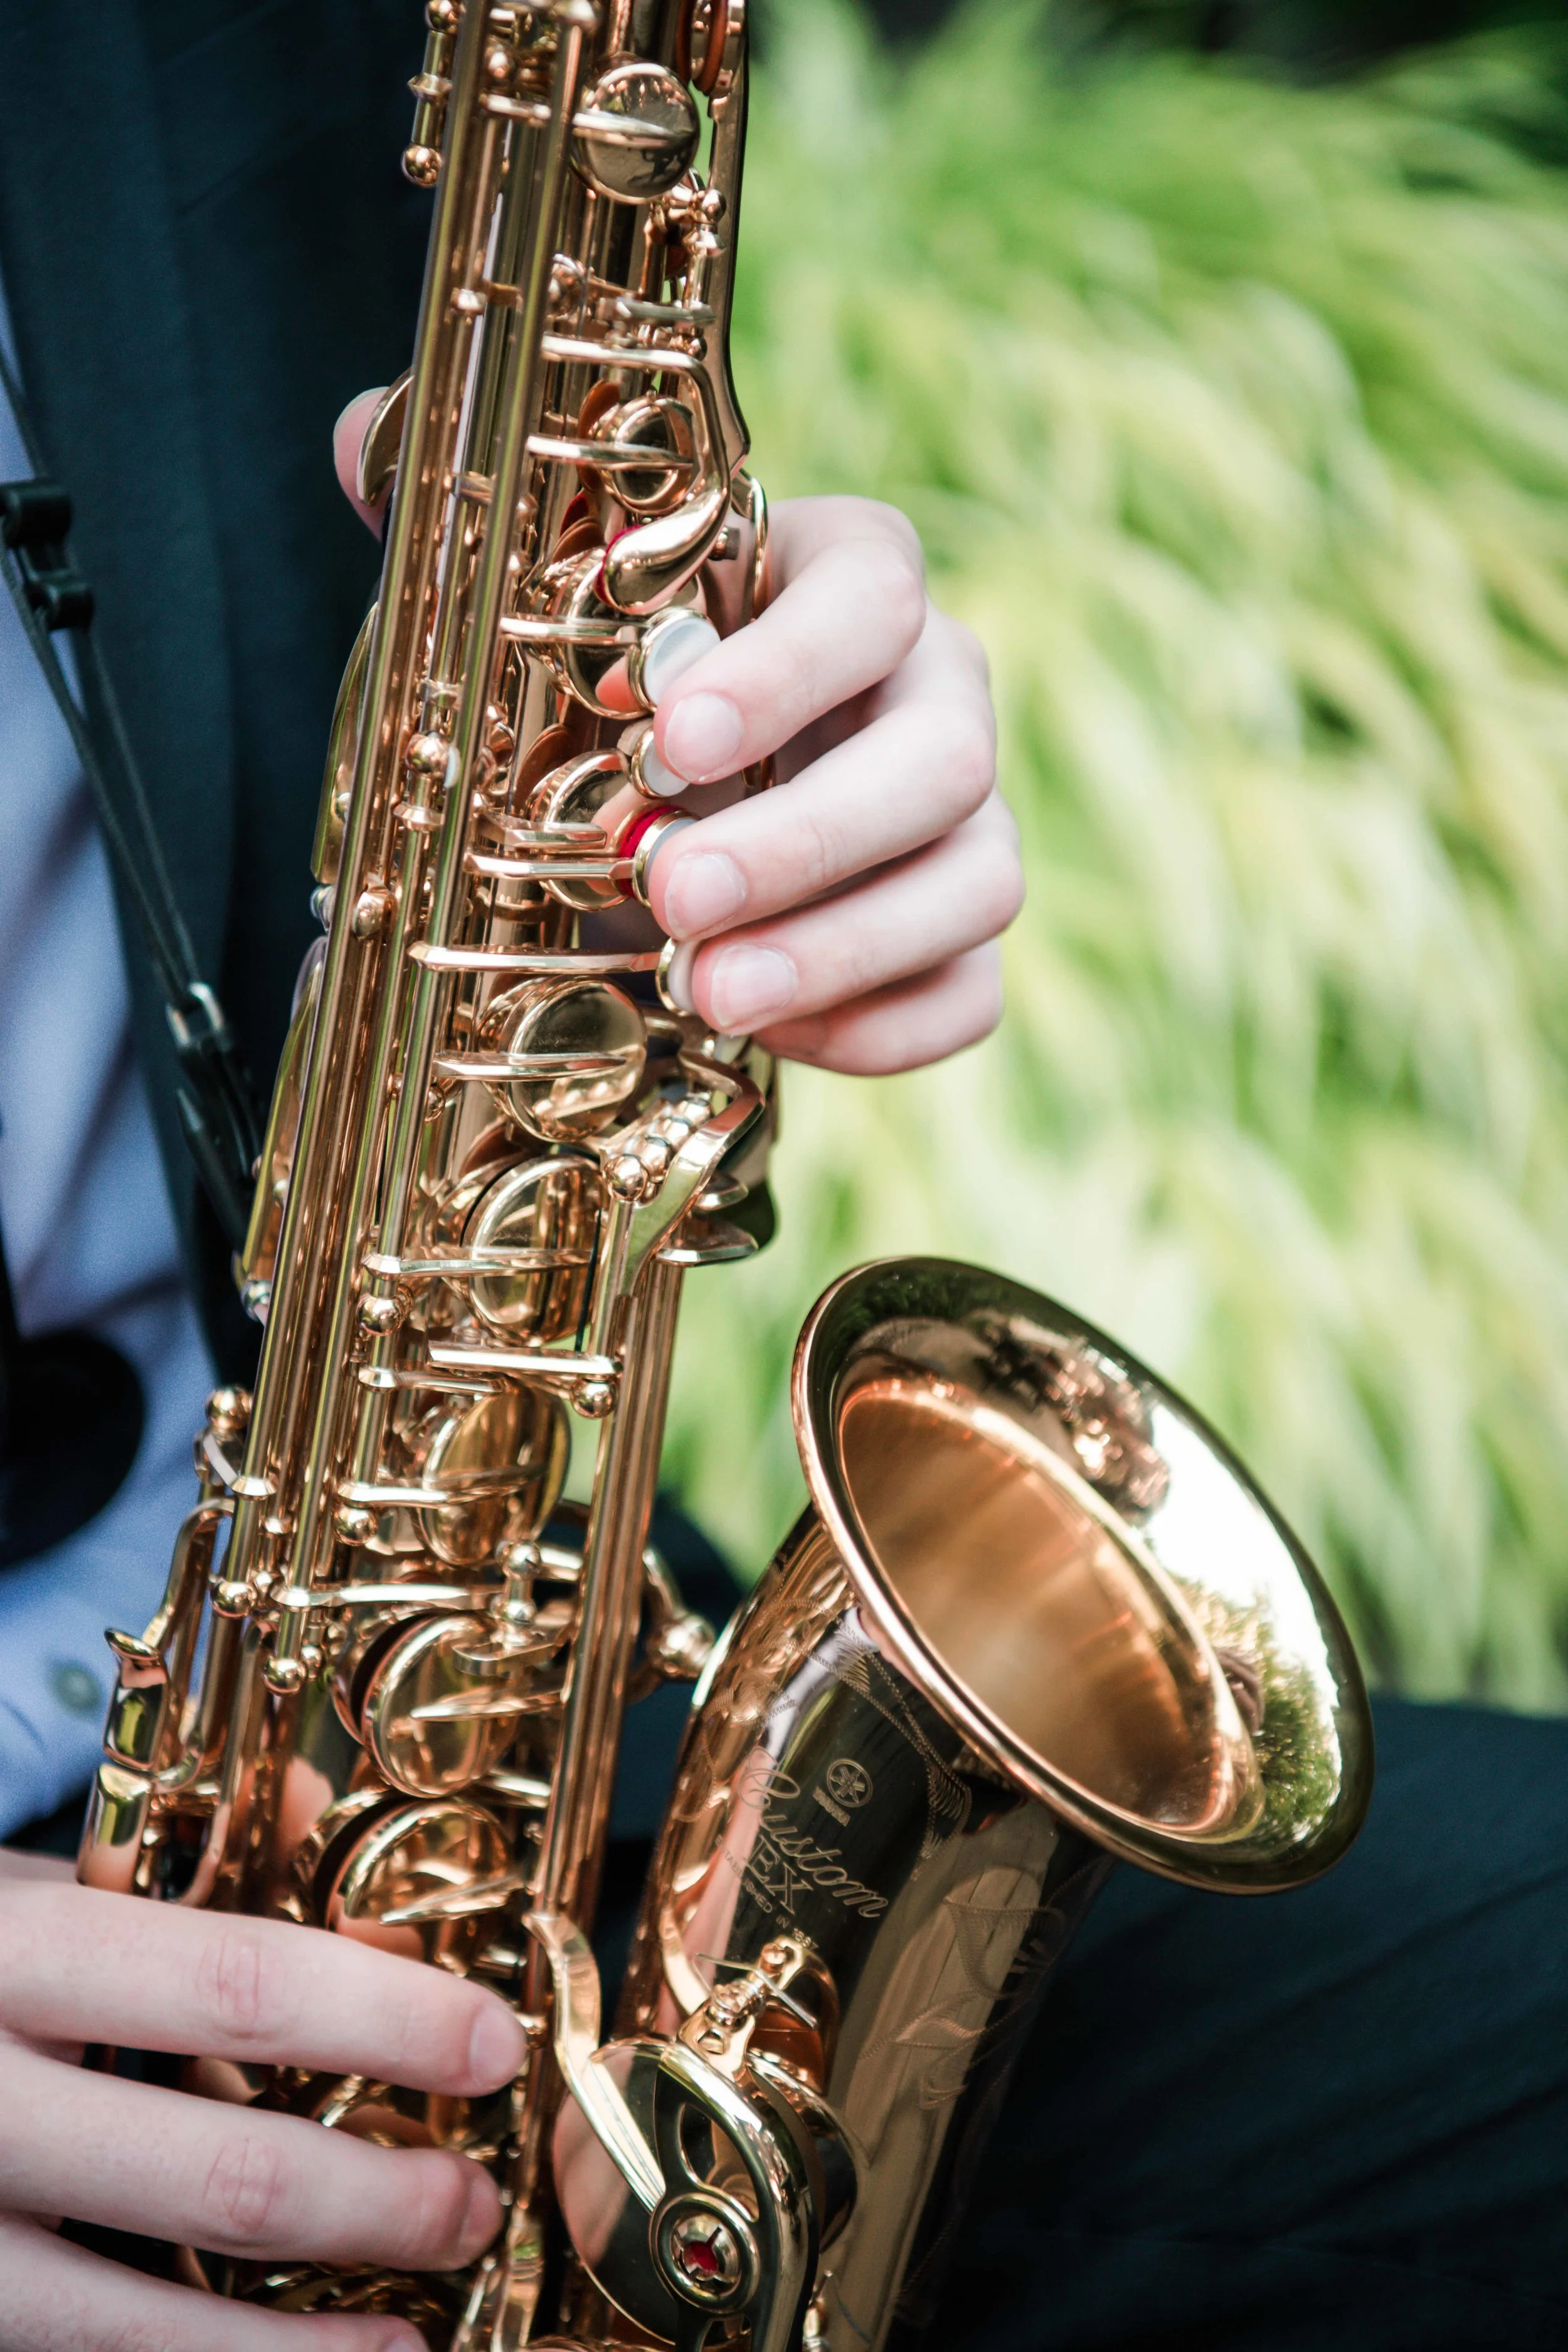
It can be fun to get some up-close images of the subject's eyes, hands or instruments, etc., as well as a distant view of an interesting landscape with the subject being a minimal part of the image. Clients' tastes vary, so give them a lot of options.
When giving your client a gallery, experiment with offering some of the images in black and white to provide variety and to push your artistic edge. Don't just drain the saturation, either. Add some interest by playing with the contrast, light, highlights, shadow slider, etc.
To get authentic expressions, ask questions. "Who is a better driver, you or your mom?" "Who in your family sings in the shower?" "Who will you miss the most when you graduate?"
Make them think for contemplative expressions: Would you rather…" Skip your birthday or Christmas?" "Live in space or the ocean?", "Have the power to fly or be invisible?", "Be hairy all over or no hair at all?", "Have a nosey neighbor, or be a nosey neighbor?"
What are some of your favorite tips for posing seniors or getting authentic expressions? I would love to hear what you have to say in the comments below.
Here are some more articles on the blog with additional Senior Photo Tips!
Poses and Tips for Senior Prom Photos
Senior Photo Tips for Difficult Teens
10 Tips to look your best for Senior Photos
Senior Boy Posing Tips