Capturing Impeccable Headshots -- Valuable Secrets to Know
/Headshots, at first glance, might seem like a fairly simple snapshot you could take from a Smartphone or other camera such as motion-activated hidden cameras, hidden spy cams, and so on.
Headshot Photography Is More Than You Think
Headshots are a critical piece of many professional's PR packets. A dynamic headshot for models, actors, and other performance professionals may be the difference between acquiring the gig or not.

Marianne Thelin, Remax Realtor, photographer Chelsea Adams
Follow These Few Tips To Capturing Impeccable Photo Headshots:
Focus on the eyes: The eyes are said to be the window of the soul. Therefore, nothing is more important than achieving sharp, crisp eyes in your shot.
Watch your angles: Remember that angles affect the outcome look and feel for close-up shots. For women, make the eyes appear larger and the face more delicate by shooting down on them. For men, emphasize strength and achievement by shooting slightly up.
Use diffused light: In close-up shots, the skin is a central feature. It's crucial to show the skin without blemishes.
Add a hair light: Detail is critical in headshots and is no more dynamic than when created with a hair light. A hair light can be placed above or behind the subject [with a flash or the sun] to add depth to the shot and pull the top of the head out of the background.
Guide expression: It's your job as a photographer to pull out the most natural looks from your subjects. Do so by guiding them through complimenting conversation, i.e., asking serious questions to pull out a thoughtful gaze or cracking a joke to capture a natural smile.
Composition: The composition distinguishes between a snapshot and a great photograph. There are many things involving composition that you have to look out for. Composing by the rules of thirds and the golden ratio is often advised. Those rules existed even before photography was invented. You will need to compose in such a way so the model has room to breathe, meaning not too tight, but then again, not too wide.
Create A Sense Of Comfort For The Model: It is important for the model to feel comfortable around the photographer. Make sure you communicate enough, be friendly and polite and keep in mind that the models aren't mind readers. You'll have to tell them what you want them to do, even show them if necessary. "Please," "Thank You," and "You are doing great" are some wise words to remember.
Create A Connection: The personal connection will help the model relax and be their most authentic selves. This, in turn, is what will land the winning headshot.
Stay Positive: During the session, stay positive and genuine in your statements. Let them know when they're doing well, when the shots are coming out great, and when they've struck a great pose or have that perfect twinkle in their eyes. Avoid saying anything that might shake their confidence. It's hard enough for most people to feel positive about their body image without having their photographer adding to it.
Post-processing: This would be the second half of having the headshot done. You'll most likely need the same amount of time spent here as you'd have shooting the image. First, you'll need to correct the metering that the camera has missed, then enhance the prominent features of the image, smoothen the skin, and fix imperfections (blemishes, red spots and so on). There are various techniques for post-processing, but no matter which one you use, you need to be careful about one key thing; do not overdo anything. Keep it real. Nobody wants to see portraiture that looks like it has been washed through loads of filters.
After all that is done, let the image sleep for a while and come back at it in 48 hours when your eyes and perspective are fresh, you'll probably be able to notice small mistakes which you have missed earlier on, and most likely you'll redo the whole post-processing because you didn't do it correctly the first time.
So practice your portraiture, do everything in moderation, and your headshot photography will improve in no time.

Jeff Call, Century Dental photographer Chelsea Adams
Posing Your Subject For Headshots
The days of formal poses and stiff subjects are long gone. This doesn't mean your clients don't need posing instructions, though!
To keep a relaxed vibe to any pose, I like to give clients gentle guidance on body positioning. Keeping your client engaged will prevent them from holding a pose for so long that it comes off feeling stiff.
31 POWERFUL IMAGE MARKETING IDEAS FOR YOUR DENTAL PRACTICE
Here Are A Few Tips For Approaching posing:
Posture Is Key – Most people need reminders to check their posture and straighten up. Have them look away until you count to three, and have the client look away while you set up your gear. Once you're in position and ready, they look at the camera on the count of three and give you a fresh smile.
Chin forward and slightly down – Most people tend to lean their head back and up, especially if they're straightening their posture or laughing. Instead, play with having your client move their chin down and push their face outward. This can often help to define the jawline, avoid a double chin, and make their face stand out from the rest of their body.
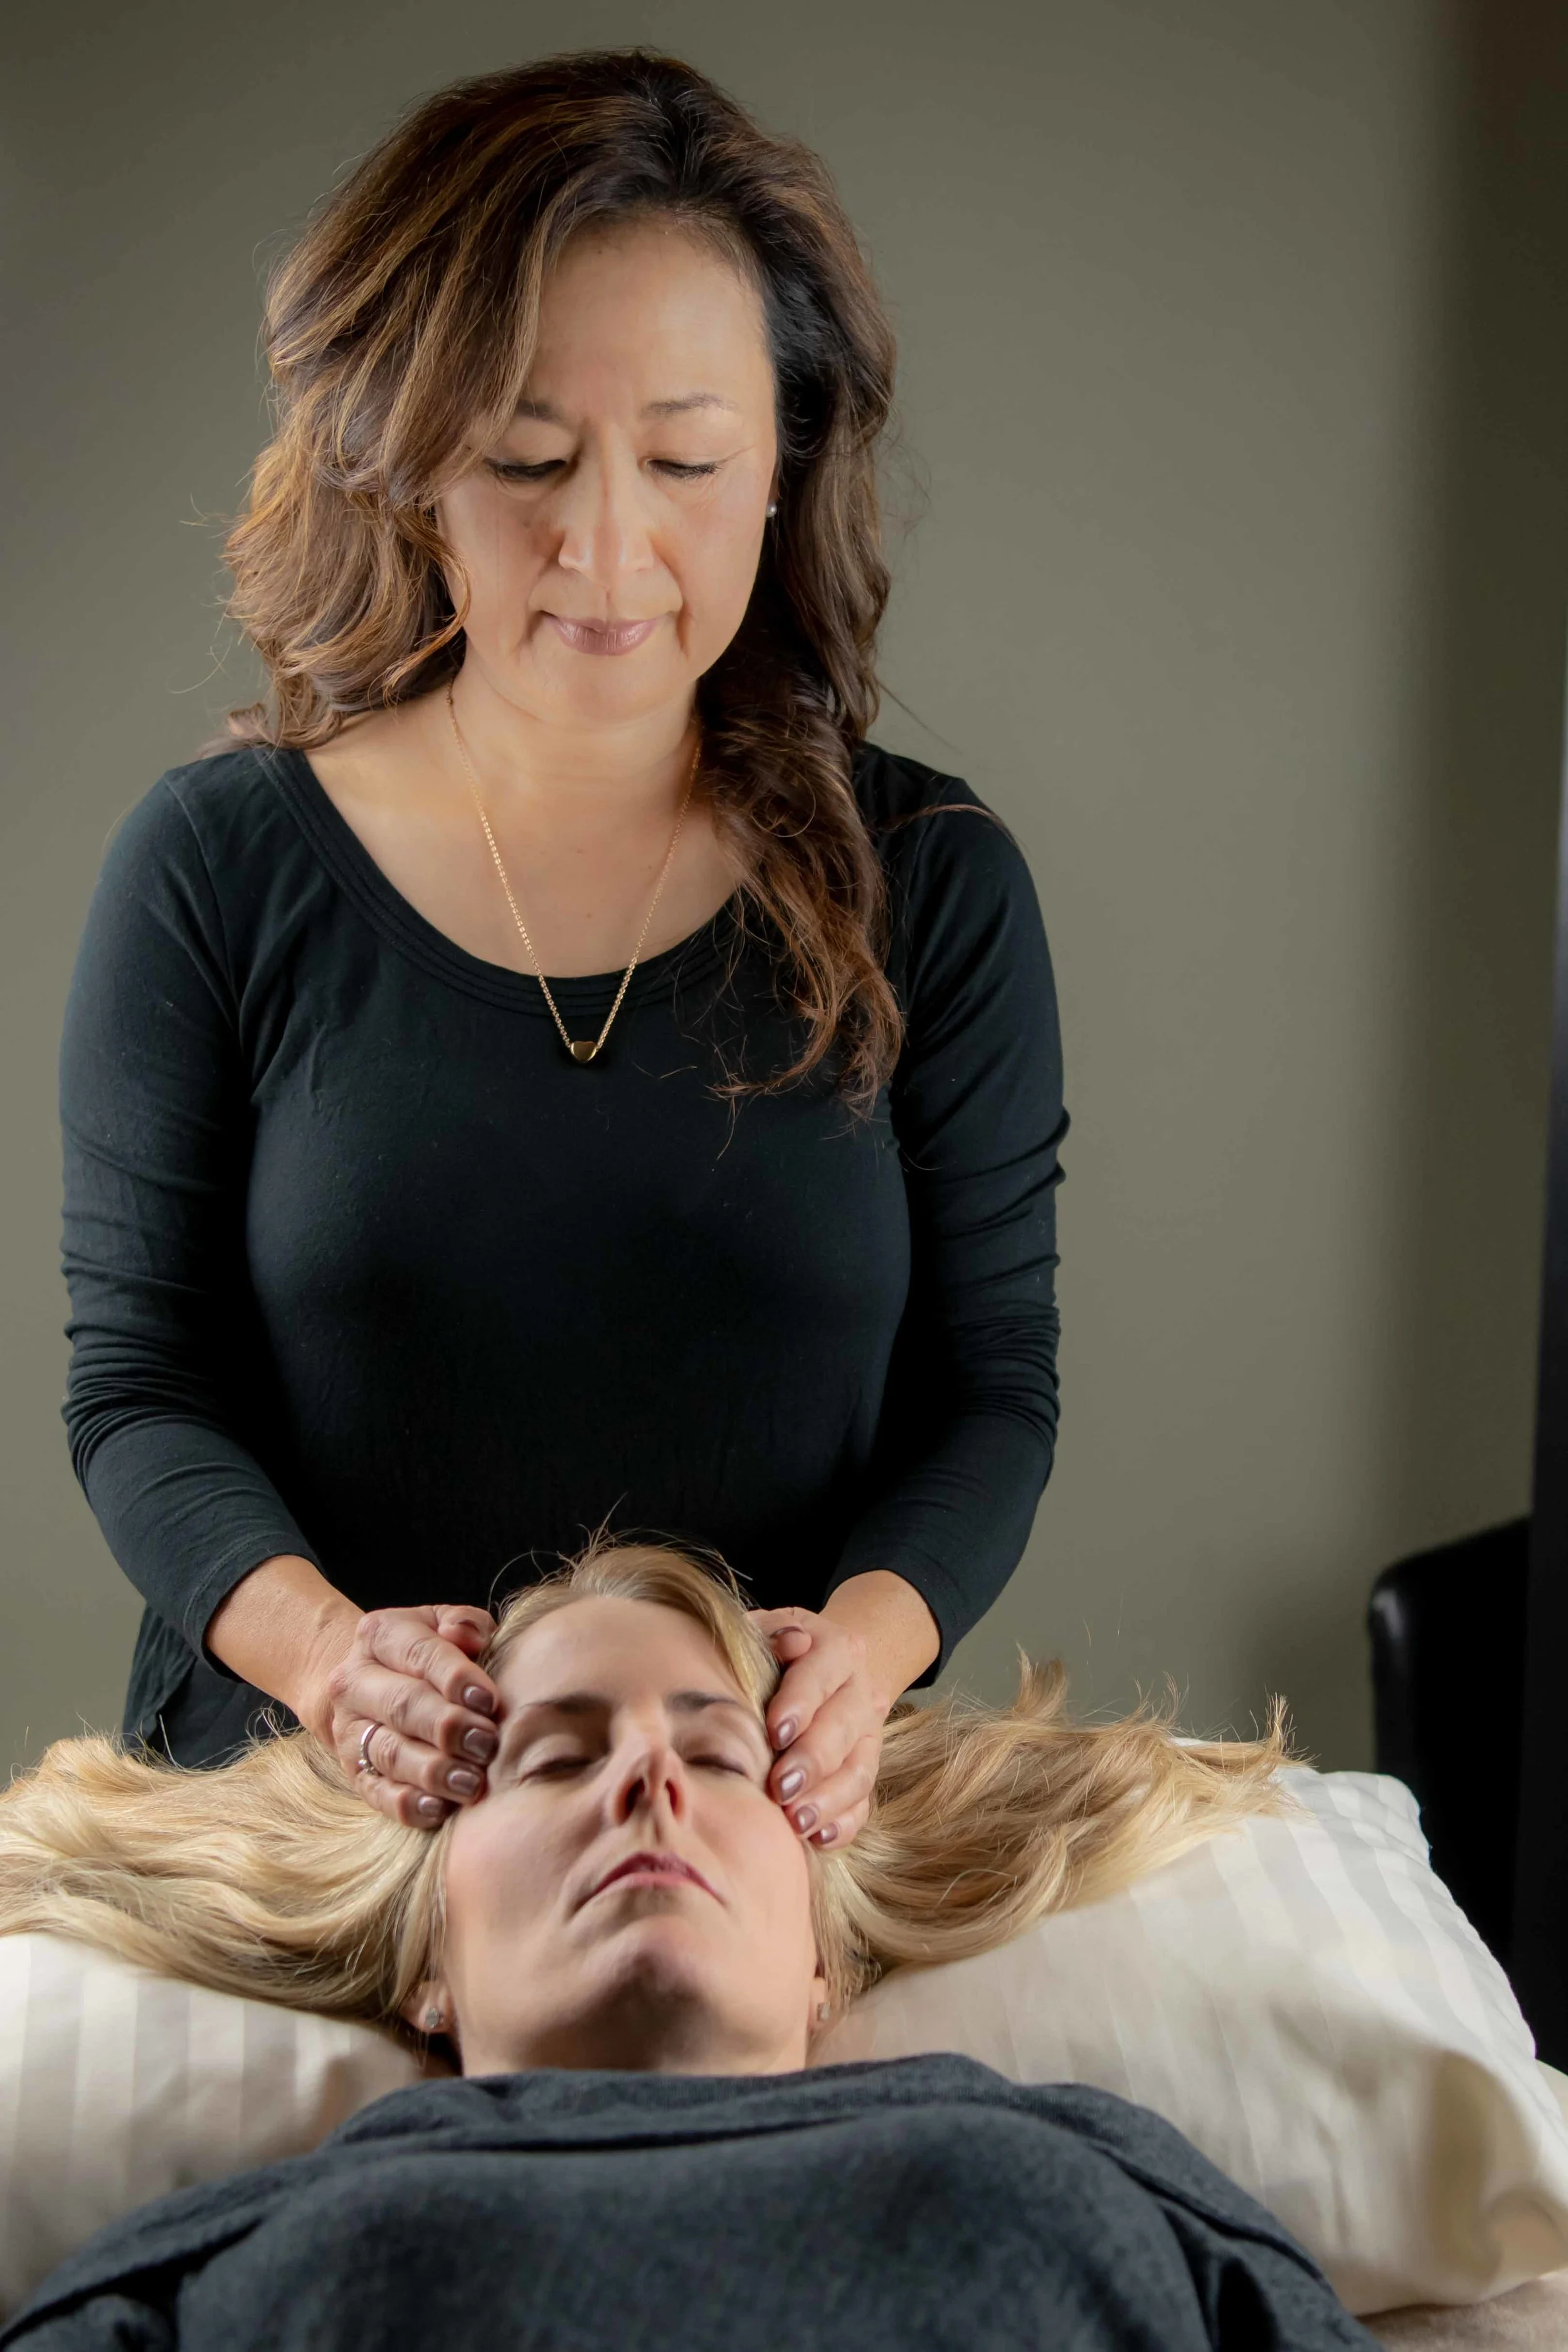
Massage and Spa Bethany photographer Chelsea Adams
Shoot From Just Above Eye Level – You'll want to be ever-so-slightly above their eye level. Be sure not to go too far above their eye level, though. It should feel natural and not like an extreme perspective.
Take A few Shots In Between Poses – A great piece of advice on how to take a good headshot is capturing candid shots. You can try to sneak in a few frames without the client expecting it.
Don't Forget The Hands – Knowing what to do with hands can be tricky, but they can ruin a photo if placed awkwardly. When folding arms, be careful not to have them too tight and pulling at the shoulder. If placing hands on hips for a power pose, allow the hand to fall limp on the mid-hip area. And when hands fall closer to the camera, ensure they're not too distracting in the foreground.
Using A Tripod — Most Headshot portraits are shot using tripods. If you want to set up your shot, position your model and then focus on their expression. Then keep your camera fixed in one position by using a tripod.
Having your camera on a tripod also allows you to focus 100% of your attention on your model and frees you up to gesture with your hands or step away from the camera without breaking the shot.
15 PROVEN WARDROBE TIPS THAT GUARANTEE SUCCESS IN FAMILY PHOTOS
The Use Of Lighting In Headshot Photography
You can use speed light for your headshots. Use a softbox or umbrella to reduce harsh shadows from the flash. The larger the apparent size of the light source to the subject, the softer the light will be. Now you have to place your flash at the right place. You must position the flash close to the subject, even with the softbox, to get the softest results.
Lighting Setups For Photographing Headshots
The One Light Wonder: A Standard setup consists of a large soft light source to the left or right of the subject, a reflector under the face, and another reflector opposite the primary light source. You can shoot hundreds of headshots per year using this simple setup. You can also quickly put together something similar with a cheap speed light, an umbrella, and a couple of reflectors.
Reflectors And Adjustments: Once the subject is in place, do some tweaking. First, you can adjust the light source to be slightly above their eye level. For most people, it looks best to have the light coming from above, to cast subtle shadows under the chin, accentuating the jaw and helping to hide any double chin. Now, you can adjust the reflector underneath the face of the model and bring it up to about their mid-chest level. This reflector helps fill in shadows on the face and provides a nice extra catch light in the eyes.
The Reflector opposite The Light Source: For this one, often use a black-sided panel to create a darker shadow on that side of the face. This effect can be very dramatic and has added benefit of slimming the face. The downside is that if your subject is very wrinkly, you may not fill those wrinkles with light. Therefore, it may not work for everyone.
5 EXPERT TIPS: CREATE A POWERFUL, SUCCESSFUL ONLINE IDENTITY
KITCHEN AND BATH DESIGNER PROFESSIONAL HEADSHOTS
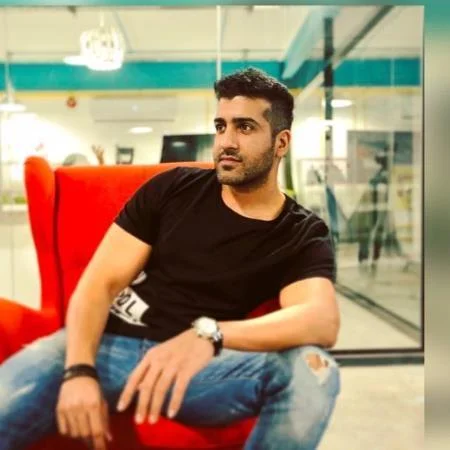
Guest Contributor: Junaid Ali Qureshi is an ecommerce entrepreneur with a passion for emerging tech marketing. Some of his current ventures include Progos Tech , Elabelz.com , Titan Tech and Smart Marketing .